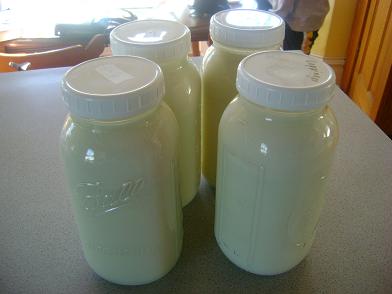
Want to know what makes me excited (besides little plastic drawers)? The fact that with only two gallons of milk…I can squeeze out THREE great dairy products. With the two gallons of raw milk you see pictured below, I was able to make three eight ounce balls of mozzarella cheese…a half pound of butter…and about a cup of ricotta cheese.
Talk about milking something for all it’s worth! (Whoa…very cheesy joke.) (Which I feel is appropriate because this post is about making…cheese. Cheesy-ness abounds.) Anyway…
Even if you don’t think you’ll ever make your own mozzarella cheese…you may still have fun reading about how it’s made!
To make Mozzarella Cheese you will need:
- Two gallons of milk (I use raw, organic) (As far as I understand, you can use pasteurized and homogenized milk too…although you won’t get the butter and ricotta out of it since the cream doesn’t rise to the top.)
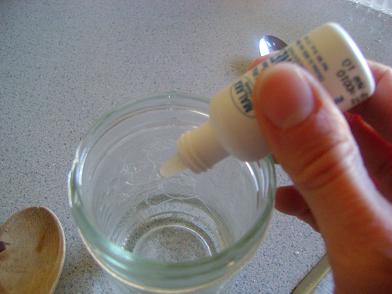
- 2 teaspoons citric acid dissolved in 1/4 cup water
- 1 cup cultured buttermilk
- 30 drops vegetable rennet mixed with 1/4 cup water (I get my rennet from Azure Standard or Wilderness Family Naturals.)
- 1 gallon water
- 1/2 cup sea salt
- Large stock pot
- Long knife
- Food thermometer
- Strainer
- Tea towels
Okay, ready to make cheese? You’ll need to block out about two and a half to three hours of time…but most of that time is wait time, not work time!
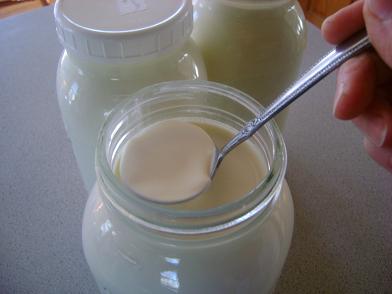
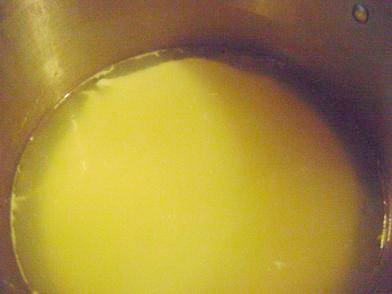
First, if you’re using raw milk…skim off the cream. You know I’m usually big on leaving in the fat…but the fat separates itself out of the cheese while you’re making it for some reason. So, skim it off, put it into another jar and save it for making butter!

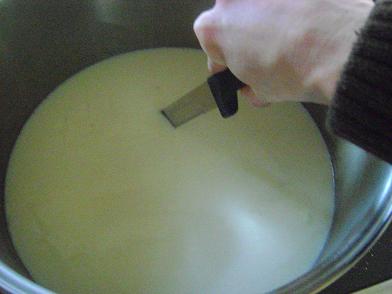
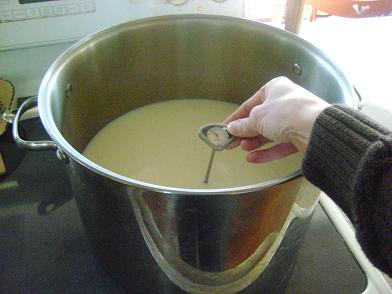
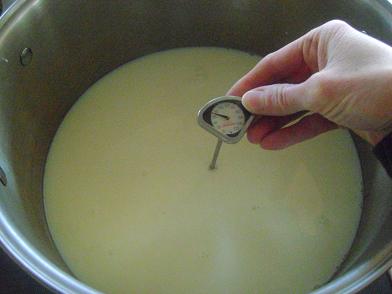
Pour the milk into a large pot (I use my big stock pot). Stir in the buttermilk and citric acid mixed with water. Heat to 91 degrees. Remove from heat, put the lid on and let it sit for one hour.
Add the rennet mixed with water to the milk. Allow it to sit for at least 15 minutes, or until the milk solidifies slightly and it able to be “sliced”.
Use a long knife to “cut the curd” into one inch squares.
Let the curd sit about five minutes.
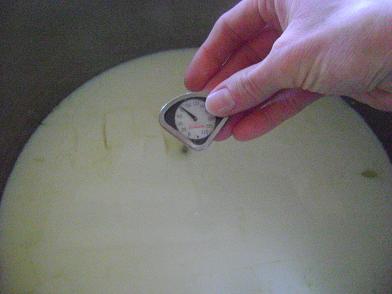
Heat the curd to 91 degrees. Remove from heat, place the lid on the pot and allow it to sit for one hour. After one hour, the curd and the whey should have separated.
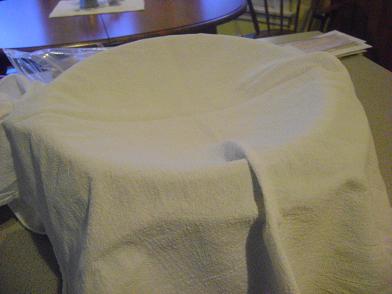
Place a strainer into another large pot and cover it with a tea towel.
Pour the curds into the strainer/tea towel…straining out as much whey as you can. Save the whey!!
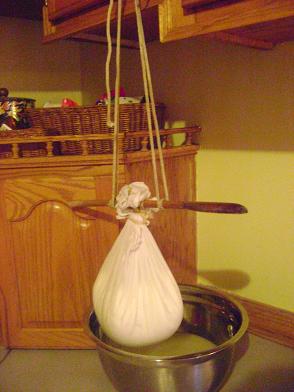
Rig up something fancy like this to hang your curds, making sure you have a bowl underneath to catch more whey that will drip out. I usually leave mine overnight as it takes several hours for all of the whey to be removed.
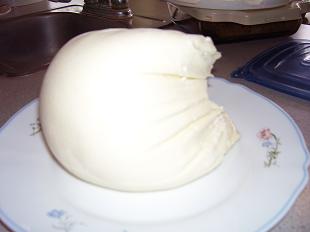
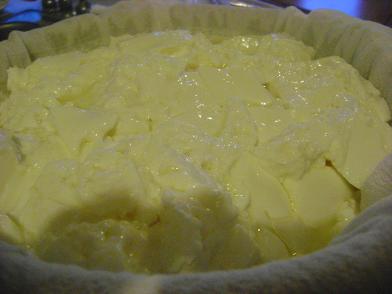
In the morning…remove the tea towel. Wow, a big hunk of cheese! Now…the fun part begins!
In your large pot…heat one gallon of water mixed with 1/2 cup salt. (Hint: I use Redmonds Real Sea Salt and it can be too chunky if I don’t try to dissolve some of it first. Therefore, I put my water and salt into a jar and shake it well, then pour it into the pot. The residue from the salt remains in the jar, leaving only salty water…without chunks!
Heat the salt water to 170 degrees. Meanwhile…
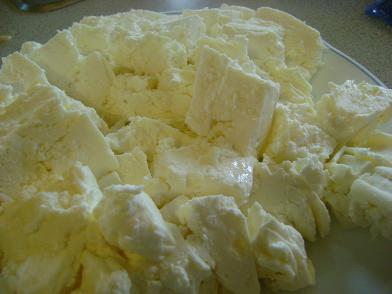
Cut the cheese (oh, my boys think it’s SO FUNNY when I say that…) into 1-2 inch squares.

Once your water reaches 170 degrees, remove it from the heat and dump in your cheese. Kind of stir it around for a minute or two until the cheese softens and begins sticking together.
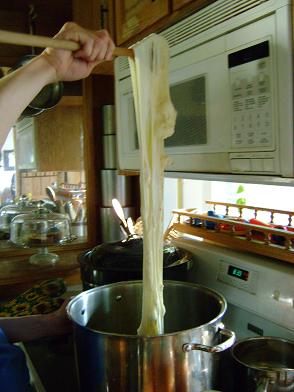
Use a big wooden spoon to catch the cheese from the water. It should start sticking together and forming a blob on your spoon. Stretch the cheese. This part is SO COOL!! Dip it down into the hot water every once in a while to reheat the cheese so that it will continue to stretch, but try not to keep it in the water too long. Keep on stretching and dipping the cheese until it is shiny. This stretching process will take about 8 minutes. (Every once in a while I get a batch of cheese that just won’t stretch. It’s a bummer. The cheese still tastes fine…it just doesn’t look as pretty, shred as well, or melt as nicely. We eat it anyway!)
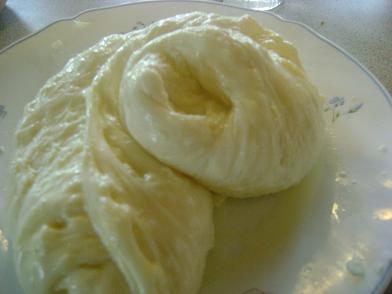
After you’ve stretched your cheese and it has formed a big long shiny wad, take it out and put it onto a plate.
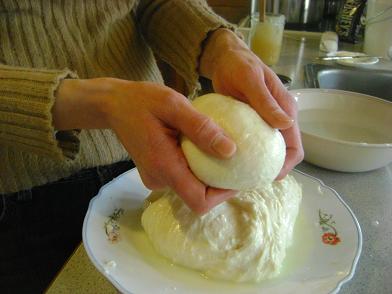
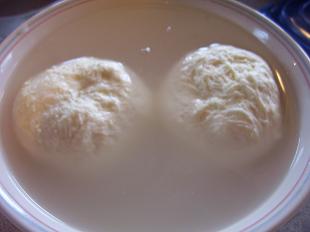
I divide my cheese into three blobs. Squeeze out the excess water and shape the cheese into nice balls.
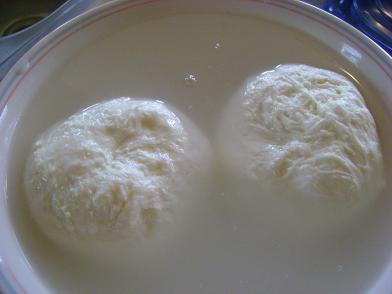
Place the balls into a bowl of cold water. This will take out the heat and help them hold their shape.
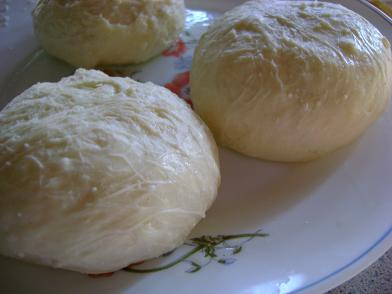
Tada!!! Mozzarella Cheese!
I’ll take time during my next two Frugal Friday posts to share how I make butter with the leftover cream…and ricotta cheese with the leftover whey!
So…have you ever made cheese before? Do you think this process looks like something you could do? You wanna come over and make cheese with me some time? (Then we can say “cut the cheese” together and laugh like we’re really funny.)
———————————————-
