Heavenly Homemakers

Encouraging women in homemaking, healthy eating and parenting

  • Home
    • About
    • FAQs
  • Recipes
    • Bread and Breakfast
    • Condiments
    • Dairy
    • Main Dishes
    • Side Dishes and Snacks
    • Desserts
    • Gluten Free
    • Instant Pot
    • Crock Pot
    • Heavenly Homemaker’s Weekly Menus
  • Homemaking
    • Real Food Sources
  • Store
  • Contact
    • Advertise
    • Disclosure
    • Privacy Policy
  • Simple Meals
  • Club Members!

The Easiest Way to Make Buttermilk

March 11, 2018 by Laura 15 Comments

This post may contain affiliate links which won’t change your price but will share some commission.

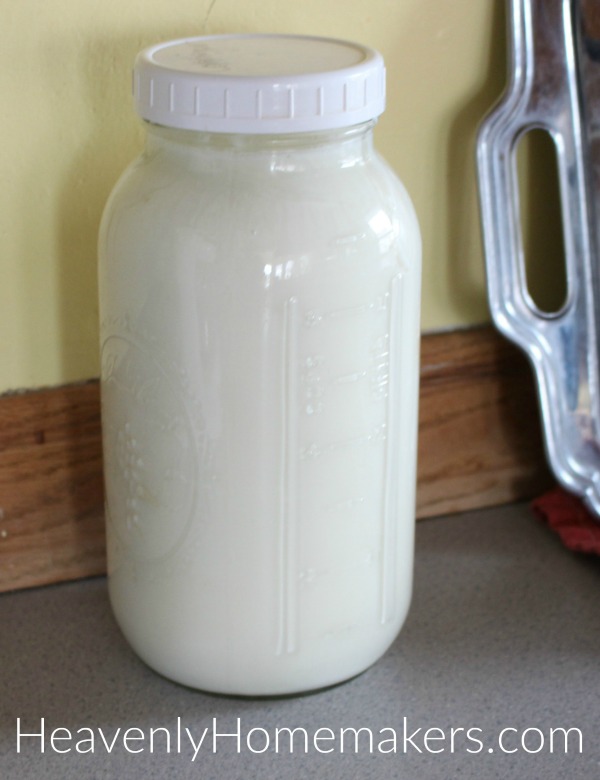
It’s great fun to make buttermilk! Wait until you see how easy it is!
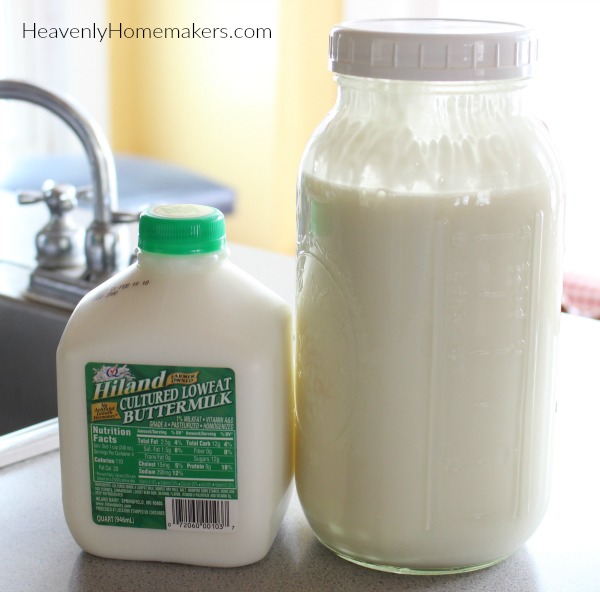
buttermilk11

See, this is one of those things you can tell people that will thoroughly impress them, “Oh yes. I make buttermilk. No big deal.” The people will be shocked and amazed, but then you’ll have to admit, “Ok, fine. My two year old actually made the buttermilk. It really is that easy. Still please be impressed.”

Why would you want to make buttermilk?

Well, many recipes call for buttermilk, but as for me, I mostly keep it on hand so I can make this Simple Ranch Dressing. We go through gallons of this dressing as it is our family’s favorite. Seeing as we try to eat salad every day, we must have the ranch dressing in the fridge at all times. Buttermilk is a key, delicious ingredient in this dressing. And since buttermilk is a cultured dairy product, this makes our salad dressing even more nutritious!

The main reason I make buttermilk instead of buying it is because I want to use my farm fresh, raw milk. Raw milk contains nutrients and digestive enzymes that help us break down and absorb those nutrients. So this in and of itself is a win! Then when you add culture to this raw milk, it creates probiotic bacteria that is even more fabulous for our gut health!

So homemade raw cultured buttermilk? This is absolutely filled with great nourishment and digestive benefits!
buttermilk23

I guess it goes without saying, then, that when I use this Homemade Buttermilk in our Homemade Ranch Dressing, then we pour this wonderful dressing all over our mixed greens, we’ve got ourselves an incredibly nourishing side dish (or main dish, if we add more substance to our salad!).

salad_makings_2

I used to buy packaged culture to start a batch of buttermilk. (Here’s an idea of what that looks like.) That’s a more pure way to start a batch, so yay for that! But it’s quite a bit more expensive. Plus it takes a couple extra steps.

So at this point in my blessed, full-scheduled life, I have chosen the easier route. (Simple specifics below.)

The Best News about Making Buttermilk

Once you have made one batch, you can save the last cup to start a new batch. Then you can continue making batches of buttermilk from your previous batch, over and over again. Isn’t that cool?

The Easiest Way to Make Buttermilk

5.0 from 1 reviews
The Easiest Way to Make Buttermilk
 
Save Print
Author: Laura
Serves: ½ gallon
Ingredients
  • Just under ½ gallon of milk
  • 1 cup buttermilk
Instructions
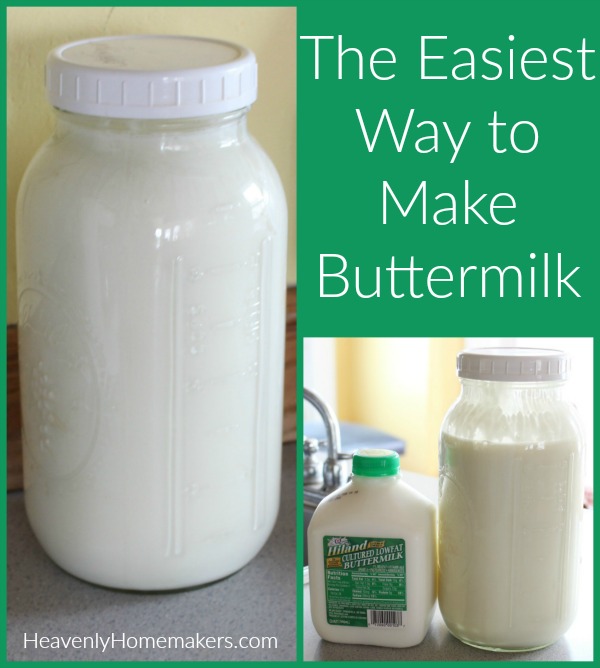
  1. Add buttermilk to regular milk.
  2. Shake well.
  3. Allow milk/buttermilk mixture to sit on the kitchen countertop for 12-36 hours or until the milk has become cultured.
  4. You will be able to see that the new batch has turned into buttermilk by tilting the jar. If the contents of the jar have thickened and "plop" over when you tilt the jar, your buttermilk has formed! If the mixture is still runny like milk, continue to let the jar sit on the countertop.
  5. Once the buttermilk has formed, transfer the jar to the fridge, using as needed.
  6. Save one cup of buttermilk to use in subsequent batches, following the directions above for additional jars of buttermilk.
3.4.3177

The Easiest Way to Make Buttermilk

Do not be afraid to leave this at room temperature for several hours! This is how the milk naturally ferments and cultures. Not only is this practice safe, I am quite confident that the probiotic bacteria formed during this process makes for an even safer-to-consume dairy product!

Can you make buttermilk with store-bought, pasteurized milk?

Yes. While I’ve not tried this, research tells me that this method works with pasteurized milk also. Though apparently, using ultra-pasteurized milk will produce inconsistent results. If you’ve had experience with making buttermilk with store-bought milk, I’d love to hear how it has worked for you!

Recipes that use Buttermilk

Here are the recipes I’ve shared here that call for buttermilk:

  • Ranch Salad Dressing
  • Buttermilk Chocolate Cake
  • Pumpkin Donuts
  • Giant Breakfast Cookies
  • Low Sugar Banana Cake
  • Low Sugar Peanut Butter Cake
  • Homemade Grapenuts Cereal
  • Breakfast Cake Muffins
  • Red(less) Velvet Cake

Seems our family enjoys cake made with buttermilk. I mean salad dressing. We eat lots and lots of salad, with dressing that I make with buttermilk. And also cake.

Do you make buttermilk? What do you use buttermilk for at your house?

Heavenly Homemaker's Club Members: Access your homepage and all your fantastic resources here! Not a member yet? Please join us!

Five Minutes to Cultured Dairy

April 27, 2011 by Laura 43 Comments

This post may contain affiliate links which won’t change your price but will share some commission.

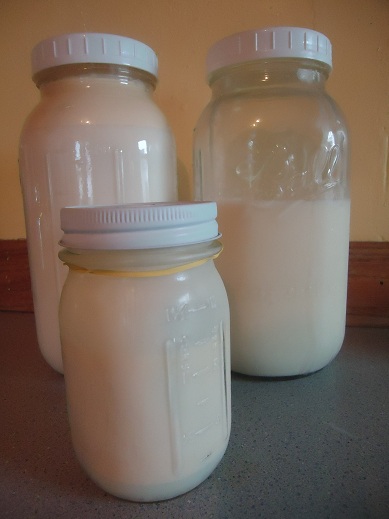
I’m out to prove that making your own cultured dairy products is neither intimidating nor difficult. Just yesterday, I made Buttermilk , Kefir and Sour Cream. This took me a total of five minutes. I did not break a sweat, not even when I was putting lids on jars.

Yum

I then started a batch of Yogurt . Yes, it was a big dairy day in my kitchen. Or rather, a big dairy eight minutes. Because that’s really how long it took to do all of this.

As soon as they are done culturing (which these products do all by themselves while I sleep, type, trip on legos or cut my fingernails), I’ll put them into the fridge.

Now, all of you stop thinking that you can’t make your own cultured dairy products and get started on this fun and healthy habit!! :)

Here’s a little Cultured Dairy question and answer time:

Is making your own cultured dairy products hard to do?  Did I or did I not just tell you that this isn’t hard? Okay then.

Can I use regular milk from the store to make these products?  Yep. I recommend drinking and using raw, organic, grass fed cow (or goat) milk to make these, but if that isn’t available to you, you can definitely use milk that you purchase from the store.

Do I have to trip on legos while my products are culturing?  No, in fact I recommend that you step over all legos and call your children in to pick them up before your feet get holes in them. I was just saying that to be funny, or something like that – and to prove that you don’t have to babysit your dairy products while they are culturing.

Why is there a rubber band on your sour cream jar?  I put a rubber band around my sour cream jar so that I’ll know at one quick glance into my fridge which jar is sour cream and which is regular cream. It’s quite helpful to know the difference. You’re welcome to use whatever color of rubber band you prefer. If you really think that sour cream deserves a red rubber band instead of a yellow one, knock yourself out.

What do you mean “knock yourself out”?  That is an expression that really just means “go for it”. To take that expression literally would just seem as though I were a big bully. Please, do not literally “knock yourself out”. Goodness.

Will I really have cultured dairy products in just five minutes like your title suggests?  The five minutes I was referring to was the time it takes for YOU to do any kind of work. It does take several hours for the dairy to become cultured after you’ve done your five minutes of work. Read the specific directions for each of the dairy products to know how long each item takes to become cultured. Here are the quick links:  Buttermilk , Kefir, Yogurt and Sour Cream.

Do you make your own cultured dairy products? Which ones are your favorite?

It’s here! Check out our amazing Simple Meals program!

728x90

Heavenly Homemaker's Club Members: Access your homepage and all your fantastic resources here! Not a member yet? Please join us!

What it Means to “Soak Grains”

March 1, 2011 by Laura 70 Comments

This post may contain affiliate links which won’t change your price but will share some commission.

It’s a funny term isn’t it? “Soak your grains.” It sounds like you need to dump a bunch of water into your bucket of hard white wheat kernels and give ’em a good soaking. But don’t do that.  You don’t want soggy wheat berries.

For those of you who are new to “soaking grains” and have emailed me with questions of confusion as to what this means exactly…I thought I would take the time to explain it a little bit better, and to show some pictures of what a bowl of “soaking grains” looks like!

First, let’s talk a tiny bit about why soaking grains is important. Because I’m not good at remembering big words and how to use them, here is a quote from the Nourishing Traditions cookbook about soaking grains:

Phosphorus in the bran of whole grains is tied up in a substance called phytic acid. Phytic acid combines with iron, calcium, magnesium, copper and zinc in the intestinal tract, blocking their absorption. Whole grains also contain enzyme inhibitors that can interfere with digestion. Traditional societies usually soak or ferment their grains before eating them, processes that neutralize phytates and enzyme inhibitors and, in effect, predigest grains so that all their nutrients are more available.

In Laura’s terms:  When you soak your grain, your tummy will feel better and the nutrients in the grain will be better used by your body.

If you’ve been reading here long, you know that I’m a little bit on the fence when it comes to soaking grains. Sometimes I’m a soaker…sometimes I’m not. It depends on the day and what recipe I’m using, but I do try to soak my grains if I can. There are different schools of thought behind soaking grains and you can read my thoughts about it (and other people’s ideas and comments) here. Matt and I have come to the conclusion that we don’t need to go into panic mode if I don’t get around to soaking our grains. Right or wrong…that’s where we’ve landed. I really like the pressure this has taken off of my brain.

Now, having said all of that…I would like to share what “soaking grains” really means. Ultimately, it means that you are soaking the whole grain that has already been ground into flour . (You can/should also soak oats or cornmeal. Oats are soaked the same as flour. Cornmeal requires a different variety of soaking, which I’ll discuss in a separate post.)

The soaking of said flour or oats needs to be done in an “acid medium liquid” for 12-24 hours, or at least overnight. This means, you can soak your flour or oats in:

  • Any cultured dairy product such as buttermilk, yogurt or kefir. You can read about how I easily and inexpensively make these products here. Or…
  • If you are not able to use dairy products in your family, you can instead use water with 2 Tablespoons of lemon juice or vinegar in place of the buttermilk, yogurt or kefir.

The flour doesn’t need to “go swimming” in the liquid. It simply needs to be wet. In any of my recipes that give soaking instructions, I will share the exact measurements of flour and/or oats and liquids needed for soaking. On my site, I have instructions for soaking:  Whole Wheat Waffles, Simple Soaked Pancakes, Breakfast Cookies, Breakfast Cake, Poptarts, Pizza Pocket dough, and others that I’m likely forgetting at the moment. :)  I also describe how to soak my Whole Wheat Tortillas in my Totally Tortillas ebook.

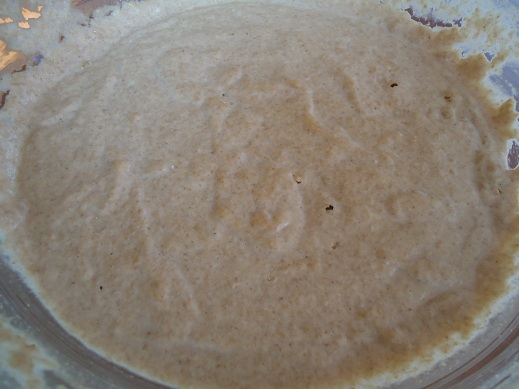
Here is what my Simple Soaked Pancakes look like in the morning after I’ve stirred together the flour and buttermilk the night before. See the little bubbles that formed? That means we’ve accomplished kind of a “sourdough” effect. Perfect! Next, I mix in the remaining ingredients and make the pancakes. (And then the fam will eat the entire triple batch before I have a chance to grab one if I’m not on top of my game.) 

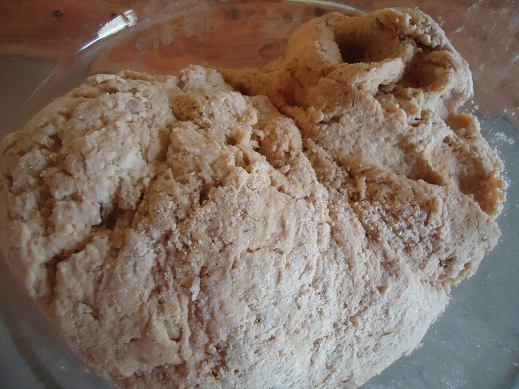
This is what my Whole Wheat Tortillas look like once I’ve mixed them up and left them to “soak”. This recipe with soaking instructions is so simple because I put them all together, they soak, then they are ready right away for me to roll them out and cook them!

Soaking grains isn’t difficult at all…it just requires a little bit of planning ahead!

Some other frequently asked questions about soaking grains include:

Do I need to soak my flour even if it isn’t freshly ground in a grain mill?

Yes, even if it is store bought whole wheat flour, it is best to soak it if you can.

Do I need to soak my white flour?

Nope. The reason it’s white flour is because the bran and the germ have been taken out. The bran is what needs to be soaked in the first place. Since that’s not there…no reason to soak!

What other questions do you have about soaking grains? Are you a soaker?

Heavenly Homemaker's Club Members: Access your homepage and all your fantastic resources here! Not a member yet? Please join us!

Make Your Own Cultured Buttermilk, Yogurt and Kefir (a Giveaway!)

February 24, 2011 by Laura 61 Comments

This post may contain affiliate links which won’t change your price but will share some commission.

I love how much money it saves and how easy it is to make your own cultured dairy products! It really is as simple as putting the live culture into the milk and walking away. (Well, you do want to put the lid on first.)  Here are my posts which explain how to make buttermilk, how to make yogurt and how to make kefir. You can do this!!

Once you’ve made a batch of any or all of the above, all you have to do to make subsequent batches is to pour the tail end of the previous batch into your fresh milk and start the process all over again. It’s easy, it saves money and it is oh so healthy! These cultured dairy products are so good for your digestion. Mmm, and yummy too!

To give you a little motivation, in case you’ve been wanting to start making your own cultured dairy products…Cultures for Health is offering to give one of you a nice package of a Traditional Yogurt Starter, a package of Milk Kefir Grains and a Buttermilk Starter.  Remember, once you have the starter, as long as you keep your kefir grains alive and save the tail end of your batches of buttermilk and yogurt, you can keep making more and more batches of these delicious dairy products! 

Cultures for Health is a site I fully trust for purchasing culture starters. They know what they’re doing, they are very reasonably priced and their shipping is a flat $3.99!! This is an excellent company to work with and I love their products. By the way, they’ve got more than just dairy cultures at Cultures for Health…be sure to check out all of their products!

Okay…interested in winning this prize package of  from Cultures for Health? This giveaway is just a little bit different than our usual giveaways.  This time, to enter you need to head over to this page on the Cultures for Health site. You can sign up right there, plus receive their free ebook full of Kefir Recipes by signing up!!

I’ll draw a random winner from all entries over at Cultures for Health on Monday, February 28.

Heavenly Homemaker's Club Members: Access your homepage and all your fantastic resources here! Not a member yet? Please join us!

A Word of Buttermilk and Blender Dispenser Advice

November 18, 2010 by Laura 20 Comments

This post may contain affiliate links which won’t change your price but will share some commission.

When you are using your cool new blender with a dispenser…always, always be sure that the dispenser handle is in the downward position before pouring in buttermilk to make Creamy Orange Coolers. Always.

I was in the middle of giving spelling words, frying potatoes and yes, making Creamy Orange Coolers when I had this lovely mishap this morning. I wasn’t sure whether to cry…or take a picture.

I’ve heard somewhere that you should never cry over spilled buttermilk, so I chose to take the picture.

The buttermilk not only got all over the counter and down the front of the drawer and cabinet and all over the floor…it even got inside the cabinet. 

But I still didn’t cry. 

I may have let out one little sob.

It wasn’t even about the mess as much as I hated wasting all that good, homemade cultured buttermilk.

So let’s review:  If you have a cool new Hamilton Beach Wavestation like I have and you’re so excited to make something in it so you can use the cool little dispenser…what do you need to do first? (Let’s all say it together, shall we?)

Always, always be sure that the dispenser handle is in the downward position before pouring in buttermilk.

It blesses my heart to be able to offer such wise advice on this blog.

;)

Heavenly Homemaker's Club Members: Access your homepage and all your fantastic resources here! Not a member yet? Please join us!

Join Our Community!

 Facebook Twitter RSS E-mail Instagram Pinterest

Popular Posts

~ Will All of the Real Moms Please Stand Up?
~ Easy! Stir-and-Pour Whole Wheat Bread
~ How to Make Gatorade
~ 31 Real Food Breakfast Ideas
~ Dear Teenage Girls...
~ When Mom Takes a Step Back
~ The Inexpensive Health Insurance We Love!
~ Let's Talk Real Food Grocery Budgets

Check out our latest posts!

  • Great Picnic Food Ideas
  • Quick Crock Pot Spicy Pasta Dinner
  • Simple Snack Recipe: 5 Minute Mousse
  • How to Save Money on Meat
  • How We Avoid Eating Out (And What We Eat Instead)
Home  ~  Simple Meals  ~  Club Membership  ~  Shop  ~  Privacy Policy  ~  Disclosure  ~ Contact

Copyright © 2022 · Beautiful Pro Theme on Genesis Framework · WordPress · Log in