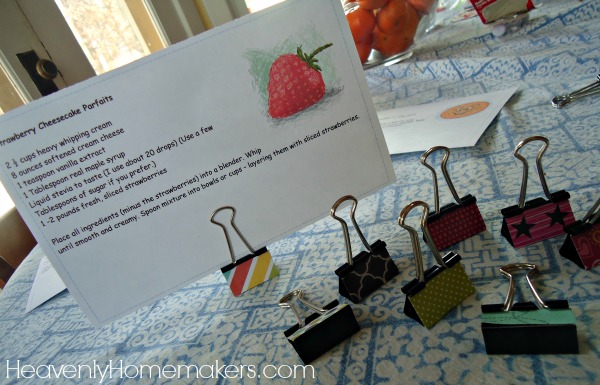
Oh my goodness, I could make these recipe card holder clips all day long.
This is a craft just about anyone of any age can make and enjoy. If you’re like me and love crafts but your creations look like a pre-schooler made them without help – be very relieved and excited about what I’m about to show you. You need:
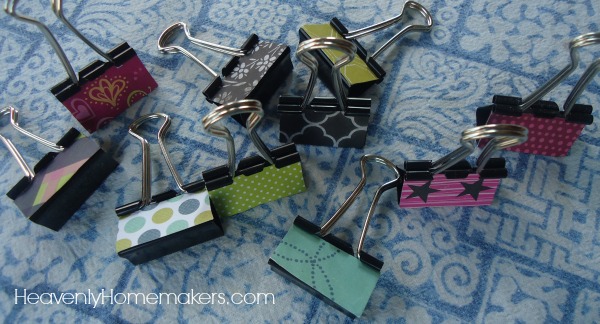
- Binder Clips 1-1/4 width or bigger
- Small Scraps of Scrapbook Paper
- Glue Stick
Seriously, a glue stick. Everyone leave the hot glue gun and the whateveryouneedfordecoupage in the cupboard. We’re gluing scraps of paper onto paper clips with a glue stick. Dude, if we have to we can even use safety scissors. That’s how basic this craft is.
As you can see, I get as excited about easy crafts as I get nauseous about difficult ones. (And by difficult, I mean everything recommended for elementary on up.)
I believe the instructions for making these are self-explanatory as you look at the pictures, but to make life even easier for you, I will detail the steps for creation below:
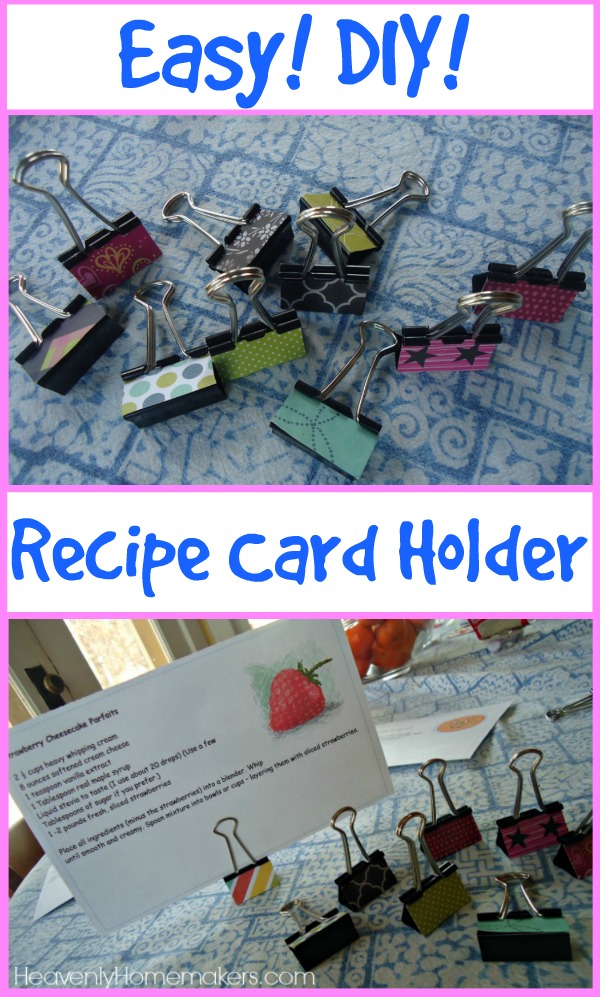
Easy DIY Recipe Card Holder
- Cut scraps of paper (cardstock, scrapbook paper, construction paper, or paper you’ve decorated yourself) into pieces that fit the binder clips you are using. We made our card holders from 1 1/4″ by 5/8″ clips, so that’s the size I cut my paper scraps.
- See? This is a no-brainer.
- Use a glue stick to attach the paper to the clip.
- There is no fourth step. Your thirty second craft is complete.
- Make more than one though because once you start you probably won’t be able to stop.
Beyond Recipes
These card holders might be fun to give to grandparents with your child’s picture tucked into the clip. Or have your child draw a picture to put in the clip for his/her teacher. And what a fun way to display scripture cards around your house!
Recipe Card Holders For Kids
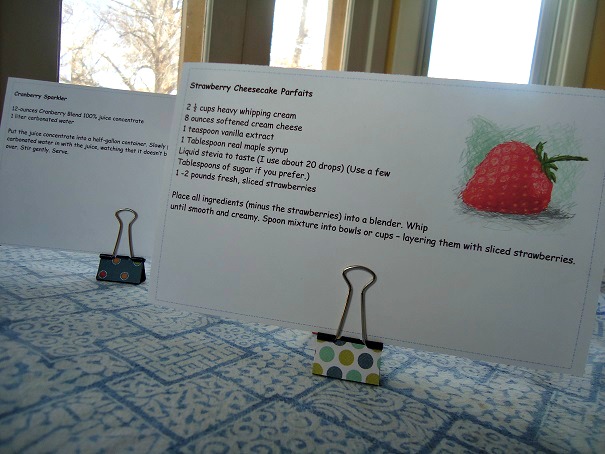
What I love most about using these clips to hold recipes is that for young cooks – having the recipe stand up makes for easier viewing than if the recipe is lying flat on the counter-top. And not that we ever spill anything while we’re cooking, but just in case that would ever happen, this is a great way to keep the recipes from getting slopped on.
We printed Malachi’s Favorite Cookbook and cut each recipe into easy-to-read cards. Now when he makes his favorites, he chooses a clip and slides in the recipe. It’s a fantastic system!
Have fun making these on your own or with your kids!
If you aren’t motivated to get your kids into the kitchen by now…well, I will keep working on ya. ;) Teaching our kids to cook is just like anything else: sometimes it seems easier to do the work ourselves instead of working a little harder for a moment to teach our kids to do the job. But trust me when I say that it is worth the effort it takes to equip our kids with cooking skills! Make the decision, and get those kids into the kitchen with you! It will change your life and theirs!
You can use Katie’s Kids Cook Real Food eCourse as a springboard. Malachi has been more eager to learn about cooking through these videos than he ever was when I merely encouraged him to put together recipes or crack eggs beside me. For me, he’s been, “Eew, I hate cracking eggs.” But then he watches a cooking video and he’s like, “Yeah. I’ve got this.” And he DOES.
Coming up tomorrow: Kid Friendly Pizza Pie Recipe. Have you and your kids tried making the Tootsie Rolls yet?