During this crazy time of life, many of us are learning to cut hair at home. Even after the quarantine, maybe we can use these skills to save money!
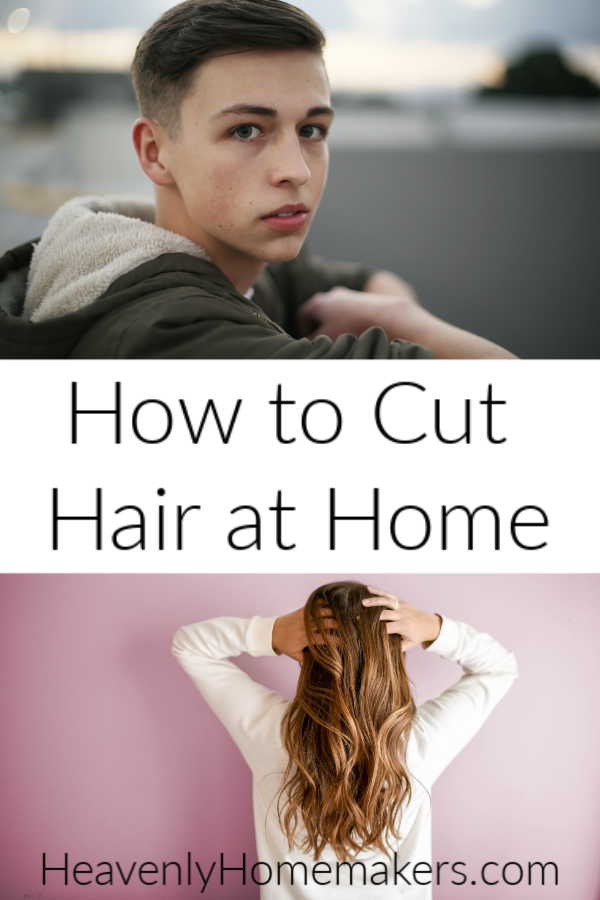
How to Cut Hair at Home
Through the years, I’ve cut many a head of hair! Matt and the boys just line up and we get ‘er done! We’ve saved thousands of dollars through the years. I’m not a pro, but I get the job done.

The past couple of years, our older boys have gone to a salon for their cuts, and Malachi even got a perm! I’ve welcomed this break from cutting everyone’s hair since we started adding foster and adopted kids to our family.

But here we are back to needed everyone’s hair cut at home again – at least for now!
In case you need to figure out hair cutting at home right now, I wanted to remind you of the simple tutorials we have shared here through the years!
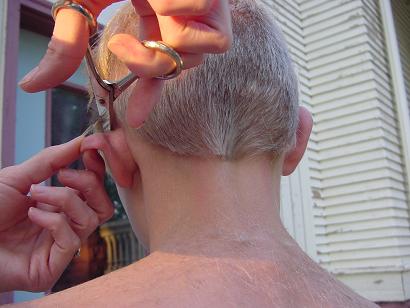
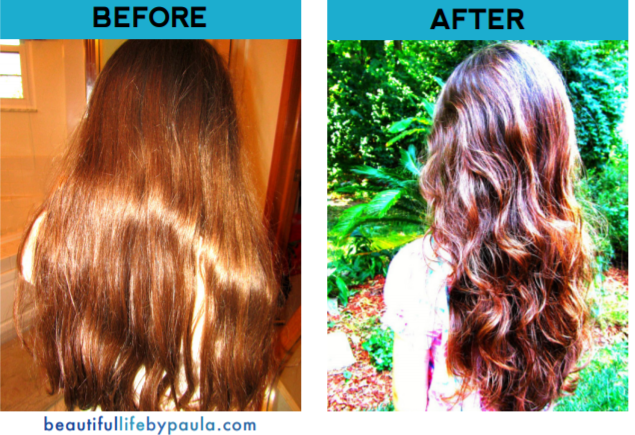
How to Cut Long Layers
Paula shared a wonderful tutorial here for how you can cut long layers in just 5 minutes. Ever since she shared this, I’ve been cutting my hair this way. I LOVE how much money it saves me but I especially love how much time it saves. I cut it after a shower, and I go on my way. No making appointments, no arranging for our littles to be cared for so I can go to the salon. I LOVE IT!
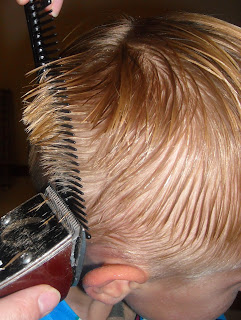
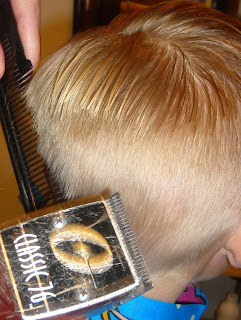
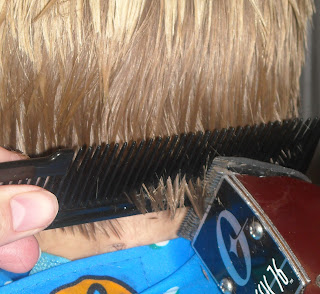
How to Cut Boys’ Hair with Clippers
I’m a scissors girl, but clippers would probably be much easier. If you have boys and they need a hair cut – check out this great tutorial on How to Cut Boys’ Hair with Clippers.

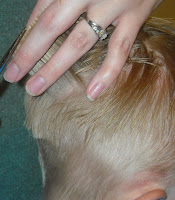
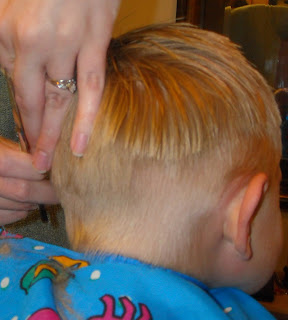
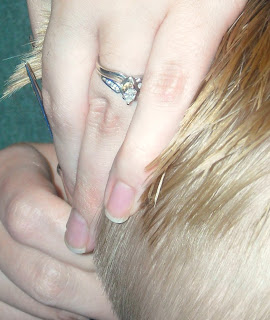
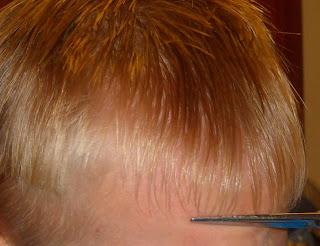
How to Cut Boys’ Hair Like a Pro
Don’t want to attempt clippers? Check out this amazing tutorial on how to cut boys’ hair without clippers. This truly makes it easy!