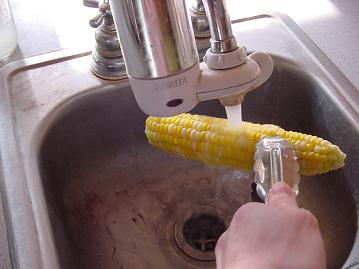
I mentioned that over the weekend I received millions and millions (okay, maybe not millions) of peaches from a lady in town. I’ve been busy preserving them for winter and thought I’d walk through the steps with you.
Please note: These peaches were so awesome and juicy, and since there were so many of them, I felt that none of us needed to hold back on how many we ate. So, as I was standing in my kitchen peeling and slicing peaches, and peach juice was running down my arms…I was also biting into peaches as I worked, because I just couldn’t resist. Therefore, I also had peach juice running down my chin. But with peach juice all over my hands and running down my arms, it’s not like I could do much about my chin, you know? Not one of my finer moments.
Thought you might like to picture that.
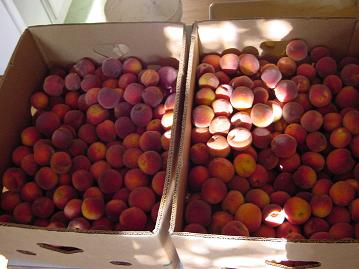
If you remember, I was given four boxes of peaches. (I did share a few with some friends.)
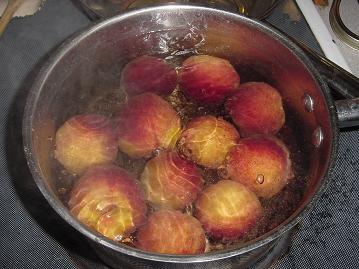
In the past, I’ve always peeled my peaches with a knife…and that’s been fine. But I had so many peaches this time, I went ahead and tried this method of peeling, and whoa was it a time saver! Just put your peaches into boiling water for about 30 seconds…pull them out…
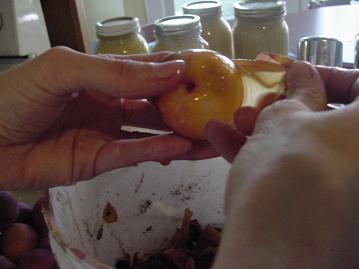
And those skins just peel right off!! It was awesome. Except for when they didn’t peel right off, which happened with a few of them for some reason. (Just thought I’d tell you that so that if not all of them peel right off for you, you’ll know that you aren’t the only one!)
(You don’t have to peel your peaches if you’re going to freeze them. They’ll be more nutritious if you leave the peelings on, and it will save so much time too!)
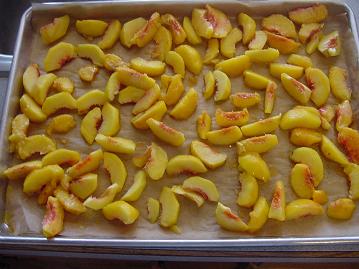
To freeze peaches, just peel, slice and lay the peach slices on a cookie sheet lined with parchment paper. Put the pan into the freezer until the peaches are frozen, about two hours. (Or longer if you forget they’re in there.) Then put them into a freezer bag and you’ve got great peaches for smoothies and slushies!! And cobblers and crisps! (If you feel like skipping this step and simply just putting your peach slices directly into a pan without freezing them individually like this first, you can…but you’ll end up with one big gallon sized frozen peach-sicle, and you may be very frustrated when you want only part of the rock hard peach-sicle for a smoothie. Just so ya know.)
Now…to can peaches…this is what I do. There are other ways to do it…this is just the way I do it! Please be sure to go back and read Canning 101 for the canning basics!
I make a honey/water solution on my stove…which is 2 T. honey to every 5 cups of water. Heat it on the stove and let it sit warm while you prepare your peaches.
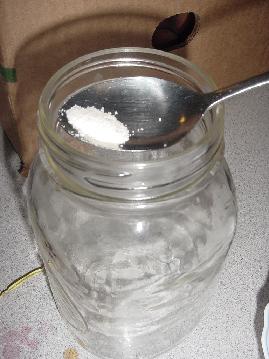
Take out a hot jar and put in about 1/16 teaspoon of ascorbic acid to keep your peaches pretty. Just dump it into the bottom of the jar. (Some people use lemon juice)
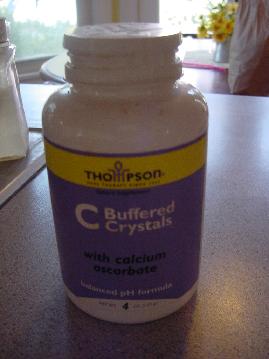
Ascorbic acid is powdered vitamin C. I get mine at a health food store.
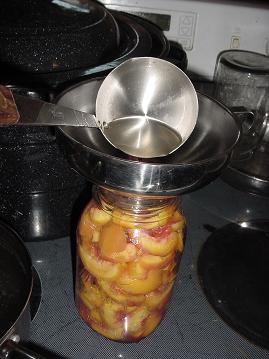
Fill the jar with sliced peaches. Then, use a funnel to pour your honey/water into the jar, to about a half inch from the top. Place a sterilized lid and ring onto the full jar.
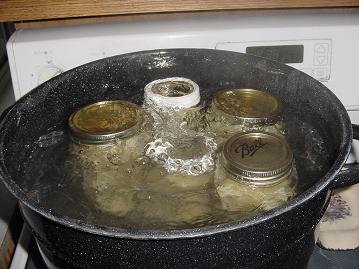
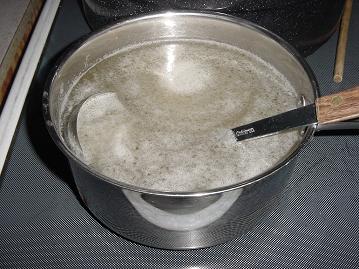
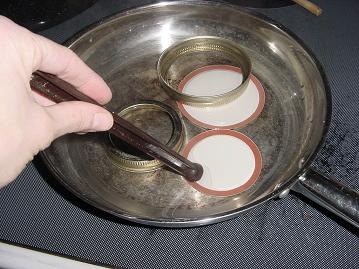
Now it’s time to give your full jars a hot water bath to seal the lids. Put your full jars into the water. Once the water is boiling, boil the jars for about 25 minutes. (And yes, this is actually a picture of applesauce jars boiling…I forgot to take a picture of the peaches boiling and I’m too tired to go can more peaches just so that I can go take a picture of the jars boiling.)
Oh, and boil your jars with the lid on the water bath pot…I just took off the lid for the picture. :)
After the jars have boiled for 25 minutes, take them out with tongs…or better yet, this cool gripping tool made especially for jars and hot water baths. Then you get to listen for the caps to seal. I can’t think of a way to blog the way it sounds…but after all your hard work, it sure is a cool sound to hear them seal! (Thhhhp!) (Or something like that!) You can be sure they sealed if you can push down on the top and it is down firm. It takes anywhere from 1 second to 30 minutes for the lid to seal after you’ve taken it out of the water.
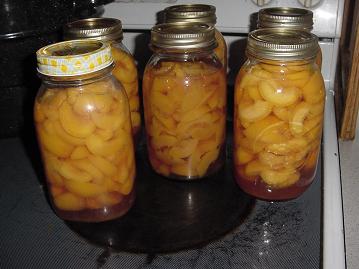
Then, just leave your canned peaches out on the counter for a few hours or several days so that you can admire them and smile and feel happy every time you walk into the kitchen and see them. (Okay, that’s what I like to do anyway.) (Because I’m weird like that.)


