Heavenly Homemakers

Encouraging women in homemaking, healthy eating and parenting

  • Home
    • About
    • FAQs
  • Recipes
    • Bread and Breakfast
    • Condiments
    • Dairy
    • Main Dishes
    • Side Dishes and Snacks
    • Desserts
    • Gluten Free
    • Instant Pot
    • Crock Pot
    • Heavenly Homemaker’s Weekly Menus
  • Homemaking
    • Real Food Sources
  • Store
  • Contact
    • Advertise
    • Disclosure
    • Privacy Policy
  • Simple Meals
  • Club Members!

Buttermilk Whole Wheat Chocolate Cake

October 28, 2010 by Laura 117 Comments

This post may contain affiliate links which won’t change your price but will share some commission.

Say, would you like a little chocolate cake with that chocolate fudge frosting? :)

This recipe is great because you can soak the flour to break down the phytates if you want. Or if you don’t, that’s okay too. 

Buttermilk Whole Wheat Chocolate CakeYum

2 cups whole wheat flour
1 1/3 cups sucanat
1/3 cup cocoa powder
1 teaspoon baking powder
1/2 teaspoon baking soda
3 eggs
1/3 cup melted coconut oil or melted butter
1 1/3 cups buttermilk
Chocolate Fudge Frosting

If you choose to soak your flour, mix the 2 cups of whole wheat flour with the 1 1/3 cups buttermilk. Cover and allow this mixture to soak overnight on the countertop. Add remaining ingredients (everything but the frosting, that is) and bake as directed.

Otherwise…

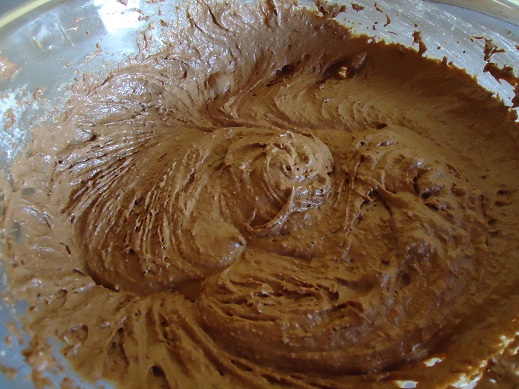
Mix dry ingredients together in a large mixing bowl. Add eggs, oil or butter and buttermilk. Mix with beaters until batter is smooth and well mixed.

Work very hard to avoid grabbing a spoon and eating the entire batter directly out of the bowl before it has been baked. 
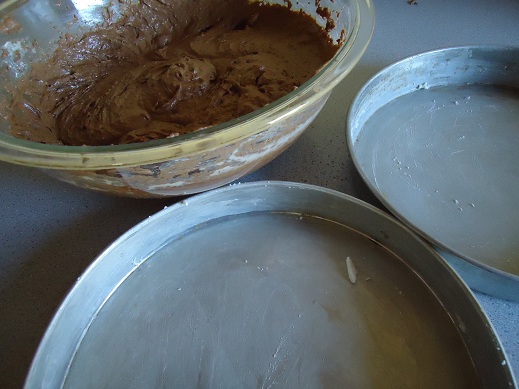
Butter two round cake pans or one 9×13 inch cake pan.
Bake round cakes at 350° for 25-30 or a 9×13 inch cake for 35-40 minutes. OR, leave the cakes in the oven until a toothpick poked in the middle comes out clean. Every oven is different, right?
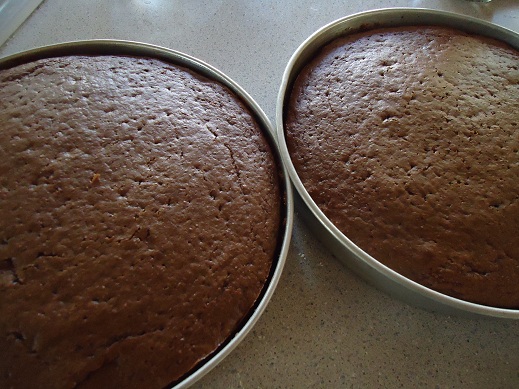
Allow the cakes to cool completely before removing them from the pans. I used a butter knife to loosen the edges from the sides of the pan. Place the cakes on plates.
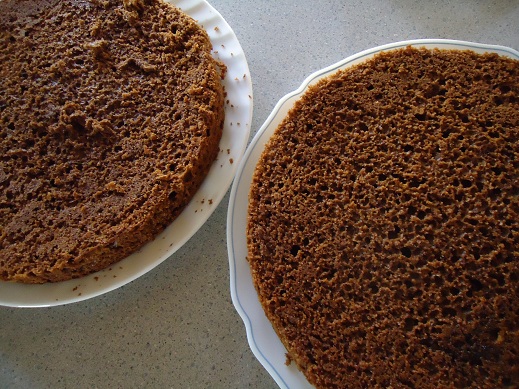
Did I forget to mention that you would need some of this Chocolate Fudge Frosting? Oh yes, you DO need a batch of this Chocolate Fudge Frosting. Plop a nice amount of frosting on one cake and spread it around well.
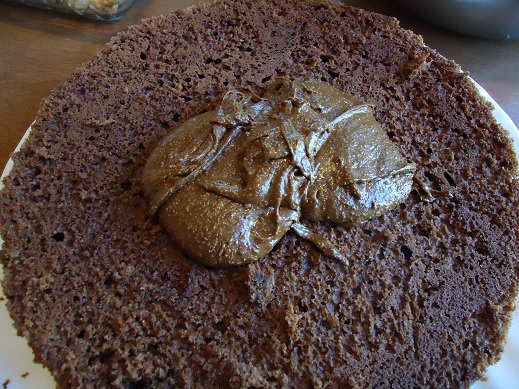
Like this…
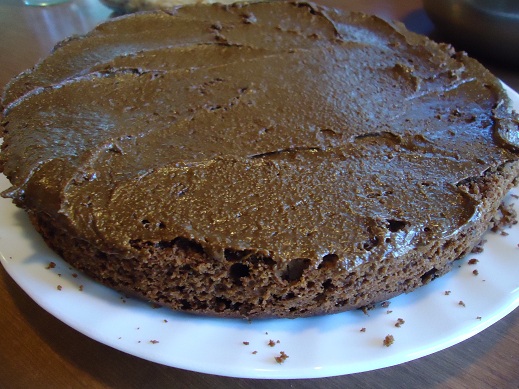
Carefully place the other layer of cake on top of the frosted layer.
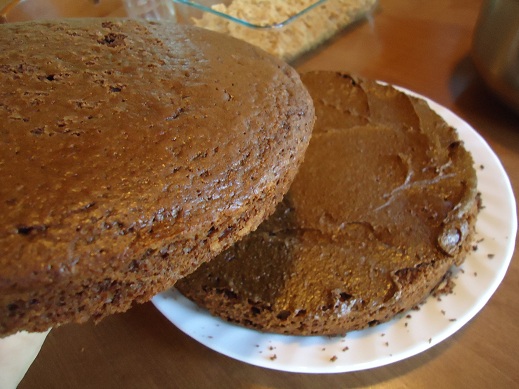
Oh look…it’s a chocolate fudge sandwich!!
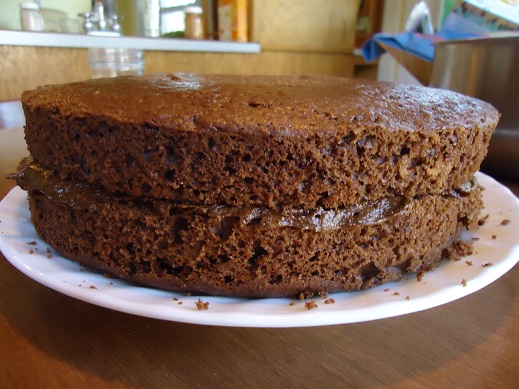
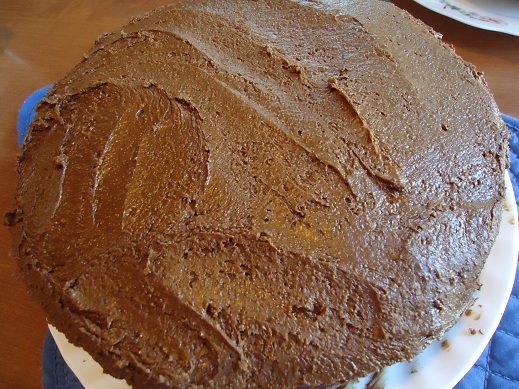
Plop another nice amount of frosting on top of the second layer. Carefully spread the frosting over the top and sides. This step is not very easy for me and I’m usually messy and have to lick my fingers. Bummer.

All done.
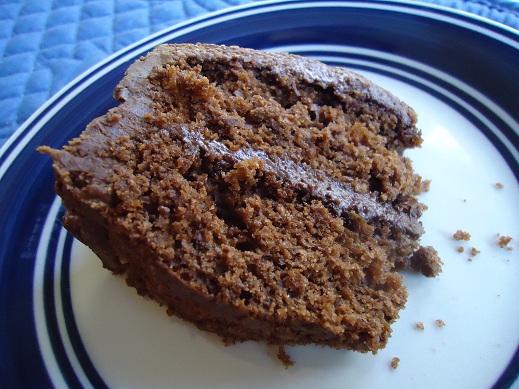
Ah, a slice of chocolate heaven…
I will work (sometime within the coming months) to come up with a white cake and white frosting. However, when you’re using whole wheat flour and sucanat, the results are not going to be white. Anyone up for a Tan Cake?  Mmm, sounds good to me!

Get ready to share YOUR recipes Friday!!! Can’t wait to see what you’re going to share!!!

Heavenly Homemaker's Club Members: Access your homepage and all your fantastic resources here! Not a member yet? Please join us!

Make Your Own Powdered Sugar with Sucanat

October 26, 2010 by Laura 171 Comments

This post may contain affiliate links which won’t change your price but will share some commission.

Yum

This little cooking tidbit makes me very excited! I believe I had heard this tip before, but until Theresa reminded me in a recent post comment, I had forgotten to try it.

Did you know that you can make your own unprocessed powdered sugar from sucanat?  Uh-huh, it’s true!!!

I have been using an organic, unbleached powdered sugar as a slightly healthier alternative to regular powdered sugar. At least it is organic and at least it has not been bleached. But still…there are not many nutrients left in this type.

But if you make your own powdered sugar from sucanat, you’ve got a much healthier powdered sugar. And would you like me to tell you how EASY it is to make powdered sugar?? Here, let me show you…

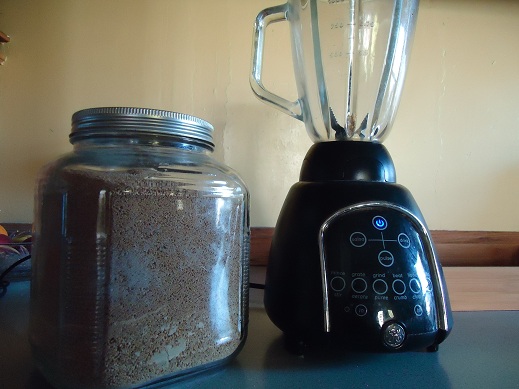
You need two things:  A Blender and Sucanat 

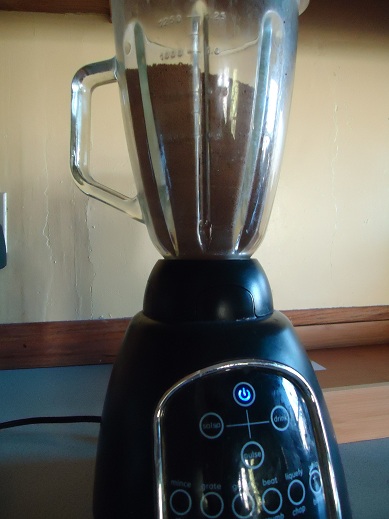
Put no more than two cups of sucanat in your blender at one time. I poured in four cups the first time I tried and it took forever to get it all “powdered”. Two cups at a time actually saves time, even if you need more than two cups of powdered sugar for a recipe.

Put the lid on your blender (always a good idea, right?). Blend up the sucanat for just a few seconds until it turns powdery.

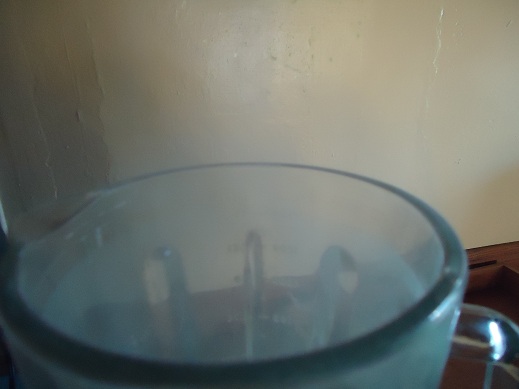
Check out what happens when you take the lid off the blender. They don’t call it powdered sugar for nothin’…

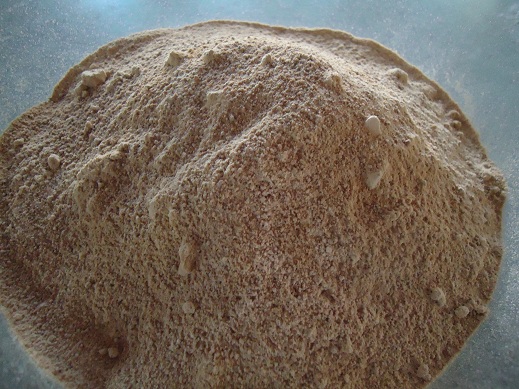
And there you have it…homemade powdered sugar from sucanat.

I have only used this powdered sugar to make a chocolate fudge frosting (and yes, I’ll be sharing the recipe). I would imagine it will work for other recipes, but I’m pretty sure the frosting won’t ever be the color white. :)  Wowza, I can not wait to experiment with more recipes using homemade powdered sugar. Look out everyone!

(Actually, the recipes may be few and far between. My family really doesn’t need to be eating that much sugar, even if it is healthier!)

So, what do ya think? What can we make with our homemade powdered sugar??? 
—————————————–

Find many of your Sucanat questions answered here!

Recipes we’ve created so far to use with your Sucanat Powdered Sugar…

  • Healthier Caramel Frosting
  • Chocolate Fudge Frosting
Heavenly Homemaker's Club Members: Access your homepage and all your fantastic resources here! Not a member yet? Please join us!

Healthy Fruit Crisp

September 28, 2010 by Laura 94 Comments

This post may contain affiliate links which won’t change your price but will share some commission.

I think that making a fruit crisp is one of the easiest desserts to make. But that may be because of a little short-cut I like to take.  Hey, I’m all for making special treats and doing it the lazy easy way.

Here’s my trick:  You know how a fruit crisp has a “crumb topping”? All the recipes I’ve seen say to “add all the dry ingredients together” then “cut in the butter until the mixture resembles course crumbs”. I am REALLY not a fan of “cutting in the butter” in any recipe. It takes extra effort and makes an extra mess and now that I am all grown up and not in Home-Ec class anymore, I have become a butter cutter inner rebel. I believe we should all take a stand against things we feel strongly about. And so, I hereby stand firm on my belief and I refuse to cut in butter.

I hope you can still respect me after that confession. If you still choose to cut in your butter, we can still be friends.

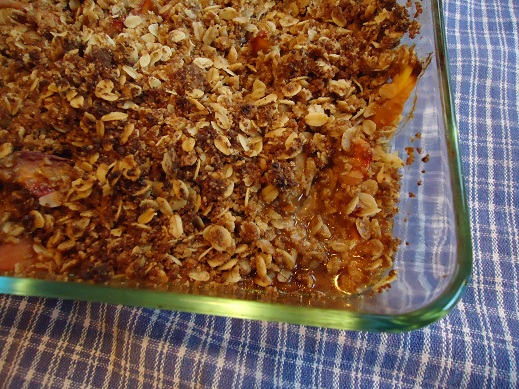
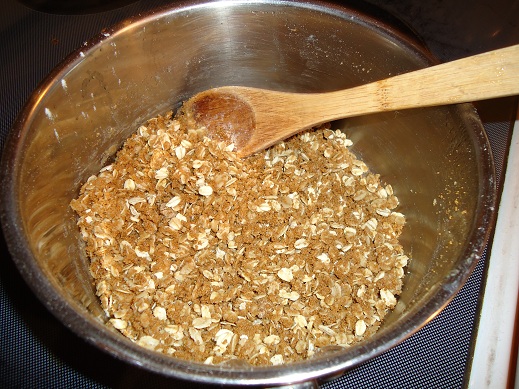
As a replacement (aka lazy) option to cutting the butter into the dry ingredients in a fruit crisp, I have chosen to simply MELT the butter and stir it into the oat and flour mixture. I KNOW. And check it out…I have still made crumbs:

I love this fruit crisp recipe because you can use any fruit you want. This time, I made peach fruit crisp because it just so happens that I got to go pick some lovely peaches at my friend Kim’s house. Depending on the kind of fruit you use, you may want to add more sucanat (sugar), but I’ll leave that up to you!

Healthy Fruit CrispYum

5 cups sliced fruit (apples, peaches, pears, cherries, blueberries or a combination of all)
2 Tablespoons sucanat or brown sugar

Stir the fruit together with the sucanat and place in a small baking dish (8×8 inch).

Make your Crumb Topping…

1/2 cup rolled oats
1/3 cup sucanat or brown sugar
1/4 cup whole wheat flour
1/4 teaspoon cinnamon (optional)
1/4 cup butter (MELTED, for Pete’s sake)
1/4 cup chopped nuts or coconut flakes (also optional)

Mix together oats, sucanat, flour and cinnamon. Stir in melted butter and joy upon joy, it creates crumbs with little to no effort. Add nuts or coconut flakes.

Sprinkle crumb topping over fruit. Bake in a 375° for 30-35 minutes or until fruit is tender and topping is golden brown.

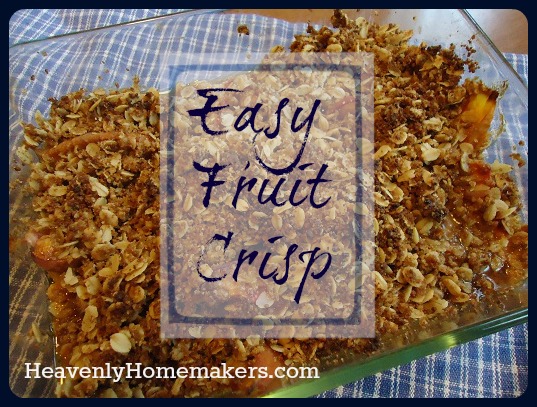
Easy_Fruit_Crisp

If you’ve made and canned Apple Pie Filling, just dump it into your baking dish, sprinkle on your crumb topping and bake. SO easy!

I just have to know…are you a butter cutter inner, or a butter cutter inner rebel like me? Never thought about it before? Yeah, I figured I was the weird one with butter cutter inner issues.

Heavenly Homemaker's Club Members: Access your homepage and all your fantastic resources here! Not a member yet? Please join us!

Healthy Strawberry Shortcake

June 10, 2010 by Laura 65 Comments

This post may contain affiliate links which won’t change your price but will share some commission.

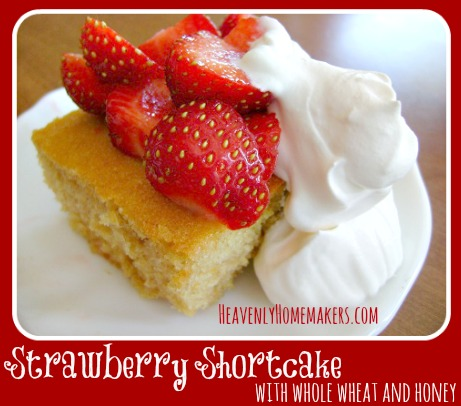
When fresh strawberries are in season, nothing much tastes better than Strawberry Shortcake. This variation of Strawberry Shortcake is lightly sweetened with honey and made with whole wheat flour. We had the entire cake eaten up in just a few minutes!

strawberry_shortcake_2

Yum

 Strawberry Shortcake

1 1/3 cups whole wheat flour (I use freshly ground whole wheat)
1 teaspoon baking powder
2 eggs
1/2 cup honey
1/3 cup oil (I use coconut oil)
1 teaspoon vanilla extract
1/2 cup milk

4-5 cups of fresh, sliced strawberries
Whipped cream (fresh cream whipped to form soft peaks, with a bit of stevia added for sweetness)

Mix together flour and baking powder. Add in eggs, honey, oil, vanilla and milk. Stir well (or mix well with hand mixer). Pour into a well buttered 8×8 inch baking pan. Bake at 350° for 20-25 minutes.

Allow cake to cool completely. Top with fresh strawberries and whipped cream. (9 servings)

Strawberry Shortcake with Whole Wheat and Honey

If you’d like more ideas for what to do with all the fresh strawberries that are in season right now, you may want to take a look at this fun recipe list!

Heavenly Homemaker's Club Members: Access your homepage and all your fantastic resources here! Not a member yet? Please join us!

Healthy Celebrations: Double Lemon Cupcakes (a guest post!)

May 11, 2010 by Laura 13 Comments

This post may contain affiliate links which won’t change your price but will share some commission.

healthy_celebrations_med

Yum

Please join me in welcoming Holly, who is guest posting today to share her awesome Double Lemon Cupcake recipe with us! I can’t wait to give these a try!
—————————————————–

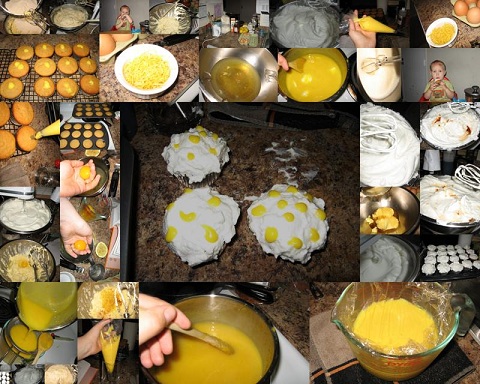
Hello Heavenly Homemakers readers! My name is Holly. I am a Christian, a military wife and momma to an 18 month old son, and I am really excited to be sharing a recipe (or three) with you. The past year I have been learning about traditional foods; I have reinvented how I shop, cook, eat, and feel about food. The most recent milestone in this journey was birthday cake. Remember when Laura asked us to choose between chocolate and vanilla? Well, to celebrate my 24th birthday I chose option C.  

I wanted  a birthday dessert that satisfied my emotional desire for cake, but also fulfilled my sensible need to eat wholesomely. I knew that if I did not satisfy both halves I would be left either feeling like a whole wheat martyr or a big sugar-filled failure. Yuck. Blessedly, I found a happy medium with these  sweet and tangy cupcakes. 

lemon_cupcakes_6

Let me just say that I am normally very relaxed baker, I never sift. I fudge the temperatures and can be lazy with the mixing. But for this recipe, if I say sift I do mean sift. The same goes for temperatures and times. It may seem fussy for some of you, but the results are rewarding. 

Double Lemon Cupcakes


3 c whole wheat flour
1 tbsp baking powder
½  tsp sea salt
1 c butter, room temperature
1 c orange blossom honey
4 large eggs, room temperature
the zest of 3 lemons (I recommend organic because you are consuming the peel), plus 2 tbsp lemon juice
1 tsp vanilla extract
1 c buttermilk 

Preheat oven to 325° F. Butter and flour the inside of two round cake pans or two dozen muffin tins. Zest the lemons (just the yellow part, try to avoid the white pith because it is bitter), you want this to be very fine. Sift the dry ingredients together and set aside. Add the lemon juice to the buttermilk. 

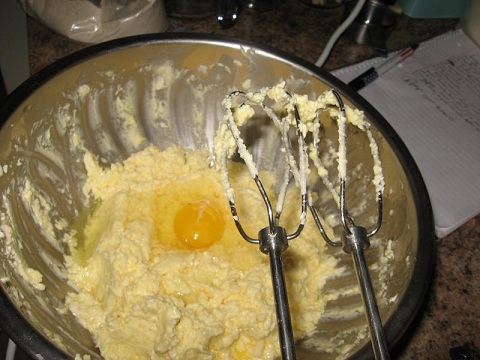
Cream the butter and the honey until they are nice and fluffy. Add the eggs one at a time, until well mixed in. Add the zest and vanilla. Add the flour and buttermilk in three parts. Beat until just combined. Pour the batter into the prepped pans and bake until golden brown and they pass the toothpick test, 30-35 minutes for a cake, 25 minutes for cupcakes. 

lemon_cupcakes_2

While the cakes are baking, mix up a nice batch of… 

Lemon Curd   

8 large egg yolks
Finely grated zest of 2 lemons
½  c plus 2 tbsp lemon juice (about 3-4 lemons)
½ c orange blossom honey
teeny pinch of salt, about 1/8 tsp
¾ c unsalted butter (10 tbsp or 1 ¼ sticks) cold, cut in pieces  

Wisk together all ingredients except butter and salt in a medium saucepan. Cook over medium-high heat, stirring constantly with a wooden spoon. When the mixture registers 160° F on an instant-read thermometer and is thick enough to coat the back of the spoon, remove from heat. This should take about 8-10 minutes. If you don’t have a thermometer, just do what I did and use good quality eggs. 

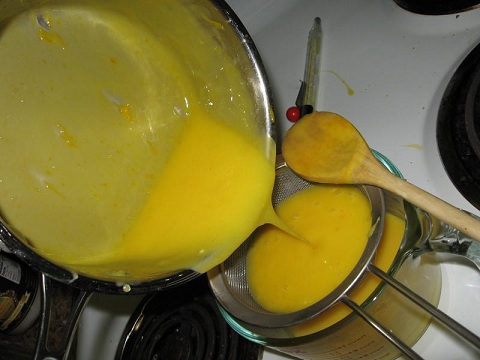
Remove pan from heat and add salt and butter, one piece at a time, stirring until smooth after each addition. Strain through a sieve. It is normal for small bits of cooked egg to strain out, don’t worry you did it right. :) Cover this with plastic wrap and let it cool in the fridge at least one hour.

lemon_cupcakes_3  

Fill your cupcakes with lemon curd. You can use a pastry bag and large tip, or poke a hole with the wrong end of a wooden spoon and use a plastic baggie with a corner snipped off. Spread extra curd on top of the cupcake. If you’re making a cake, spread the lemon curd between the two layers. Then whip up your frosting. 

Soft and Fluffy Frosting

8 egg whites
¾ c orange blossom honey
1 tsp vanilla extract. 

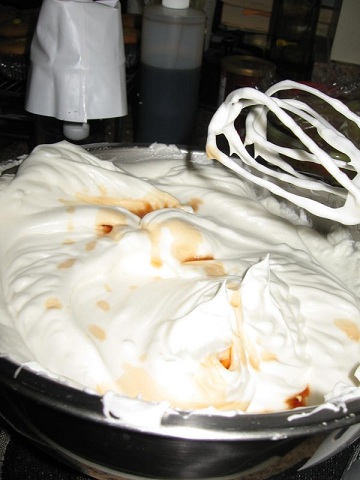
Combine egg whites and honey in a large heat-proof mixing bowl (or the bowl for your stand mixer if you have one and it’s heat-proof) set over a pan of simmering water. Wisk rapidly for two minutes  Make sure your water does not boil! You will end up with scrambled egg frosting and it will be gross. Cook this until it reaches 160° F on an instant-read thermometer (or if like me you don’t have one, use good eggs and cook for two minutes). Remove from the heat and beat on your mixer’s highest speed for  until soft and fluffy, about 7-9 minutes. Beat in the vanilla. Use this frosting immediately. 

lemon_cupcakes_4

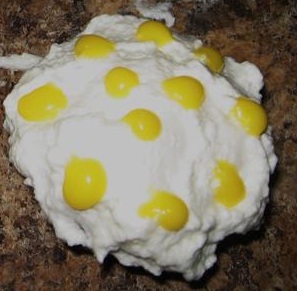
I used (some of the) leftover curd to decorate the tops of some of the cupcakes. Or you could eat it with a spoon and not tell anyone there were leftovers. I won’t look. 

lemon_cupcakes

Thanks Laura for letting me share my recipes with you and your readers!

Holly wanted me to be sure to let you know that the curd will keep in the fridge about 3 days, but it is best served in the first 24-36 hours, and the frosting should be used immediately after it’s made, because it will start to deflate after a few hours. It’s still edible for several days, but the quality goes down after 6-8 hours.
——————————————————-

This post is linked to Works for me Wednesday.

Heavenly Homemaker's Club Members: Access your homepage and all your fantastic resources here! Not a member yet? Please join us!

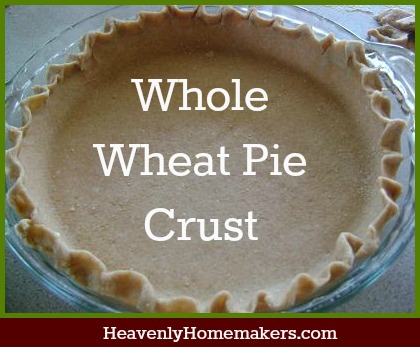
Whole Wheat Pie Crust

April 20, 2010 by Laura 247 Comments

This post may contain affiliate links which won’t change your price but will share some commission.

Making pie crusts has never come easy to me. In fact, if you recall…I put out an all call many months ago and used YOUR recipes to put together the free ebook, For the Love of Pie!

Since that time, I have discovered a delicious and healthy way to make whole wheat pie crust! I am SO excited!

The secret ingredient is Tropical Traditions Palm Shortening. We all know to stay away from regular shortening (like crisco) right? I’ve tried making pie crusts with butter, and that works too (especially in these Mini Apple Pies). But, since I tried using Palm Shortening from Tropical Traditions, I feel like my days of frustration with pie crust may be over. When I tried making a whole wheat crust with Palm Shortening, it formed perfectly. It rolled out like a dream. I could be heard shouting out Whooops and Woohoos from my kitchen for miles around. I’m telling you, this from the lady who never could make a pie crust.

Here’s how you make the crust…

Whole Wheat Pie CrustYum

1 1/4 cup whole wheat flour
1/4 teaspoon sea salt
1/3 cup Palm Shortening (or butter)
4-5 Tablespoons cold water

I found this recipe to work best in my food processor. If you don’t have a food processor, you can cut the shortening into the flour with a pastry blender.

Place flour, salt and shortening in food processor. Blend until shortening is cut throughout the flour and the mixture resembles crumbs.

pie_crus_palm_shortening_three_sm

Admire the crumbs…

pie_crust_palm_shortening_8sm

Begin adding water and processing (or stirring). If your dough looks like this, it doesn’t have enough water in it yet…

pie_crust_palm_shortening_five_sm

Add little bits of water until your dough will form a nice round ball.

pie_crust_palm_shortening_sm9

Roll out your dough  on a well floured surface. Fold it in half.

pie_crust_palm_shortening_10sm

Then fold it in half again.

pie_crust_palm_shortening_11sm

Place your dough in your pie dish with the folded corner in the center.

pie_crust_palm_shortening_12sm

Unfold the dough, shape it into the dish and make the edges pretty.

Whole Wheat Pie Crust

Here’s a little video tutorial I made that will maybe (hopefully) give you an idea about how I shape my pie crust. There are all kinds of different ways to make it pretty…this is just the way my grandma taught me.

Poke your dough a few times with a fork to keep it from poofing up in the oven.

Bake at 450° for 10-12 minutes or until the crust is golden brown.

Mmmm…pretty dutch apple pie! (I just used this Mini Apple Pie filling and crumb topping recipe with the crust for this pie…in case you feel like you must try it right NOW!)  I must say, a glass of milk helps this pie go down real nice.

apple_pie_palm_shortening_sm


Heavenly Homemaker's Club Members: Access your homepage and all your fantastic resources here! Not a member yet? Please join us!
« Previous Page

Join Our Community!

 Facebook Twitter RSS E-mail Instagram Pinterest

Popular Posts

~ Will All of the Real Moms Please Stand Up?
~ Easy! Stir-and-Pour Whole Wheat Bread
~ How to Make Gatorade
~ 31 Real Food Breakfast Ideas
~ Dear Teenage Girls...
~ When Mom Takes a Step Back
~ The Inexpensive Health Insurance We Love!
~ Let's Talk Real Food Grocery Budgets

Check out our latest posts!

  • Easy Meatballs with Sweet Sauce (Freezer Friendly)
  • How to Make Uncrustables
  • The Easiest No-Bake Cheescake
  • Do I Still Buy Organic Food?
  • How I Shop and Budget for Our Large Family
Home  ~  Simple Meals  ~  Club Membership  ~  Shop  ~  Privacy Policy  ~  Disclosure  ~ Contact

Copyright © 2023 · Beautiful Pro Theme on Genesis Framework · WordPress · Log in