Heavenly Homemakers

Encouraging women in homemaking, healthy eating and parenting

  • Home
    • About
    • FAQs
  • Recipes
    • Bread and Breakfast
    • Condiments
    • Dairy
    • Main Dishes
    • Side Dishes and Snacks
    • Desserts
    • Gluten Free
    • Instant Pot
    • Crock Pot
    • Heavenly Homemaker’s Weekly Menus
  • Homemaking
    • Real Food Sources
  • Store
  • Contact
    • Advertise
    • Disclosure
    • Privacy Policy
  • Simple Meals
  • Club Members!

How to Make Ricotta Cheese

March 19, 2009 by Laura 37 Comments

This post may contain affiliate links. For more information, please see our disclosure policy.

Here is the final post in my mini series “What I Can Squeeze out of Two Gallons of Milk”. If you recall…with two gallons of raw milk, I was able to make mozzarella cheese…fresh butter…and now…ricotta cheese! 

Ricotta cheese is made with the leftover whey from your cheese making process. It is SO easy. I am so amazed that after I’ve finished making mozzarella cheese…there’s still ricotta cheese lurking in the whey! (What smart person discovered that…I want to know?)

To make Ricotta Cheese:

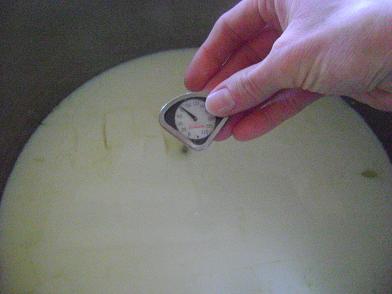
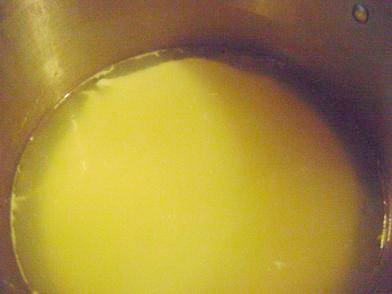
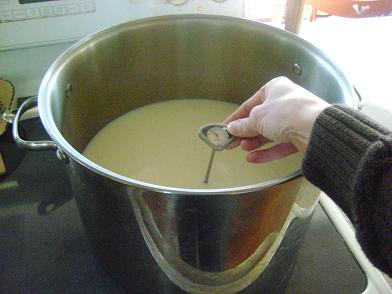
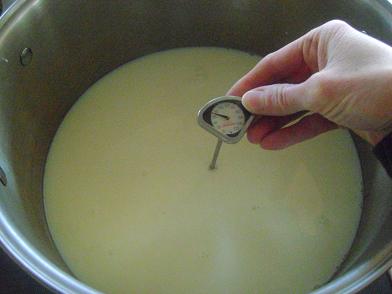
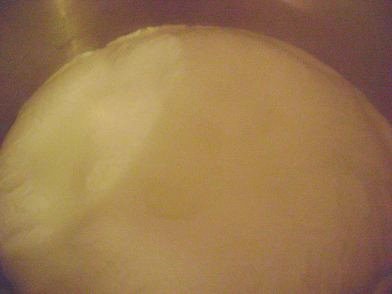
Pour all of the whey left from making your mozzarella cheese into a large stock pot. Heat it to 170°. Try to keep it right around that tempurature for a minute or so…then remove it from the heat. It looks something like this:
ricotta3sm.JPG

Yum

I apologize for the quality of this picture. It’s…yucky looking. That’s what happens when you stick your camera inside a pot of almost boiling whey. Look closely to TRY to see that the whey is bubbly with a thick layer of white froth on the top. Can you see it? Ah well…thanks for trying.
ricotta2sm.JPG
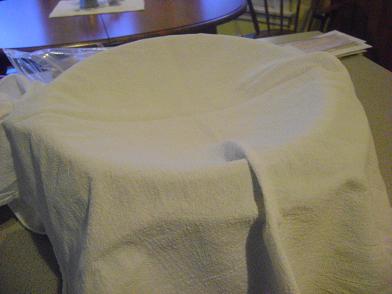
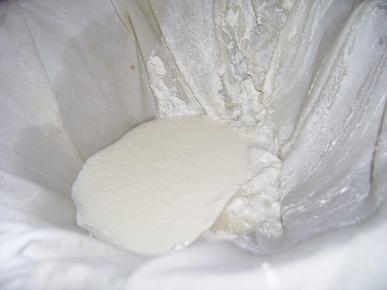
Pour your bubbling whey into a strainer lined with a tea towel. (You will put something under your strainer to catch the liquid, right?)  Allow the liquid to strain through the tea towel. This takes a little manuevering because the ricotta starts to line the bottom of the tea towel and doesn’t allow the liquid to go through as easily.
ricotta1sm.JPG
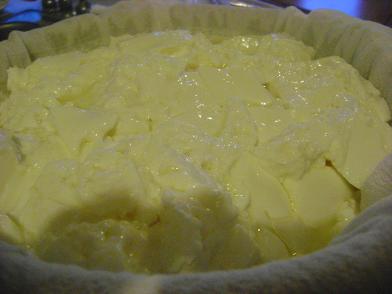
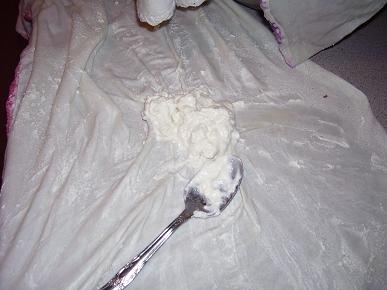
Use a spoon and scrape all the ricotta off of the tea towel.
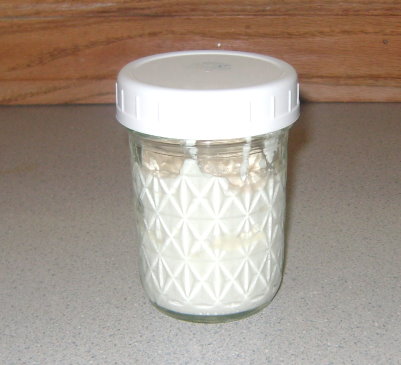
ricotta4sm.jpg
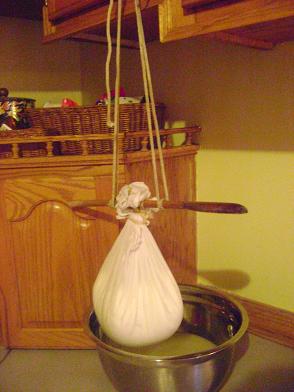
Place your ricotta cheese into a jar for storage. Stuffed Manicotti anyone?

So, what do you think? Not too hard, huh? 

What recipes do you like making with ricotta cheese?
——————————————-

Here’s what I need you to do now. Tell me what you’d like for me to talk about next in the Feeding the Family series! Thanks!
—————————————-

This post is linked to Frugal Fridays.

Heavenly Homemaker's Club Members: Access your homepage and all your fantastic resources here! Not a member yet? Please join us!

High Five Recipes: Peanut Butter Honey Fudge

March 16, 2009 by Laura 74 Comments

This post may contain affiliate links. For more information, please see our disclosure policy.

High Five Recipes 2

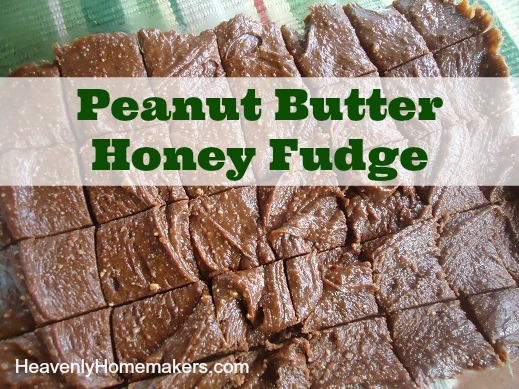
You know me…I love me some fudge. This is by far the easiest fudge I have ever made.  And the healthiest.

Peanut Butter Honey Fudge

Peanut Butter Honey FudgeYum

1 cup natural peanut butter (creamy or crunchy)
3/4 cup honey
1/2 cup milk chocolate chips

Combine all ingredients in a small saucepan. Cook and stir over low heat until the chocolate chips are melted and blended in (about 30 seconds).

Spread fudge into an 8×8 inch pan. Refrigerate until solid. Cut into 1 inch squares.
————————————

Now, you might be thinking…3/4 cup of honey?! That’s going to take up a lot of my honey! (Yes, Pooh Bear, you’re right.)

But you cut this fudge into little squares, and it really does go a long way. OOh, and it’s so simple and yummy! (So sorry all you peanut allergy friends out there!)

This is a super simple dessert to throw together real quickly to take somewhere…no baking involved. Hardly any time involved. Very little mess involved.

Oh, and you’ve gotta love a High Five Recipe with only THREE ingredients!! :)

Heavenly Homemaker's Club Members: Access your homepage and all your fantastic resources here! Not a member yet? Please join us!

How to Make Fresh Butter

March 12, 2009 by Laura 128 Comments

This post may contain affiliate links. For more information, please see our disclosure policy.

If you recall, last week when I showed you how to make mozzarella cheese, I mentioned that if you’re making it from raw milk, you skim off the cream and save it to make butter. HERE is one way to make butter!

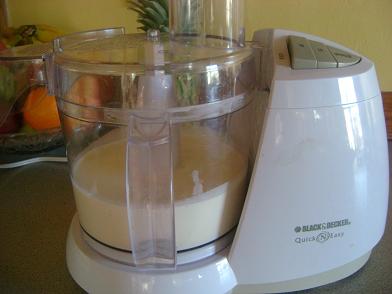
butter1sm.JPG

Yum

Fill your food processor 1/3 full of heavy cream. Be sure not to fill it more than 1/3 full…it will probably not turn into butter if there’s too much in the container.

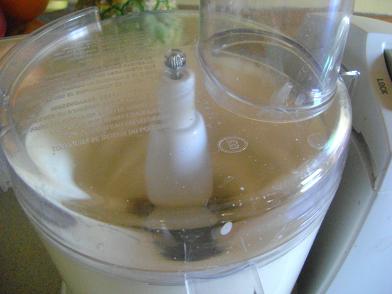
butter3sm.JPG
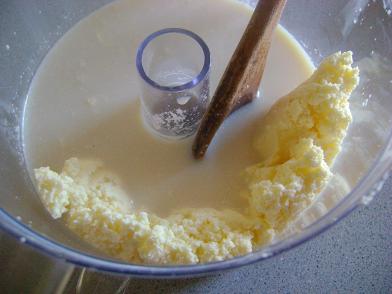
Turn your food processor on high…and then flee the room. (It’s really loud and annoying!)  The food processor will whip and whip and whip the cream until it turns it into butter. It should take somewhere between 8-15 minutes.

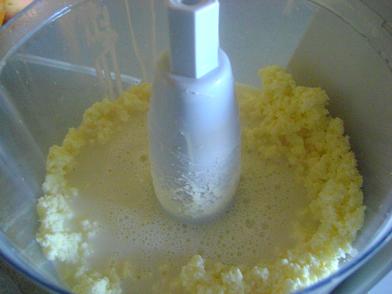
butter4sm.JPG
Once the fat has been “pulled out” of the cream, it should look something like this…and you can turn off the food processor.

butter5sm.JPG
Pull all the solid pieces and squish them together. 
Place the solids in to a clean bowl.

butter6sm.JPG
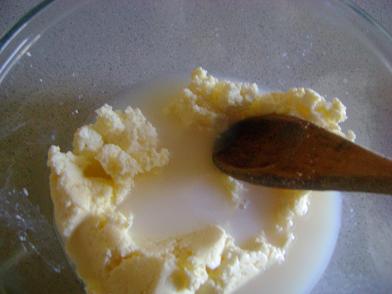
 Run some clean COLD water into it.

butter7sm.JPG
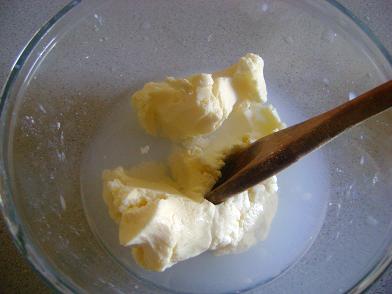
Clean the butter with the cold water by squishing it with a wooden spoon until all the liquid comes out of it. Repace the cold water 2-3 times as you clean it.

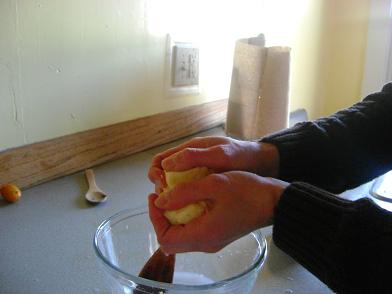
butter8sm.JPG
Squeeze the excess water out of the butter and shape it with your hands.

butter9sm.JPG
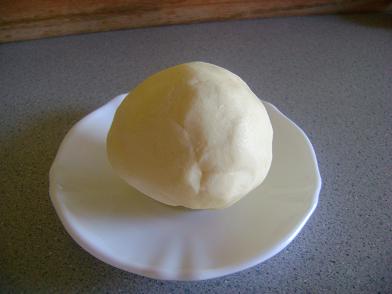
Ah, look…a lovely little butter ball.

You can add salt to the cream if you want salted butter…this will also be a preservative, making the butter last longer.

OR…if you don’t have a food processor and want to have a little family fun…put your cream into a jar and shake it like crazy. Pass the jar around, and take turns shaking it. (I’ve tried shaking it all by myself once when no one was around to help…and I thought my head and arms would fall off from shaking the jar so much all by myself. I don’t think I ever got butter out of that jar.)

Have you ever made butter before?  Isn’t it COOL to see the butter form out of the cream!? 

I LOVE how with just one little gift from a cow (or goat or whatever) you can make SO MANY great yummy things!

P.S. Even if you don’t have fresh cream…go buy some heavy whipping cream at the store and try making butter. It’s just…cool.

Next week…RICOTTA CHEESE! :)

(Join us Saturday for the little Green Project!)
——————————————-

This post is linked to Frugal Fridays.
Heavenly Homemaker's Club Members: Access your homepage and all your fantastic resources here! Not a member yet? Please join us!

High Five Recipes: Ranch Potato Wedges

March 10, 2009 by Laura 47 Comments

This post may contain affiliate links. For more information, please see our disclosure policy.
High Five Recipes 2

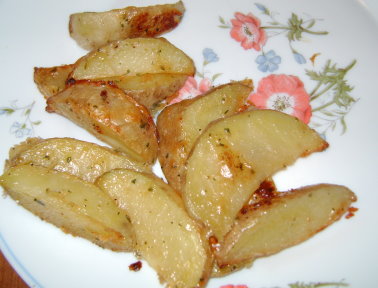
Here’s a simple recipe that you can serve with just about everything! Really…these Ranch Potato Wedges are a great side dish with any meat (steak, chicken, hamburgers, meatballs, fish…).

They are a perfect thing to make to go with your lunch…they are a super easy side dish to make with dinner. Good grief…you could even scramble up some eggs with them and serve them at breakfast or brunch.

Like many of the High Five Recipes…this recipe takes just a few minutes to prepare.

Ranch Potato WedgesYum

4 medium sized potatoes
1 Tablespoon mayonnaise (I use Hain Safflower mayonnaise)
3 Tablespoons Ranch Dressing Mix

Scrub potatoes and slice into eight wedges each. Stir together mayonnaise and ranch dip mix in a large bowl. Toss potato wedges in mixture until coated. Lay wedges singularly on a cookie sheet. Bake at 400 degrees for 35-40 minutes.

ranchpotatowedgessm.jpg
I am SO hungry now for a meatball with Ranch Potato Wedges!

What do you think…could you serve these with just about anything? What would you serve them with?

The next High Five Recipe I’ll share is the promised Peanut Butter Honey Fudge!

Heavenly Homemaker's Club Members: Access your homepage and all your fantastic resources here! Not a member yet? Please join us!

High Five Recipes: Italian Stew with Green Beans

March 6, 2009 by Laura 6 Comments

This post may contain affiliate links. For more information, please see our disclosure policy.

High Five Recipes 2

Italian StewYum

1 pound chopped stew meat
6-8 medium potatoes, scrubbed and cut into bite sized chunks
2 cups frozen green beans
2 T. dry Italian dressing mix

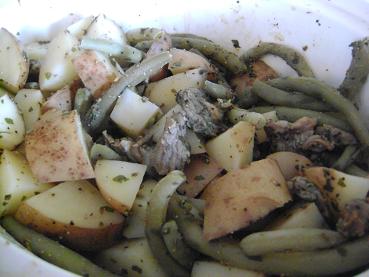
Stir together all ingredients in a crock pot. Cook on low for 3-5 hours.

italianstewsm

Heavenly Homemaker's Club Members: Access your homepage and all your fantastic resources here! Not a member yet? Please join us!

How to Make Mozzarella Cheese

March 5, 2009 by Laura 222 Comments

This post may contain affiliate links. For more information, please see our disclosure policy.

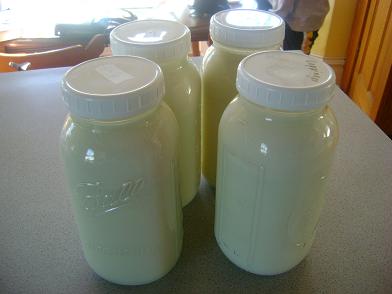
Want to know what makes me excited (besides little plastic drawers)? The fact that with only two gallons of  milk…I can squeeze out THREE great dairy products. With the two gallons of raw milk you see pictured below, I was able to make three eight ounce balls of mozzarella cheese…a half pound of butter…and about a cup of ricotta cheese. 

Talk about milking something for all it’s worth! (Whoa…very cheesy joke.)  (Which I feel is appropriate because this post is about making…cheese. Cheesy-ness abounds.)  Anyway…

Even if you don’t think you’ll ever make your own mozzarella cheese…you may still have fun reading about how it’s made!

mozzarella10sm.JPG

Yum

To make Mozzarella Cheese you will need:

  • Two gallons of milk (I use raw, organic) (As far as I understand, you can use pasteurized and homogenized milk too…although you won’t get the butter and ricotta out of it since the cream doesn’t rise to the top.)
  • 2 teaspoons citric acid dissolved in 1/4 cup water
  • 1 cup cultured buttermilk
  • 30 drops vegetable rennet mixed with 1/4 cup water (I get my rennet from Azure Standard or Wilderness Family Naturals.)
  • 1 gallon water
  • 1/2 cup sea salt
  • Large stock pot
  • Long knife
  • Food thermometer
  • Strainer
  • Tea towels

Okay, ready to make cheese? You’ll need to block out about two and a half to three hours of time…but most of that time is wait time, not work time!

mozzarella11sm.JPG
First, if you’re using raw milk…skim off the cream. You know I’m usually big on leaving in the fat…but the fat separates itself out of the cheese while you’re making it for some reason. So, skim it off, put it into another jar and save it for making butter!

mozzarella13sm1.JPG
Pour the milk into a large pot (I use my big stock pot). Stir in the buttermilk and citric acid mixed with water. Heat to 91 degrees. Remove from heat, put the lid on and let it sit for one hour. 

mozzarella14sm.JPG
Add the rennet mixed with water to the milk. Allow it to sit for at least 15 minutes, or until the milk solidifies slightly and it able to be “sliced”.

mozzarella15sm.JPG
Use a long knife to “cut the curd” into one inch squares. 
Let the curd sit about five minutes.

mozzarella16sm.JPG
Heat the curd to 91 degrees. Remove from heat, place the lid on the pot and allow it to sit for one hour. After one hour, the curd and the whey should have separated.

mozzarella17sm.JPG
Place a strainer into another large pot and cover it with a tea towel.

mozzarella19sm.JPG
Pour the curds into the strainer/tea towel…straining out as much whey as you can. Save the whey!!

mozzarella20sm.JPG
Rig up something fancy like this to hang your curds, making sure you have a bowl underneath to catch more whey that will drip out. I usually leave mine overnight as it takes several hours for all of the whey to be removed.

mozzarella3sm.JPG
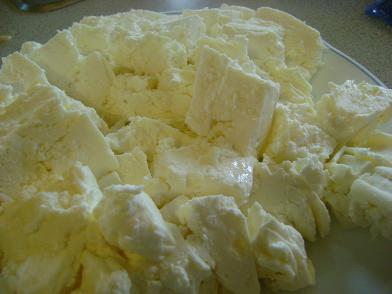
In the morning…remove the tea towel. Wow, a big hunk of cheese! Now…the fun part begins!

In your large pot…heat one gallon of water mixed with 1/2 cup salt. (Hint:  I use Redmonds Real Sea Salt and it can be too chunky if I don’t try to dissolve some of it first. Therefore, I put my water and salt into a jar and shake it well, then pour it into the pot. The residue from the salt remains in the jar, leaving only salty water…without chunks!

Heat the salt water to 170 degrees. Meanwhile… 

mozzarella5sm.JPG
Cut the cheese (oh, my boys think it’s SO FUNNY when I say that…) into 1-2 inch squares.

mozzarella6sm.JPG
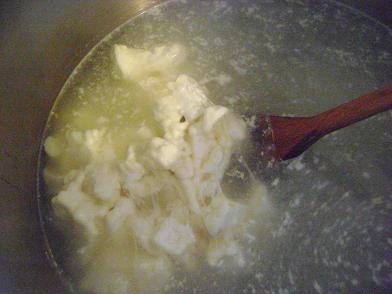
Once your water reaches 170 degrees, remove it from the heat and dump in your cheese. Kind of stir it around for a minute or two until the cheese softens and begins sticking together.

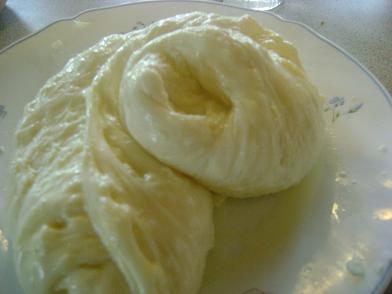
mozzcheese1sm.JPG
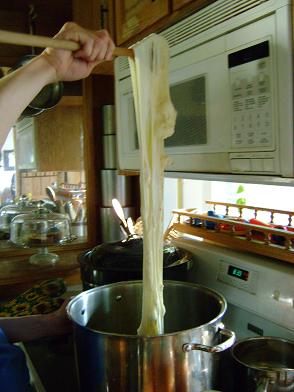
Use a big wooden spoon to catch the cheese from the water. It should start sticking together and forming a blob on your spoon. Stretch the cheese.  This part is SO COOL!! Dip it down into the hot water every once in a while to reheat the cheese so that it will continue to stretch, but try not to keep it in the water too long. Keep on stretching and dipping the cheese until it is shiny. This stretching process will take about 8 minutes. (Every once in a while I get a batch of cheese that just won’t stretch. It’s a bummer. The cheese still tastes fine…it just doesn’t look as pretty, shred as well, or melt as nicely. We eat it anyway!)

mozzarella7sm.JPG
After you’ve stretched your cheese and it has formed a big long shiny wad, take it out and put it onto a plate. 

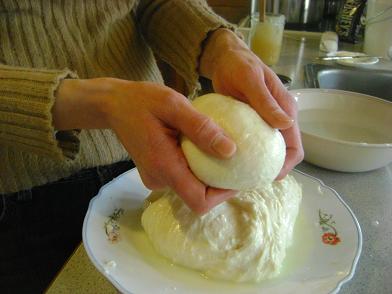
mozzarella8sm.JPG
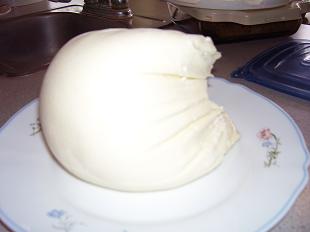
I divide my cheese into three blobs. Squeeze out the excess water and shape the cheese into nice balls. 

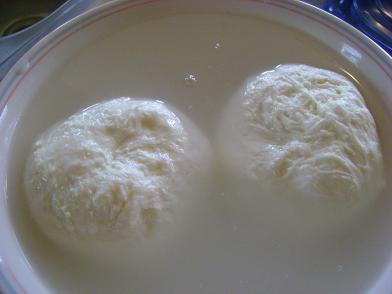
mozzarella9sm.JPG
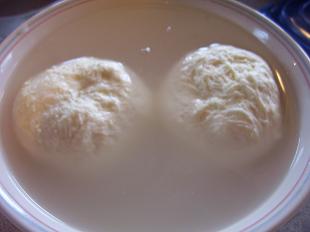
Place the balls into a bowl of cold water. This will take out the heat and help them hold their shape.

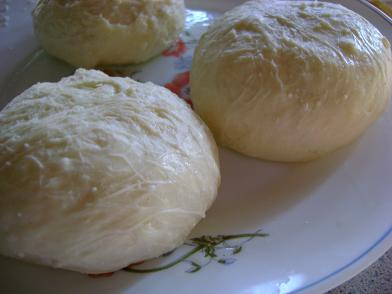
mozzcheese2sm.JPG
Tada!!! Mozzarella Cheese! 

I’ll take time during my next two Frugal Friday posts to share how I make butter with the leftover cream…and ricotta cheese with the leftover whey!

So…have you ever made cheese before? Do you think this process looks like something you could do? You wanna come over and make cheese with me some time? (Then we can say “cut the cheese” together and laugh like we’re really funny.)

———————————————-


Heavenly Homemaker's Club Members: Access your homepage and all your fantastic resources here! Not a member yet? Please join us!

High Five Recipes: Lunchtime Salmon Patties

March 2, 2009 by Laura 71 Comments

This post may contain affiliate links. For more information, please see our disclosure policy.

High Five Recipes 2

As I’ve been developing this idea for High Five Recipes…I am AMAZED at how many yummy dishes you can make with five ingredients or less. Cooking healthy food really, really is simple. I have a big (and ever growing) list of recipes to share with you ranging from main dishes to side dishes to desserts and snacks…all that only require FIVE or less high quality ingredients!!

I mentioned here that we’re trying to add more fish to our diets. A friend of mine told me about how she makes Salmon Patties and what an EASY lunch they are. Ooh, she was right.

These Salmon Patties are SO easy and super delicious. I used Rubinstein’s Wild Alaskan Pink Salmon. (This is a very inexpensive dish to make!)

Not only are these a perfect lunch idea…it’s a great “rescue me” dinner too if you’re on the run in the evening since you don’t have to plan ahead to thaw meat for this dish!

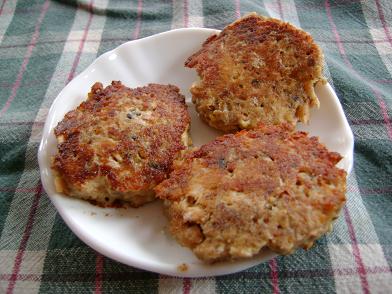
Lunchtime Salmon PattiesYum

14 oz can salmon
1 egg
1/2 cup bread crumbs
1 t. lemon juice
oil for cooking (I use palm shortening or coconut oil)

In a bowl, mix together salmon, egg, bread crumbs and lemon juice. (You can mix the bones from the salmon in if you’d like…they cook right in and are good for you. However, I get a little wigged out about them and take out the biggest ones.)

Heat a small amount of oil in a skillet. Spoon tablespoon sized balls of the salmon mixture into the oil, flatten and cook for about five minutes, turning once. The salmon patties should be golden brown.

salmonpatties2sm.JPG

If you’re not a big fan of fish…I encourage you to give this simple recipe a try. I think you’ll probably be surprised!! And…this is one of those recipes that not only takes five ingredients…it only takes about five minutes to prepare. Yay!

Grocery List

Heavenly Homemaker's Club Members: Access your homepage and all your fantastic resources here! Not a member yet? Please join us!

Introducing…High Five Recipes

February 27, 2009 by Laura 22 Comments

This post may contain affiliate links. For more information, please see our disclosure policy.

Would you give me a high five if I told you that I’m planning to share more healthy recipes that are super simple to make? (Or would you bowl me over with a big bear hug? ‘Cause that would be okay too.)

Beginning next week I’ll begin to share some new recipes with you that I’ve labeled: High Five Recipes.

High Five Recipes are…

High Quality Recipes that include FIVE Ingredients or less!!

High Five Recipes 2

I hope you’re as excited about it as I am.

Not only are there only five basic ingredients….most of the recipes only take five minutes to put together.

Simple and healthy…and low in cost.

Cooking healthy has never been easier.

Ah, skip giving me a high five. Let’s all have a group hug.

:)
—————————————–

Help me out here! What kind of recipes are you most interested in me posting? Is lunchtime a challenge? What kinds of High 5 Recipes would help you out the most?!

Heavenly Homemaker's Club Members: Access your homepage and all your fantastic resources here! Not a member yet? Please join us!

Easy Whole Wheat Pancakes

February 16, 2009 by Laura 178 Comments

This post may contain affiliate links. For more information, please see our disclosure policy.

No matter what pancake recipe comes my way, I find that I keep falling back on my old stand by pancakes. They are so good, so good for you, and so easy

Easy Whole Wheat PancakesYum

1 cup whole wheat flour (or whatever grain you want)
1 cup cultured buttermilk or regular milk
1 egg
3 Tablespoons melted butter (or oil)
1/2 teaspoon baking powder
1/2 teaspoon sea salt

Whisk together all ingredients. Cook pancakes on a well buttered, hot skillet or griddle, flipping once bubbles begin to form. Serve with real maple syrup, applesauce, jelly, or any of your favorite pancake toppings!

Easy Whole Wheat Pancakes

I triple this recipe for our family of six.  These pancakes also freeze well. Frozen pancakes reheat great in the toaster!

And – add blueberries or chocolate chips for a yummy variety!

My kids devour these pancakes, and they are hearty enough to keep them full all morning long.

Move over IHOP!!

P.S. These pancakes taste best when made on a cast iron griddle. I have this Lodge 20-Inch Cast Iron Griddle and love it so much! I can make pancakes three times as fast because it covers two burners. Check it out here (affiliate link).

cast iron griddle

Heavenly Homemaker's Club Members: Access your homepage and all your fantastic resources here! Not a member yet? Please join us!

Celebrate with Strawberry Yogurt Fruit Dip

February 9, 2009 by Laura 20 Comments

This post may contain affiliate links. For more information, please see our disclosure policy.

You know how I love to play around with ingredients and come up with fun new recipes right? Over the weekend I was hungry for some kind of fruit dip, but wanted to see if I could come up with a pink one for Valentine’s Day.

Strawberries…I thought. Strawberries make things pink. They also make things taste yummy.

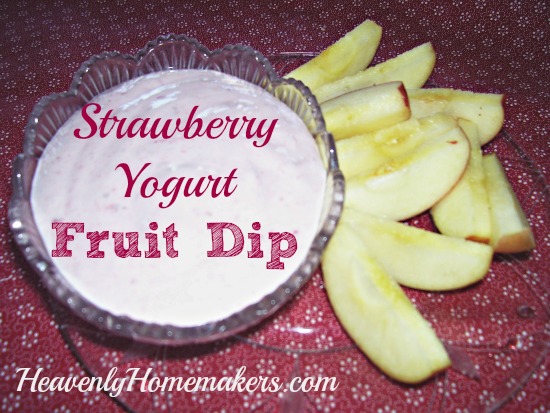
We all loved the way this Strawberry Yogurt Fruit Dip turned out. All we had for dipping was apples, but I think grapes and kiwi would taste yummy in this dip too! Oh, and it was so easy to make that Elias (age 7) practically made it by himself.

Strawberry Yogurt Fruit Dip

1/2 cup cream
3/4 cup plain yogurt
1/4 t. vanilla
6-7 drops liquid stevia (or a little bit of sugar if you prefer)
3/4 cup strawberries (we used frozen/thawed)

Whip the cream until soft peaks form. Add remaining ingredients and continue to whip until strawberries are obliterated thoroughly mixed in. Serve with sliced fruit.

Strawberry Yogurt Fruit Dip

Yum

This dip is so refreshing…and kinda addicting. We went through a LOT of apples this weekend.

And, I also may or may not have licked the bowl when we were out of apple slices.

I am so making this again on Valentine’s Day. What treats are you making for Valentine’s day?

Heavenly Homemaker's Club Members: Access your homepage and all your fantastic resources here! Not a member yet? Please join us!
« Previous Page
Next Page »

Join Our Community!

 Facebook Twitter E-mail Instagram Pinterest

Popular Posts

~ Will All of the Real Moms Please Stand Up?
~ Easy! Stir-and-Pour Whole Wheat Bread
~ How to Make Gatorade
~ 31 Real Food Breakfast Ideas
~ Dear Teenage Girls...
~ When Mom Takes a Step Back
~ The Inexpensive Health Insurance We Love!
~ Let's Talk Real Food Grocery Budgets

Check out our latest posts!

  • Big Family Food and Fun: September 6-12, 2026
  • Big Family Food and Fun: August 30-September 5, 2026
  • Big Family Food and Fun: August 23-29, 2026
  • Big Family Food and Fun: August 16-22, 2026
  • Big Family Food and Fun: August 9-15, 2026
Home  ~  Simple Meals  ~  Club Membership  ~  Shop  ~  Privacy Policy  ~  Disclosure  ~ Contact

Copyright © 2026 · Beautiful Pro Theme on Genesis Framework · WordPress · Log in