Heavenly Homemakers

Encouraging women in homemaking, healthy eating and parenting

  • Home
    • About
    • FAQs
  • Recipes
    • Bread and Breakfast
    • Condiments
    • Dairy
    • Main Dishes
    • Side Dishes and Snacks
    • Desserts
    • Gluten Free
    • Instant Pot
    • Crock Pot
    • Heavenly Homemaker’s Weekly Menus
  • Homemaking
    • Real Food Sources
  • Store
  • Contact
    • Advertise
    • Disclosure
    • Privacy Policy
  • Simple Meals
  • Club Members!

We eat orange cheese again. At least it’s cheese.

January 28, 2016 by Laura 43 Comments

This post may contain affiliate links which won’t change your price but will share some commission.

From grass fed beef to raw, organic milk – I’ve had several requests to share my current real food grocery budget priorities. While I’m working on a comprehensive post that breaks it all down, I’ve discovered some important items to note.

First, I shared that I rarely buy Sucanat any more. I explained all my reasons and shared what we’re doing instead here.

Next, I will let you know that I’ve made some changes in the cheese department.

grated cheddar cheese with block

My extensive research tells me that dairy is best when it is:

  • organic
  • hormone free
  • raw
  • full fat

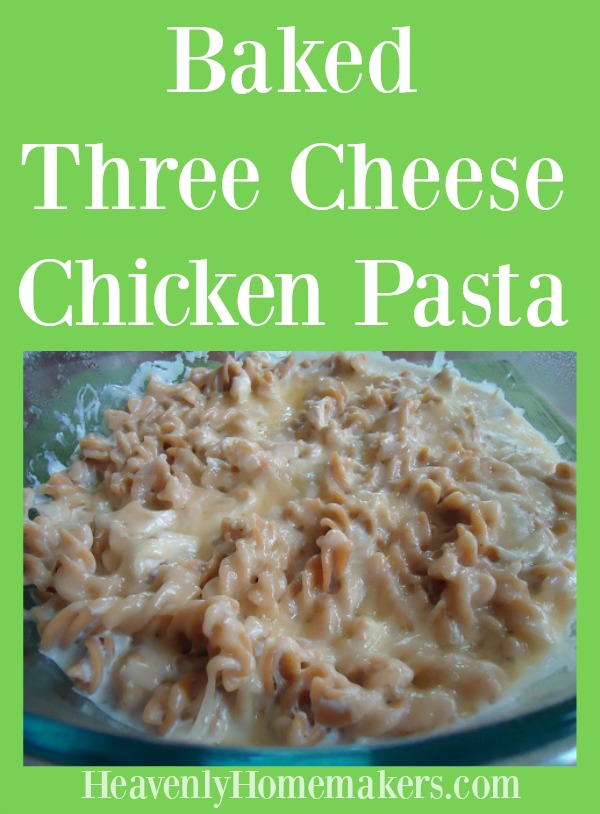
Our family continues to drink raw, organic milk because we have a fabulous source close-by for just $5.00/gallon. It is affordable and our family generally doesn’t drink much milk. But cheese? In this house, the people like their cheese. We eat it in many of our casseroles, on our pizza, in our tacos and quesadillas, and on our scrambled eggs. Plus, the boys like to eat it plain as a snack.

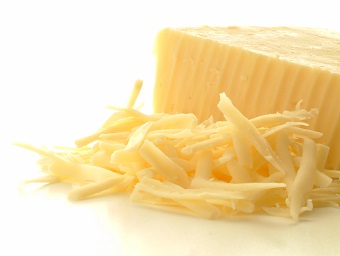
Solving My Cheese Dilemma

For years, I bought a case of Landmark Raw White Cheddar every couple of months from Azure Standard. I love everything about it – except for the price. It’s not at all unreasonable for its quality. But at $5.59/pound, I’ve recently stopped buying it. We eat at least twice as much as we used to, so this is one of the food choices that I compromise on now.

You know what this means right? This means that our cheese isn’t white anymore. Why manufacturers have decided to change the actual color of cheese is beyond me.

cheese

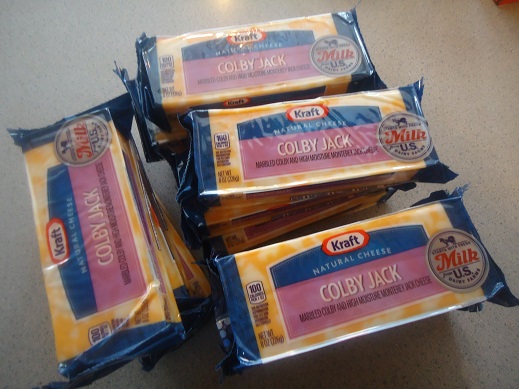
While it might be considered a compromise, I am okay with it because cheese is still real food. This kind isn’t organic. It isn’t raw. But the ingredient label doesn’t make me gag at the store (which I have been known to do on occasion while reading various labels) – so we’re going to stick with this for now. I pick it up in bulk when I find a good price-match. Cheese freezes well, so my freezer door is full-o-cheese.

If you’d like to read more about our Houseful of Teenage Boys Grocery Budget, you’ll find it here. It’s also worth mentioning that we have a son in college and are about to add a second teenage male driver to our monthly car insurance premium (I can’t talk about it). Good food is worth the investment, no doubt! I’m not trading home-cooked meals made with real food ingredients for boxes of poptarts. I’m simply switching some of our pricier real food choices for less expensive real food choices.

The moral of my cheese story:

Just because something works for you now doesn’t mean it will work for you always. Be willing to re-evaluate your family’s situation and needs. But if at all possible, keep your food real. Some things just aren’t worth the compromise.

Tell me about your cheese preferences. Are you forking it over for the good stuff? Or sitting happy with the less-than-perfect-but-still-real-food cheese?
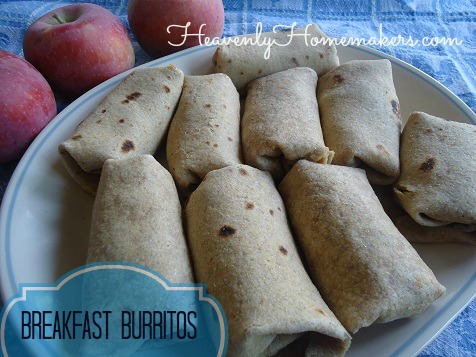
Heavenly Homemaker's Club Members: Access your homepage and all your fantastic resources here! Not a member yet? Please join us!

Baked Three Cheese Chicken Pasta – a Make Ahead Meal

February 21, 2012 by Laura 35 Comments

This post may contain affiliate links which won’t change your price but will share some commission.

This might be the best chicken pasta dish you’ll ever eat.

The chicken was on its last leg.

Well actually, the chicken no longer had legs, as it had already fulfilled its glorious life purpose and had been cooked and made into a rich broth and good healthy meat for my family.

Regardless, legless though he was, the last little bit of cooked chicken in my fridge was indeed on its last leg. It needed to be eaten. It could no longer be left alone…neglected, unused, and unwanted.

(It would appear that, apparently, I felt the need to create some chicken drama when all I really needed to say was:  “I had leftover chicken- so I used it.” I can’t just be normal. What fun would that be?)

So the chicken – it was begging to be used. I needed a quick lunch for the family. But I needed to make the meal in the morning and have the capability to reheat it quickly at lunch time. Therefore, I decided to play with my Three Cheese Garlic Chicken Pasta recipe and make it into a “Make Ahead Meal“. The chicken and I are happy to report that my idea worked, and the meal was delicious.

Actually, the chicken has nothing at all to report because not only is he not on his last leg anymore, he is officially gone.

Why? Why do I say these things? I’m going to just give you the recipe already before I say anything else ridiculous about the chicken.

Baked Three Cheese Chicken PastaYum

Baked Three Cheese Chicken Pasta - a Make Ahead Meal
 
Save Print
Author: Laura
Serves: 6-8
Ingredients
  • 2 cups cooked chicken, cut into bite sized pieces
  • 2½ cups whole wheat pasta
  • 3 cups whole milk
  • ½ teaspoon garlic powder (add more if you like)
  • ½ teaspoon sea salt
  • ¼ cup grated parmesan cheese
  • 4 ounces softened cream cheese
  • 1-2 cups shredded cheddar cheese
Instructions
  1. In a large cooking pot, combine cooked chicken, uncooked pasta, milk, garlic powder, and sea salt.
  2. Cook and stir over medium-high heat until pasta is tender and the starch from the pasta has thickened the milk, creating a creamy sauce.
  3. Remove cooking pot from the heat.
  4. Stir in parmesan cheese and cream cheese until it is mixed throughout.
  5. Pour pasta mixture into a casserole dish. (A 9x13 inch pan works well, or any variety similar in size.)
  6. Sprinkle shredded cheese on top and bake in a 350° oven for about 15 minutes or until cheese is melted.
3.4.3177

If you make this ahead of time, you may need to adjust the baking time so that the casserole will be heated through and through. Also, you can freeze this dish! Simply thaw and bake in a 350° oven for 30-40 minutes.

Baked Three Cheese Chicken Pasta

All this talk about chickens and legs kind of has me hungry for fried chicken legs, which pretty much makes no sense – unless you are in my brain and then it does make sense. Oh people. Be glad you are not in my brain. It is not pretty.

So tell me, what do you do when your chicken is on its last leg? (Yes, I think I am actually talking about leftovers here.)

Heavenly Homemaker's Club Members: Access your homepage and all your fantastic resources here! Not a member yet? Please join us!

Easy Breakfast Casserole

December 19, 2010 by Laura 318 Comments

This post may contain affiliate links which won’t change your price but will share some commission.

I used to think that making a Breakfast Casserole was a big deal, difficult, complicated and tricky. It seems that the recipes I found called for ingredients I never had and they always overwhelmed me.

One day a few weeks ago, I had an abundance of eggs and a few leftover ingredients from other meals so I decided to experiment. What do you know? You can build an egg casserole with just about anything. Quickly. Inexpensively. Without difficulty. I am very excited.

Here’s the beauty of this recipe:  You can build your breakfast casserole however you want.  This recipe has a few “base ingredients”, then you stir in whatever “add ins” you want…then you top it with cheese…then you bake it. It doesn’t get much easier than that! (And did I mention that this recipe is naturally Gluten Free?!)

Care to take a peek at how easy it is to put together this casserole? Here’s a quick video my son helped me make!

Easy Breakfast CasseroleYum

Easy Breakfast Casserole
 
Save Print
Author: Laura
Serves: 6-8
Ingredients
  • 8 eggs
  • ½ cup heavy cream
  • ¼ teaspoon sea salt
  • 1 cup shredded cheese (I use white cheddar, but you can use whatever cheese you want!)
Instructions
  1. Begin your casserole by whisking together the eggs, cream and salt.
  2. Pour the ingredients into a 9x13 inch casserole dish.
  3. Sprinkle in any "add in" ingredients you wish.
  4. Stir them around with a fork.
  5. Top casserole with cheese.
  6. Bake in a 350° oven for 30-40 minutes, or until the middle doesn't jiggle.
3.4.3177

Add In options:

Cooked sausage (I have a wonderful recipe for turkey sausage here.)
Chopped ham
Chopped and cooked bacon
Leftover baked potatoes, cut into chunks or shredded into hashbrowns
Sauteed veggies

Add anywhere from 1/2 cup to 2 cups of any of these “add ins”. You can use a different sized casserole dish, you’ll just need to adjust the bake time. The thicker your casserole, the longer it will take to bake.

breakfast_casserole[1]

Want to make this ahead of time and freeze it? I do it all the time, making for a super easy breakfast!

Prepare the casserole as directed, then freeze unbaked. Place frozen casserole in the fridge overnight. Bake the following morning as directed, adding a few additional minutes if necessary.

Join Simple Meals!

728x90

Want all the work of menu planning to be done for you? We invite you to subscribe to Simple Meals! We equip you – every single week – to put great money and time saving meals on the table – every single night!

Heavenly Homemaker's Club Members: Access your homepage and all your fantastic resources here! Not a member yet? Please join us!

High Five Recipes: Layered Cheesy Salsa Enchiladas

March 18, 2010 by Laura 23 Comments

This post may contain affiliate links which won’t change your price but will share some commission.

Layered Cheesy Salsa Enchiladas are about to become one of your family’s favorite recipes!

High Five Recipes 2

Yum

This recipe can not get any easier! Typically, I have all the ingredients on hand for these Layered Cheesy Salsa Enchiladas. So that means I can throw this together at the last minute whenever we need it. Everyone in my family loves this, which is a huge score!

We prefer flour tortillas, but these enchiladas can also be made with corn tortillas if you have a gluten intolerance or if you just like corn tortillas better.

Layered Cheesy Salsa Enchiladas

High Five Recipes: Layered Cheesy Salsa Enchiladas
 
Save Print
Author: Laura
Serves: 4-6
Ingredients
  • 1 pound ground beef
  • sea salt to taste
  • 2 cups salsa
  • 2 cups shredded cheddar cheese, divided (I use raw white cheddar)
  • 8 whole wheat flour tortillas (or corn tortillas)
Instructions
  1. Brown meat. Stir in salsa and ½ cup of cheese.
  2. Lay 4 tortillas in the bottom of a 9x13 inch baking dish.
  3. Spread half of meat mixture over tortillas.
  4. Layer again with the 4 remaining tortillas.
  5. Spread remaining meat mixture over tortillas.
  6. Top with 1½ cups cheese.
  7. Bake uncovered at 350° for 20-25 minutes.
3.4.3177


Save Print
3.4.3177

Cheesy Salsa EnchiladasThis dish freezes easily too, making it a great make ahead meal!

Freezing Instructions:  Cover dish well and freeze. Thaw and bake as directed above. Or, if the enchiladas are frozen, bake in a 250° oven for one hour, then at 350° for another 30 minutes or until cheese is bubbly.

Serve these Cheesy Salsa Enchiladas with a tossed salad and fresh fruit. This meal is as simple as can be!

creamy salsa enchiladas

I have several more High Five Recipes up my sleeve (not literally of course, but wouldn’t that be fun to see?). Oh, and actually if you haven’t already, you should go read the story of my sleeves because, well it’s always fun to read about sleeves.

It’s here! Check out our amazing Simple Meals program!

728x90

Heavenly Homemaker's Club Members: Access your homepage and all your fantastic resources here! Not a member yet? Please join us!

Healthy Homemade Breakfast Burritos

February 27, 2010 by Laura 41 Comments

This post may contain affiliate links which won’t change your price but will share some commission.

Well, I made the kids mad at lunch today. I stood there making 20 breakfast burritos and wouldn’t even let them eat one.

Instead, they had to eat tuna.   I was heartless enough to actually make them wait until next week to eat the Breakfast Burritos. Hey, I’m just trying to get ahead here. Someday when they become the parent, they too might have a Breakfast Burrito agenda and make their children settle for tuna. And then they’ll come back to me and tell me how sorry they are for being mad about the 2010 Withholding of the Breakfast Burritos.

Someday.

breakfast_burritos_2

Homemade Breakfast BurritosYum

1 pound turkey sausage, browned
12 eggs, scrambled
1 1/2 cups shredded cheddar cheese (I use Landmark Raw White Cheddar)
2 cup salsa (more or less to taste)
20 whole wheat tortillas*

*Tortilla Hint:  If you’re making your own tortillas (and if you aren’t, you really should be, because YUM)…try this tip to make burrito forming so much easier! As you roll your tortillas, cook them on just one side, leaving the other side softer and more flexible.  Also, I find it works best to form the burritos within two or three hours of making the tortillas…before the tortillas have been refrigerated.

To put together the burritos:

Stir together scrambled eggs, cooked sausage, cheese and salsa. (I leave out the salsa at first and make up some salsa-less burritos for a couple of boys in my life who don’t like salsa. Then I add salsa to the remainder of the mix and make a few with salsa for the rest of us!)

breakfastburritos2sm
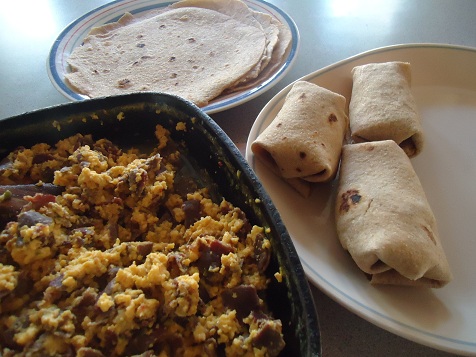
Place a nice spoonful of burrito mixture onto a tortilla.

breakfastburritos3smFold in the ends.

breakfastburritos4smFold up one side, and then the other.

breakfast_burritos

Place burritos in a freezer bag and store in the freezer for up to three months.

To reheat:  Place desired number of thawed or frozen burritos on a baking sheet. Heat in a 350° oven for 10-20 mintues until heated through.

P.S. The children weren’t mad for long. They really like tuna…but just temporarily forgot that fact when they smelled the sausage cooking. They happily ate their tuna and will ever so much more happily eat their Breakfast Burritos some morning next week when I have yet another agenda:  the-hurry-up-and-eat-breakfast-so-that-you-can-start-your-handwriting-and-math…agenda.

Heavenly Homemaker's Club Members: Access your homepage and all your fantastic resources here! Not a member yet? Please join us!

Join Our Community!

 Facebook Twitter RSS E-mail Instagram Pinterest

Popular Posts

~ Will All of the Real Moms Please Stand Up?
~ Easy! Stir-and-Pour Whole Wheat Bread
~ How to Make Gatorade
~ 31 Real Food Breakfast Ideas
~ Dear Teenage Girls...
~ When Mom Takes a Step Back
~ The Inexpensive Health Insurance We Love!
~ Let's Talk Real Food Grocery Budgets

Check out our latest posts!

  • Easy Meatballs with Sweet Sauce (Freezer Friendly)
  • How to Make Uncrustables
  • The Easiest No-Bake Cheescake
  • Do I Still Buy Organic Food?
  • How I Shop and Budget for Our Large Family
Home  ~  Simple Meals  ~  Club Membership  ~  Shop  ~  Privacy Policy  ~  Disclosure  ~ Contact

Copyright © 2023 · Beautiful Pro Theme on Genesis Framework · WordPress · Log in