Heavenly Homemakers

Encouraging women in homemaking, healthy eating and parenting

  • Home
    • About
    • FAQs
  • Recipes
    • Bread and Breakfast
    • Condiments
    • Dairy
    • Main Dishes
    • Side Dishes and Snacks
    • Desserts
    • Gluten Free
    • Instant Pot
    • Crock Pot
    • Heavenly Homemaker’s Weekly Menus
  • Homemaking
    • Real Food Sources
  • Store
  • Contact
    • Advertise
    • Disclosure
    • Privacy Policy
  • Simple Meals
  • Club Members!

Simple DIY Coconut Milk

November 24, 2021 by Tasha Hackett Leave a Comment

This post may contain affiliate links which won’t change your price but will share some commission.

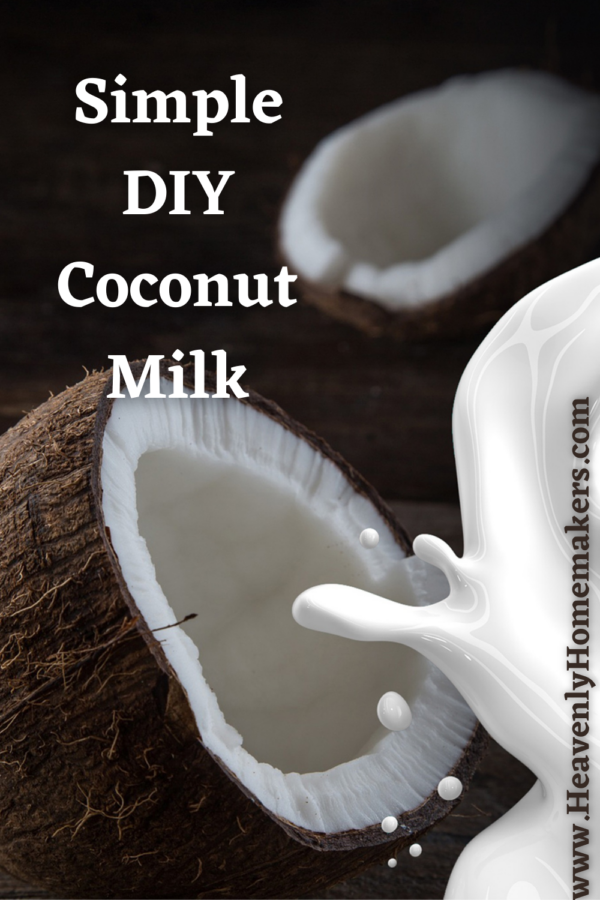
Simple DIY Coconut Milk

by Tasha Hackett
diy coconut milk

Dairy-free milk is good to have on hand these days. This simple DIY coconut milk is going to wow you, I’m sure of it. Even if you’re not on a special diet, the chances are high you know someone who is! Of all the nut milk options, coconut milk is the one I’ve landed upon for all my dairy-free baking and cooking. After almost a year of eating paleo to combat migraines, I’m embarrassed at how long it took me to try to this simple method. (Hi! Tasha, here.) If I wanted a yogurt or cream substitute, I used canned coconut milk or coconut cream. If I wanted simple coconut milk for smoothies and baking, I bought the jugs and ignored any added ingredients.

I finally tried making my own coconut milk.Yum

Don’t get too excited. I’m not out there foraging coconuts and shredding the meat into milk. #aintnobodygottimeforthat. But I am side-stepping buying water in a jug. I had convinced myself that making my own was going to be too complicated. Silly Tasha. Once I mustered the proper sense of adventure and ingenuity, there’s really been no turning back.

Not only is this simple DIY coconut milk unadulterated with added ingredients, it is significantly cheaper, and saves the landfill and the factories from dealing with those obnoxious plastic/cardboard jugs. And because I Subscribe and Save my canned coconut milk from Amazon, I don’t even have to think about buying it. It just magically appears on my porch. Poof!

Simple Coconut Milk Recipe

I’m really stepping out on a limb here to call this a recipe. But if Laura can tell you to pour salsa on the chicken in the crock pot and call it a recipe, than we’re calling this a recipe.

You will need a half gallon glass jar and a can of coconut milk. I currently use this brand. I’ll go over all the steps very slowly for you, just be sure you can keep up: Open the canned coconut milk. Pour it into the jar. Fill the jar the rest of the way with water and leave an inch or so at the top. Put the lid on the jar. In case you missed it, that last step is very important. A lidless jar is hazardess. Shake your lidded jar before using the coconut milk in smoothies, pancakes, muffins, and any recipe that calls for milk! As it happens, I pour a splash of it into my coffee each morning.

DIY Coconut Milk Recipe in Pictures

Because this recipe is very complicated, I decided to go the extra mile and show you the process step-by-step. I hope this clears things up for you.

Set out your supplies.
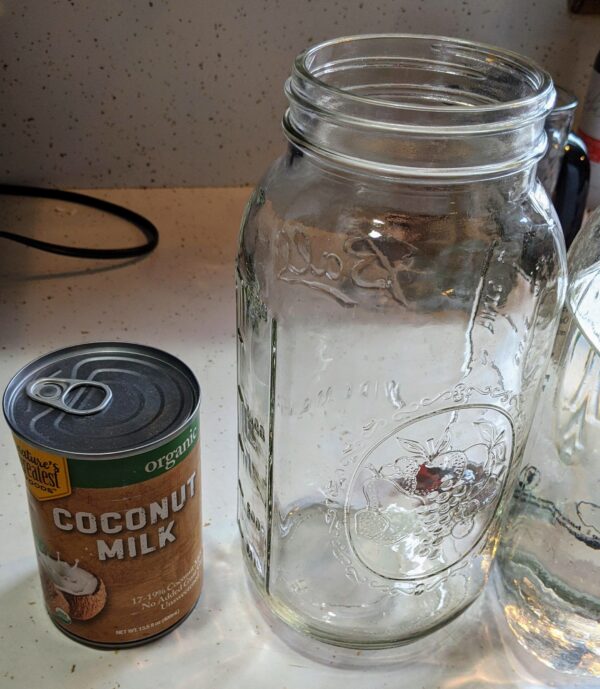
canned coconut milk

Open the canned milk and pour it into the half gallon glass jar.
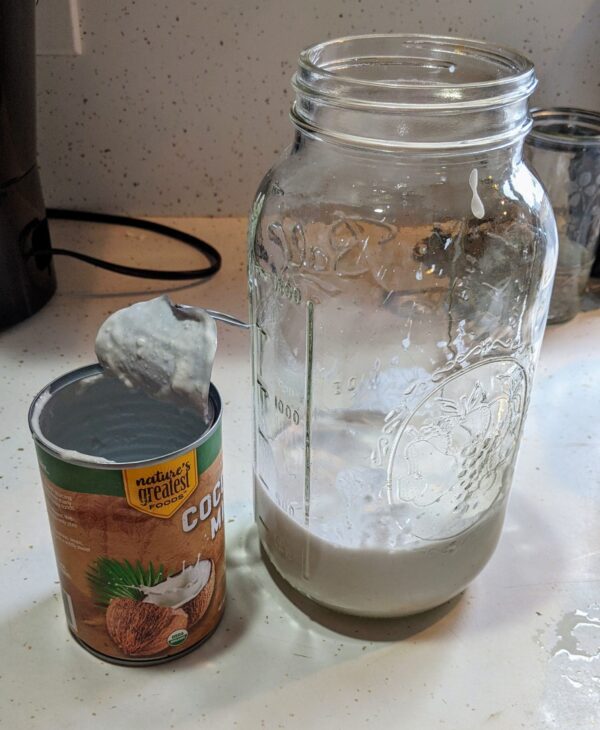
 

diy coconut milk

Fill the remainder of the jar with water.
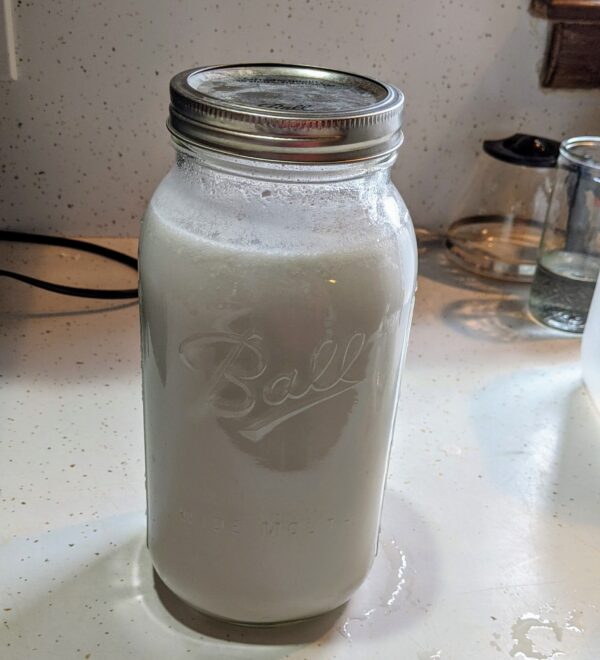
homemade coconut milk

I hope you don’t mind, but I combined a step in this picture. See how the lid is on the jar?

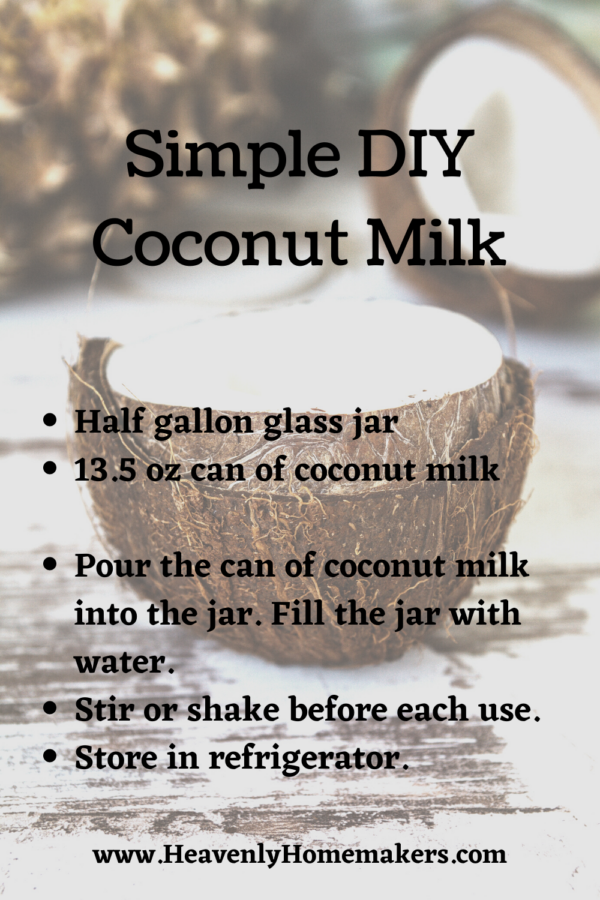
Store in the refrigerator and give it a shake before using. That’s all, kids! I hope you enjoyed learning a new skill that will impress all of your friends the next time you’re at a party in need a parlor trick.
homemade coconut milk


Tasha HackettTasha Hackett is a friend of Laura and loves to eat homemade chocolate bars, potato chips, and yes, even salsa on chicken. A homeschooling mom of four, author, and recovering DIY addict, she loves to take a walk on the prairie as time allows. Her debut novel, a historical romance set in 1879 Nebraska released Summer 2021: Bluebird on the Prairie. (Print and Kindle options available.) Though Tasha likes to do All The Things, most of her time is spent with four chatty children and an incredibly supportive husband. They give her the kind of love people write books about.

To learn more about Tasha and her works of fiction, find her at www. TashaHackett.com.

Heavenly Homemaker's Club Members: Access your homepage and all your fantastic resources here! Not a member yet? Please join us!

Whole Wheat Quick Mix Fruit Pizza

February 26, 2013 by Laura 37 Comments

This post may contain affiliate links which won’t change your price but will share some commission.

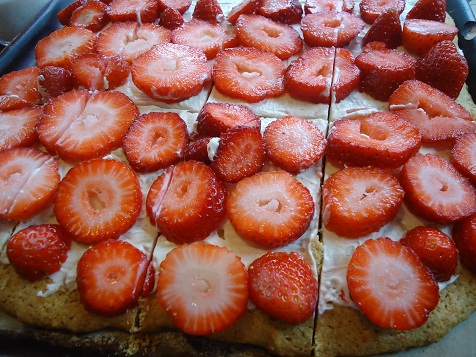
fruit_pizza_1

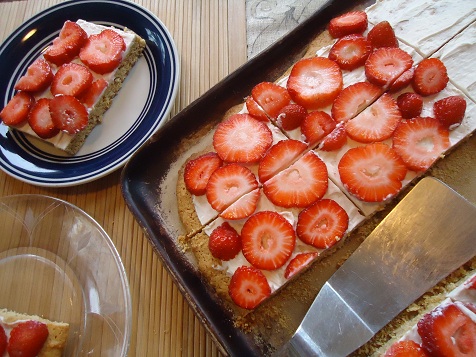
This Fruit Pizza is so yummy – you’ll feel like you are eating something naughty. But in fact, because it is made with whole wheat, honey, and fruit, I believe you could serve it for breakfast. Since figuring out this recipe, I may have done that a time or two at our house. ;)

You will love how easy this is to make!

Fruit Pizza CrustYum

1 1/2 cups Whole Wheat Quick Mix
1/2 cup honey
1/2 teaspoon vanilla extract
1 egg

Mix ingredients together. Press (or pour) dough into an 8×8 inch baking dish. Bake in a 350° oven for 10-15 minutes or until it is slightly golden. Allow crust to cool.

Cream Cheese Layer

3 ounces cream cheese, softened
2 Tablespoons real maple syrup 

Mix well and spread over cooled crust. Top with fresh fruit. (Berries, bananas, and kiwi work best.)

Serves 4-6. I typically double this recipe for my family and spread the crust into my large baking stone.

fruit_pizza_3

I’d love to know – have you made the Whole Wheat Quick Mix yet?!  More sneak peeks into our upcoming Oh, For Real book still to come!

Heavenly Homemaker's Club Members: Access your homepage and all your fantastic resources here! Not a member yet? Please join us!

EASY! Overnight, No Knead Yeast Bread

September 19, 2012 by Laura 262 Comments

This post may contain affiliate links which won’t change your price but will share some commission.

No Knead Bread. Let’s make life easier, shall we?

No-Knead Bread

I love having smart friends.

Smart friends who give me great, easy, healthy recipes are my favorite kind of friends. As are my friends who give me chocolate. Or jars. Or hugs. Or the friends who listen to my constant and sometimes nonsensical chatter. And the ones who put up with my unreasonable freak-out moments of stress. And the ones who pray with me. And the ones who deal with me during soccer season when I can’t finish sentences.

Let me just pause and wipe a tear. I really have the best friends ever…

Well now. (stops to loudly blow nose and gain composure)  I really brought all that up to say that one of my great friends, Nikki, shared this recipe with me. She’s one of my smart friends who I believe has done all of the above and then some (God bless her).

Once when I was at her house, she let me try some of the bread she had made that morning. It was great! And then she started telling me how she made it. How you don’t have to knead it. How you start it the night before and how it takes about three minutes to mix up. I think I grabbed her neck, hugged her fiercely, and knocked her over when she handed me the recipe. Not really. I truly can control myself. Usually. But hey, there was a great recipe involved, so no guarantees. See, I told you my friends are great to put up with me.

And now, the easiest bread recipe in the world…

No Knead Yeast BreadYum

5.0 from 1 reviews
EASY! Overnight, No Knead Yeast Bread
 
Save Print
Author: Laura
Ingredients
  • 3 cups flour (This recipe works a little better with unbleached white flour, but I prefer to use freshly ground hard white wheat so that it is healthier.)
  • 1 ¾ teaspoon sea salt
  • ½ teaspoon active rise yeast
  • 1 ½ cups water
Instructions
  1. Stir ingredients together in the evening. (No need to proof the yeast.)
  2. Cover and allow dough to sit over-night on the counter-top.
  3. In the morning, dump the dough onto a well floured surface.
  4. Shape it into a ball.
  5. Let it sit for 30 minutes.
  6. Preheat the oven to 450°, heating the baking dish in the oven at the same time.
  7. Place the dough in the hot baking dish.
  8. Cover and bake for 30-40 minutes.
3.4.3177

Note:  You need a covered dish to bake this bread.  I found a deep-dish casserole dish with a lid that worked for me, similar to this one. But if I can save up and splurge on this one, would that not be the coolest?

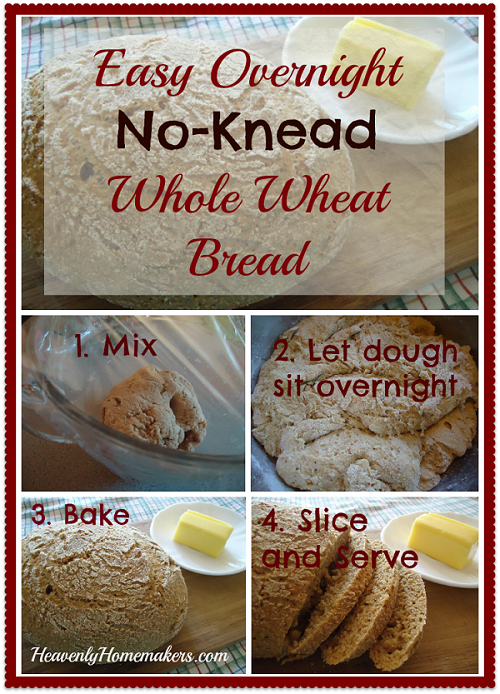
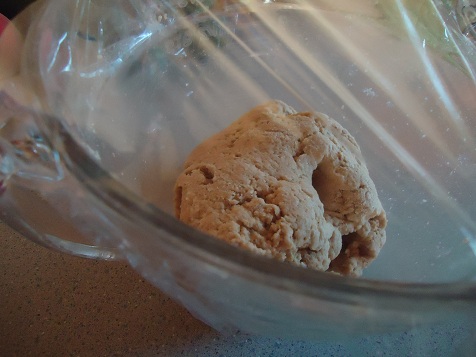
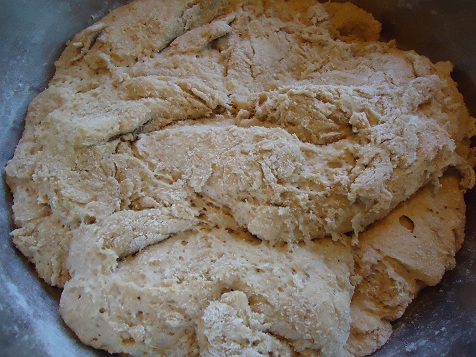
When you mix it and cover it in the evening, it starts out looking like this:

In the morning it will look like this:

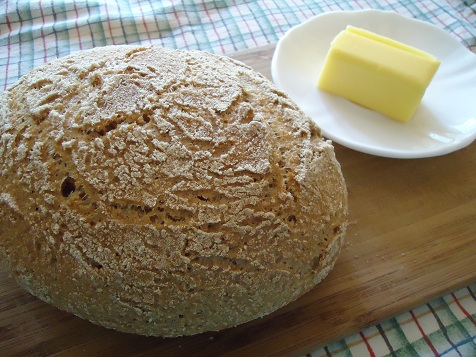
After you bake it, it will look like this:

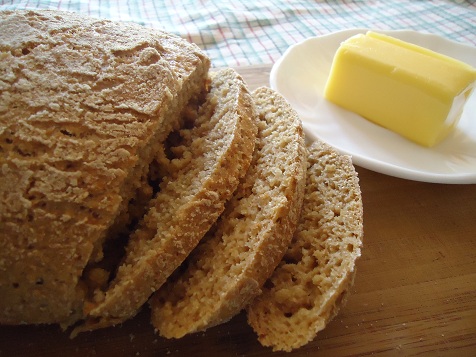
And when you slice it it will look like this:

Once you serve it, it will look like this:

(There’s no picture. The bread is gone. Obviously.)

I highly recommend that you give this recipe a try, and that you consider serving it with this wonderful Calico Beans dish. It’s a wonderful combo!

Heavenly Homemaker's Club Members: Access your homepage and all your fantastic resources here! Not a member yet? Please join us!

Join Our Community!

 Facebook Twitter RSS E-mail Instagram Pinterest

Popular Posts

~ Will All of the Real Moms Please Stand Up?
~ Easy! Stir-and-Pour Whole Wheat Bread
~ How to Make Gatorade
~ 31 Real Food Breakfast Ideas
~ Dear Teenage Girls...
~ When Mom Takes a Step Back
~ The Inexpensive Health Insurance We Love!
~ Let's Talk Real Food Grocery Budgets

Check out our latest posts!

  • Cheater Cheater Pumpkin Eaters – Chocolate or Vanilla
  • Big Family Food and Fun: November 19-25, 2023
  • Taco Soup for a Crowd
  • Kids Cook Build-a-Book – Get your Kids’ Kit!!!
  • Big Family Food and Fun: November 12-18, 2023
Home  ~  Simple Meals  ~  Club Membership  ~  Shop  ~  Privacy Policy  ~  Disclosure  ~ Contact

Copyright © 2023 · Beautiful Pro Theme on Genesis Framework · WordPress · Log in