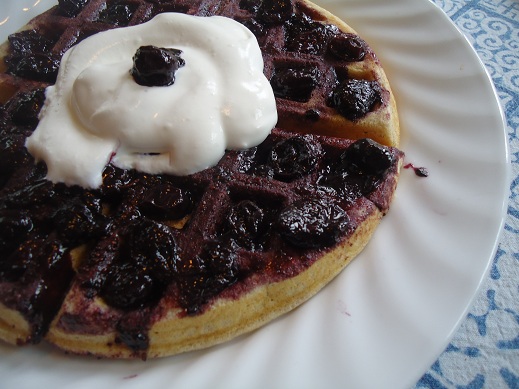
This little gem of a recipe has been tucked away on my Whole Wheat Waffle page for years. But I decided it needed to be brought out of hiding. Everyone must know about this. And you should also whip some cream and plop it onto your waffles with this Blueberry Syrup because then, you will experience bliss.

Wondering how to make Whipped Cream? You’ll want to click over here to learn the easiest way I’ve found to make it. You can even make it ahead of time to pull out just before serving! Now anytime I serve waffles with fruit topping and whipped cream, my boys call them “Super Mama Waffles!”
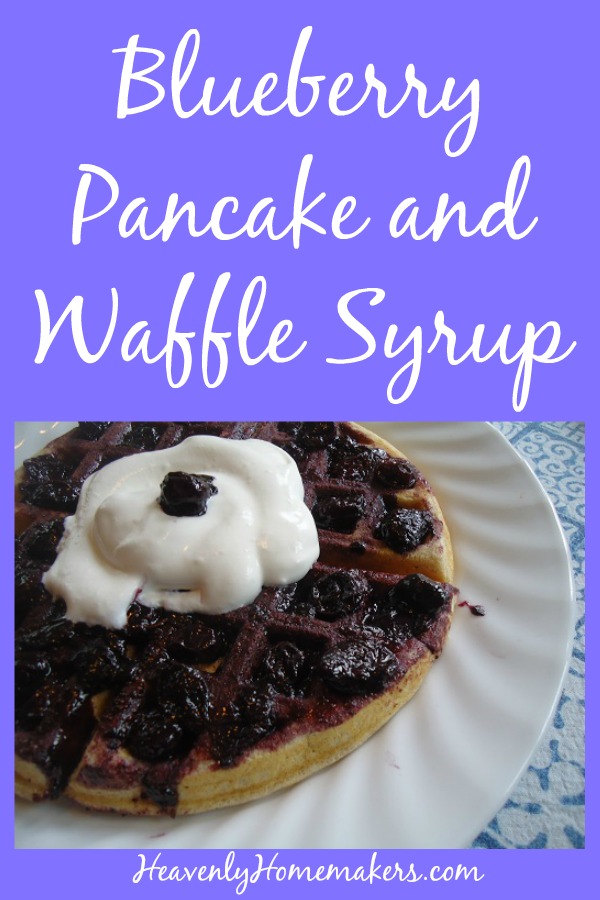
Blueberry Syrup
- 2 cups fresh or frozen blueberries
- ¼ sucanat (dehydrated cane sugar juice)
- Stir blueberries and sucanat together in a saucepan over medium heat for about 10 minutes until syrupy.
- Serve as is, or blend to make the syrup smooth.
Trying to get ahead? Make this syrup ahead of time, refrigerate or freeze, then rewarm when ready to serve.
Other fruity recipes you’ll love:
Of course I can’t provide you with syrups and toppings without also providing you with pancake and waffle recipes:
And we can’t talk about toppings without also mentioning that Peach Syrup, Raspberry Syrup, and Blueberry Syrup are wonderful on ice cream. Check out this post detailing how to set up a Brownie Sundae Bar. Wouldn’t it be nice to offer any of these fruit syrups as an option?
As you can see, once you know how to make a Fruit Syrup, your options for serving it are many. Such a tasty way to enjoy fruit!
What’s your favorite way to top a waffle?


 What is your relationship with sweet potatoes? How do you like them cooked? And while it’s completely irrelevant, I am curious. Do you like marshmallows?