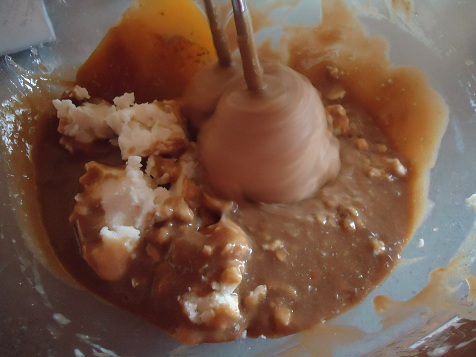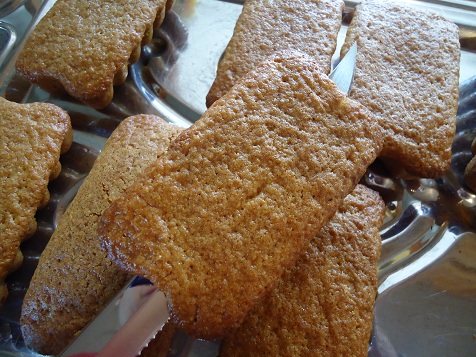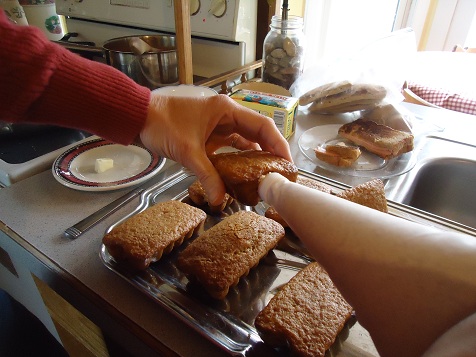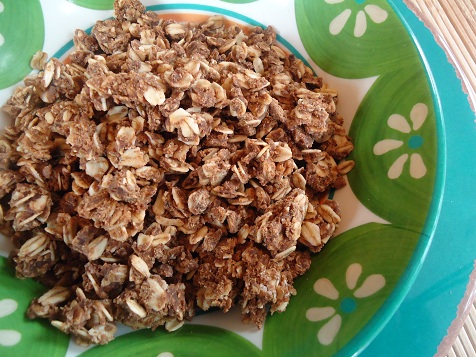
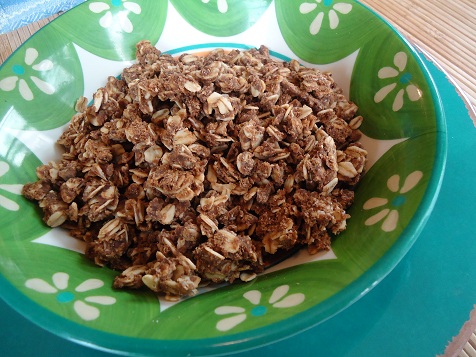
I’m guessing that many of the greatest recipe “inventions” have happened by accident. Asa (our 15 year old) really didn’t mean to create this wonderful Peanut Butter Chocolate Granola. His real intent was to make No-Bake Cookies for a mission trip fund-raising meal last Sunday. But somehow the liquid ingredients got slightly overcooked, the oats made the mixture way too dry, and no way no how was a cookie going to be formed once it was all said and done. I told him to press his mixture into a 9×13 inch pan and that we’d try cutting them into bars later. While that was a brilliant idea, it didn’t work any better than forming the mixture into cookies. We ended up with peanut butter chocolate oat crumbles instead. Peanut butter chocolate oat crumbles that tasted really, really good. :)
And so – we all just grabbed a bowl and a spoon and had at it. (While planning a different dessert to take to the fund-raising meal.)
I’m calling this “granola” because that’s what it looks and feels like. But I do have a hard time calling this a healthy breakfast or snack. While it is made with real food ingredients, it is still more dessert-like, for sure. In an effort to make this a little less sugary, and a bit more diverse for “stir-in” options, I’ve tweaked the ingredients from the original cookie recipe Asa used. I’m pretty sure it will still taste awesome with less sugar than originally called for in the cookie recipe!
By the way – depending on how you make this, it can be completely dairy free if you wish. :)
Peanut Butter Chocolate Granola
1/2 cup butter or coconut oil
1/2 cup milk or coconut milk
1/2 cup natural peanut butter (we use homemade peanut butter)
1 cup sucanat or 1/2 cup honey
4 Tablespoons cocoa powder
1 teaspoon vanilla extract
3 cups rolled oats
1/2 cup coconut flakes (optional)
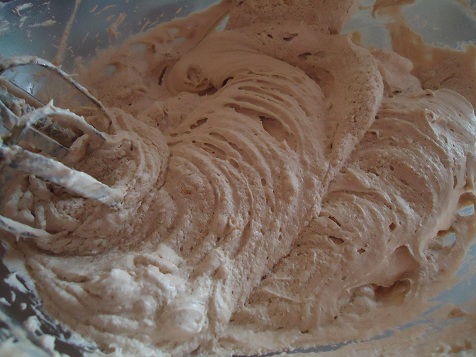
Put butter, milk, peanut butter, sucanat, and cocoa into a medium sized saucepan. Cook over medium heat until butter is melted and mixture is smooth. Bring to a boil, stirring constantly. Allow the mixture to boil for one minute. Remove from heat. Add vanila, oats, and coconut flakes. If the mixture is too liquidy add a few more oats or coconut flakes until you reach desired consistency.
Or shucks. If you “mess up” this recipe and the mixture turns out to be nice and smooth instead of crumbly – go ahead and spoon it onto wax paper and make No-Bake Cookies. ;)
UPDATE: If you do find your mixture too wet: Add a few extra oats to soak up the liquid. Then put it on a parchment paper lined cookie sheet and baked it at 250° for one hour, stirring occasionally. The granola should get nice and crispy!