I have decided that these are my favorite Christmas cookies. And this recipe makes a lot of them…which is why it’s a good idea to have lots of people in mind to share them with!! Because having them just sitting around the house screaming at me to come eat them is a bad idea.
I’d like to give in to the notion that since they have orange juice in them, they’re good for me and just packed with vitamin C. Oh, if only.
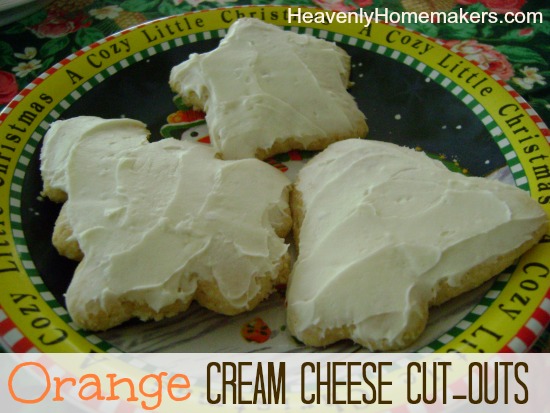
Orange Cream Cheese Cut-Outs
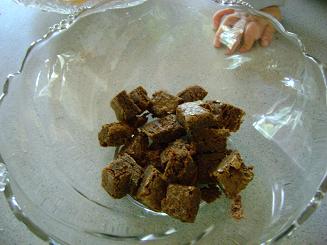
1 cup melted butter
1 8 oz. pkgs cream cheese, softened
2 cups sugar (I used organic unbleached sugar crystals)
2 eggs
1 t. baking powder
1 t. vanilla
1 t. finely shredded orange peel
3 T. orange juice
4 cups whole wheat flour (I used freshly ground soft white wheat)
Cream butter, cream cheese and sugar. Add eggs, baking powder, vanilla, orange peel and orange juice. Stir in flour one cup at a time until mixed well. Chill dough for about 2 hours.
Roll dough to 1/4 inch thickness, cut with cookie cutters and bake on a cookie sheet for 10-12 minutes at 350 degrees. Allow cookies to cool completely before frosting.
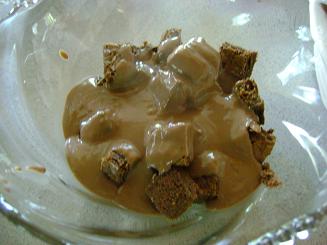
Orange Cream Cheese Frosting
4 oz. cream cheese, softened
1/4 cup butter, softened
1 t. vanilla
2 T. orange juice
2 1/4 – 2 1/2 cups powdered sugar
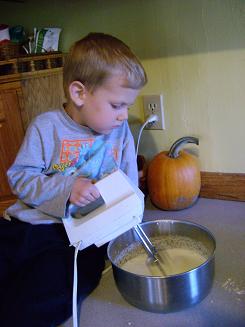
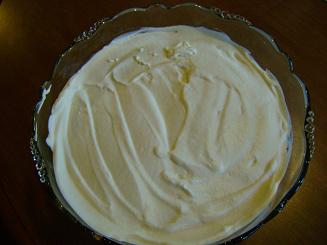
Cream together cream cheese, butter, vanilla and orange juice with beaters. Gradually add powdered sugar.
—————————————-
If you’re wondering if this recipe is worth going to all the trouble of actually shredding orange peel (a step that takes a total of about 20 seconds), it is. If you’re wondering if I’m serious about making them, and then giving them away as quickly as you can so that you won’t eat too many of them, I am. And if you’re wondering if there will still be other fun Christmas recipes soon, there will.


