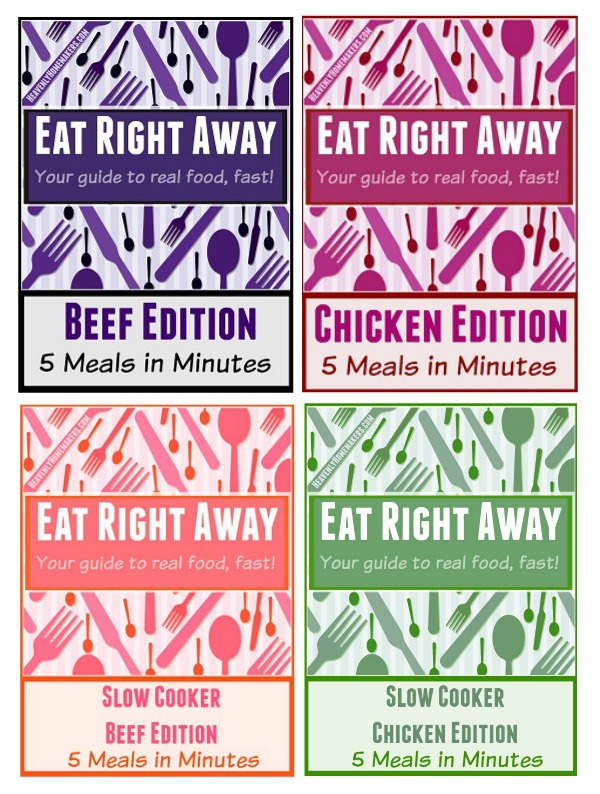
You asked. I hurried. :) Just in time to beat the summer heat, Eat Right Away: Slow Cooker Chicken Edition and Eat Right Away: Slow Cooker Beef Edition are here!
Actually, I wanted the Eat Right Away Slow Cooker Editions as much as you did – so I worked double time. Now that they are finished, I’m gonna tell you this: As much as I love the other editions, I love these slow cooker editions even more. These meals take even less time to prepare than the others (I didn’t know it was possible). And then to just place all prepared ingredients into a crock pot and walk away until meal time? It does not get any easier! Love, love, love!
Beyond saving time and serving your family real food meals, these packets will help you save money. These meals are very low in cost!
Each of these downloadable Eat Right Away packets include:
- 5 brand new recipes
- 5 individual meal grocery lists, plus 1 big grocery list to aid you in making all five meals in one sitting (though you’ll actually be standing, not sitting, my apologies).
- 5 individual recipe instructions, plus 1 “Be Efficient” set of instructions to guide you through making all five meals in about a 1-hour time frame
- Freezer safe instructions for each recipe, plus guidance on thawing, putting the food into a slow cooker, then serving each meal with little effort
- Serving suggestions so you don’t have to think about the side dishes
- Bonus tips
Each packet is only $2.00. Yep! That’s it. We want to get them into all of your hands to help you save time and money in your real food kitchen. Just like the other packets, the ten recipes in these two packets are either naturally gluten free or can be easily adapted to be gluten free. Bonus!
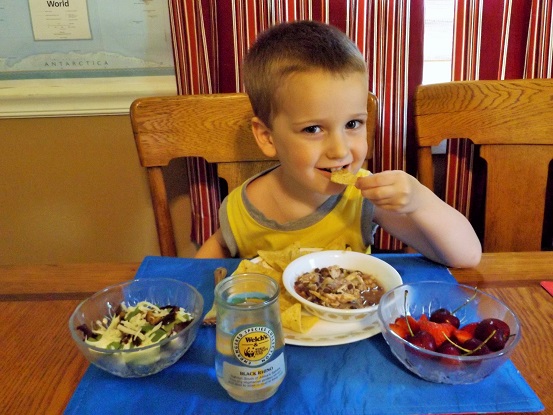
Check it out. I borrowed another family to be my taste-testers for some of these recipes. I wanted to be sure these really were as easy as I thought they were (and as yummy). I received some great feedback and food pictures, but of course, the picture with the three year-old taste-tester is my very fav.
Here’s a closer look at each new packet:
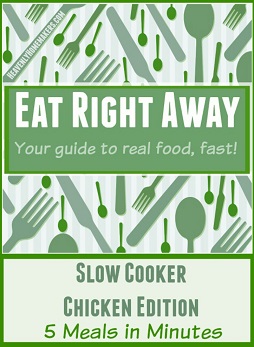
Eat Right Away: Slow Cooker Chicken Edition ~ Recipes Included Are:
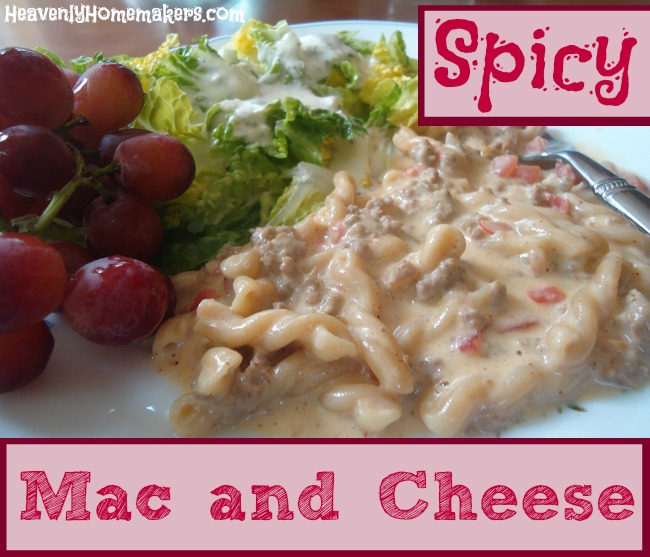
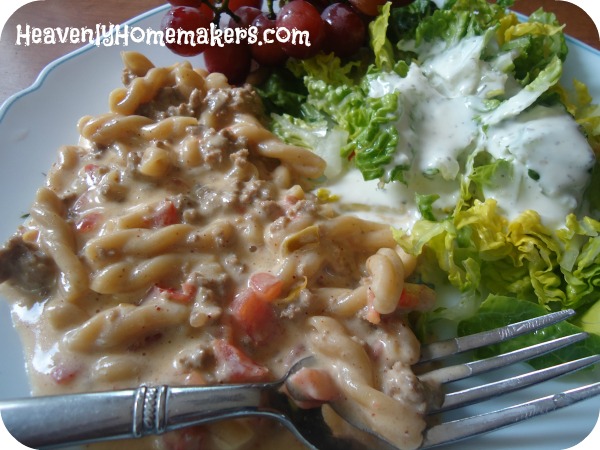
- Cheesy Chicken Potatoes and Broccoli
- Italian Chicken and Veggies
- Black Bean and Corn Salsa Chicken
- Barbecue Cranberry Chicken
- Ranch Chicken Tacos
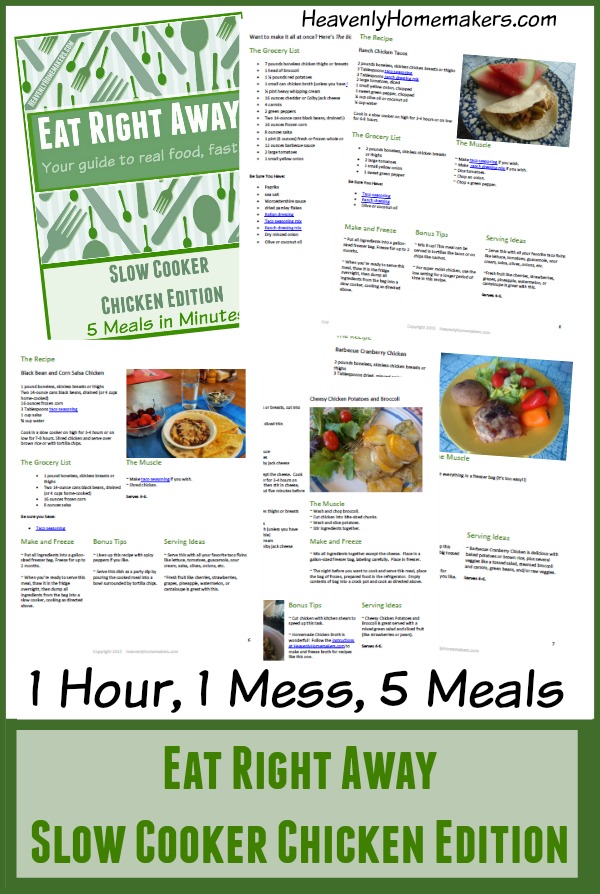
Make all five recipes in about one hour. Put them in the freezer or fridge. Pull them out and throw them into the crock pot. Easy, real food goodness!
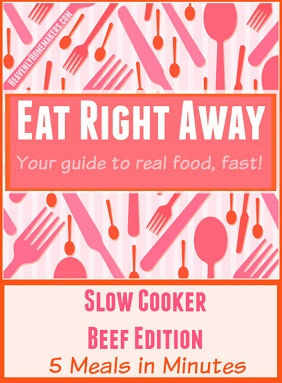
Eat Right Away: Slow Cooker Beef Edition ~ Recipes Included Are:
- Roast Beef and Melted Cheese Sandwiches
- Mongolian Beef
- Balsamic Beef Roast
- Sweet Pepper Beef Stew
- Hawaiian Beef and Rice
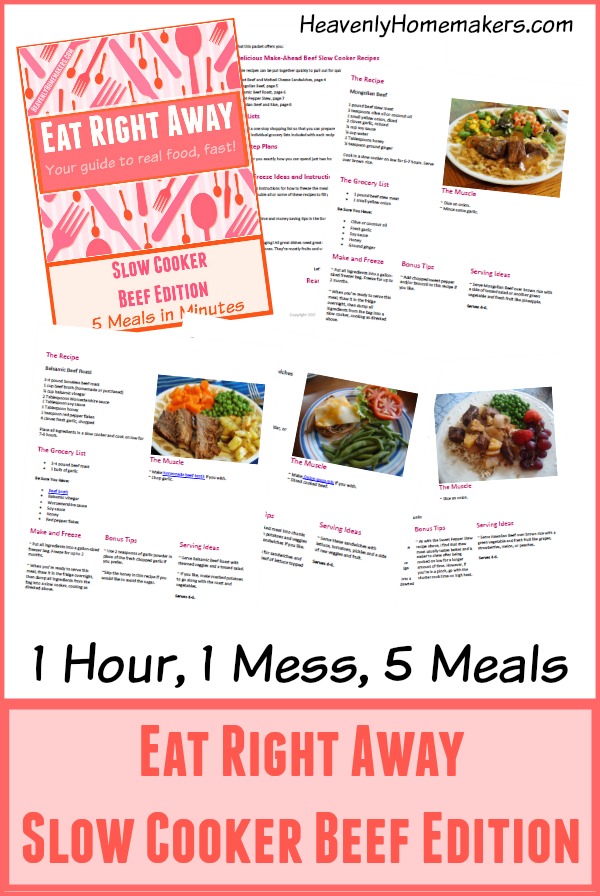
Just like the chicken recipes, you can make all five beef recipes in about one hour. Put them in the freezer or fridge. Pull them out and throw them into the crock pot.
Get all four of our Eat Right Away Packets here!
[wp_eStore_fancy1 id=5]
I hope you’re enjoying these packets as much as I am. Three cheers for easy make-ahead meals and even easier dinner times with our families!


![gratituesday[2]](https://www.heavenlyhomemakers.com/wp-content/uploads/2014/01/gratituesday2.png)