You may have seen the DIY Peppermint Candy Bowl tutorial floating around online. Usually, I see videos like that and I’m like, “How nice for you. You like to take twenty-seven steps to make a recipe or a craft. You turn out amazing-looking dishes/crafts. Your videos make it look easy for everyone (but me). I must now go back to making kiddie crafts and stirring together 5-ingredient recipes because I can’t handle more than 2 steps while making anything.”
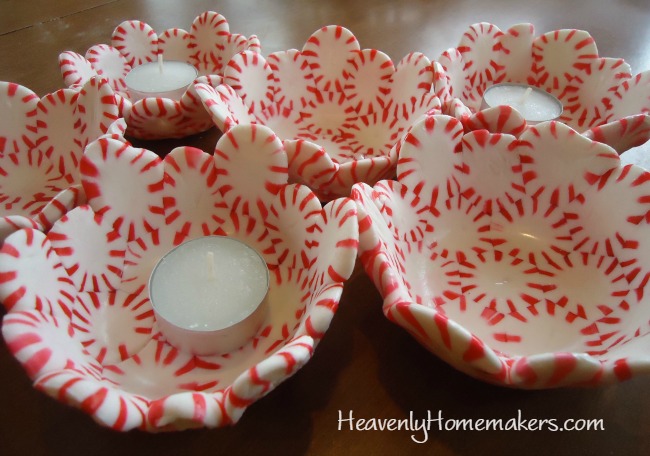
But the Peppermint Candy Bowls were different. This craft idea is as easy as opening a bag of candy, melting it for a short time in the oven, and…hmmm. That’s it. That’s all you do. It’s really that easy.
This is why I purchased a bulk amount of round peppermint candies before Thanksgiving. I would have peppermint bowls – I would. People would be impressed. My house would look festive. I could do this!
And then I cheated. I turned the job over to a college girl who was staying at our house during Thanksgiving week. She made all the adorable Peppermint Candy Bowls and I cheered for her. In the meantime, I ironed tea bags and she cheered for me. (Not really, because my craft didn’t look like much at the time so nothing motivated her to say, “Wow, Laura, you sure can iron.”)
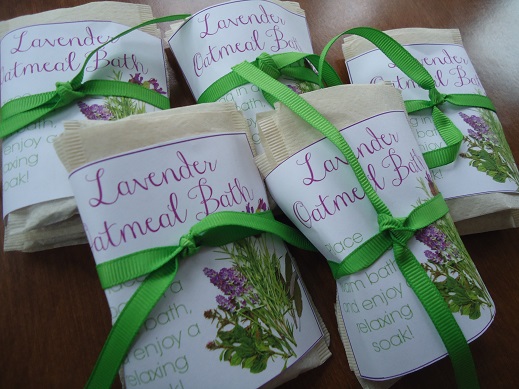
Nonetheless, while our friend made Peppermint Bowls, I turned out these Lavender Oatmeal Bath Teabags – the gift tags of which made us both cheer. Also, we watched a cheesy Hallmark Christmas movie while she was visiting because #sappymovies #girlstuff #absolutelynecessary
The boys got home from basketball practice before the movie was over. They immediately began making fun of every line and every situation and all the fake snow falling at just the right time. Just whatever, boys. I cater to you and watch your blow-up movies all the time and don’t make fun of your fake explosions and people with unrealistic abilities to climb buildings or throw large machines. #whyineedgirltime
So girlie stuff. Since the peppermint bowls were such a success, we talked about making more peppermint crafts. We bought more peppermint candies and put all the boys to work opening all of them and putting them into a bowl. (Why did I not get a picture of this?) It was our friend’s idea to fill an entire cookie sheet with peppermints and melt them down to make a tray. We never got around to it before the dorm opened up again, so lookie what I made all by myself!!!
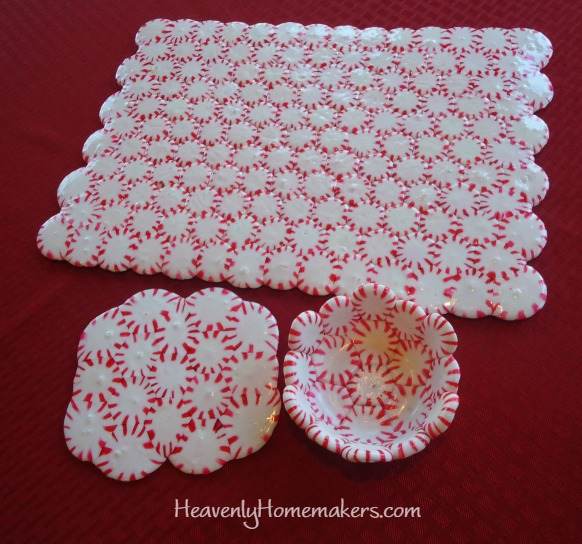
If you look real close (please don’t) – you’ll see that I got distracted and let my peppermints stay in the oven about one minute too long which resulted in a few pepperminty bubbles. The trays are still adorable and now my house is filled with fun, festive decorations!
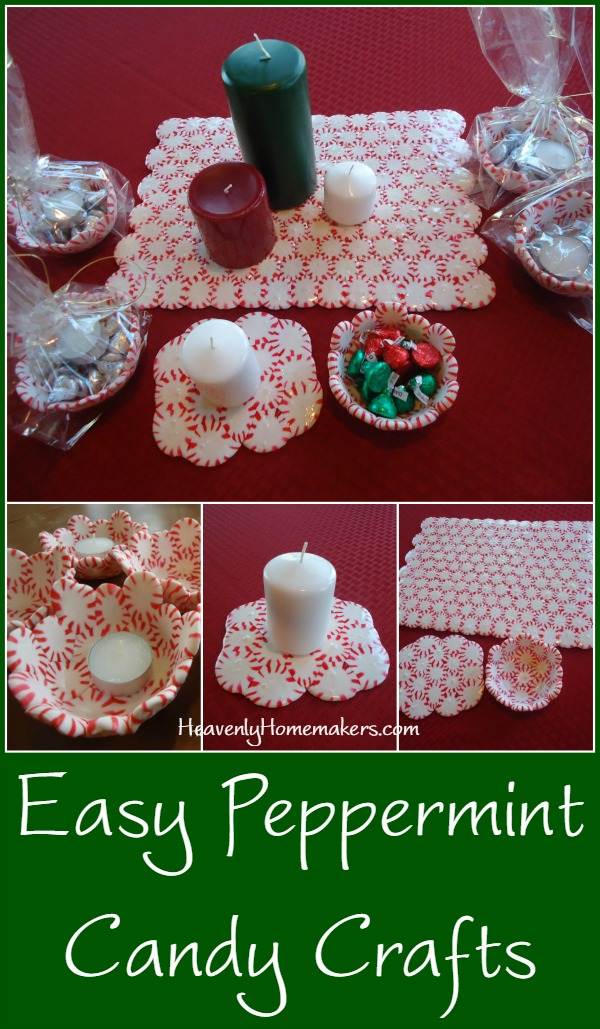
What you need to know about making Easy Peppermint Candy Crafts
1. Get all the detailed instructions here. But in short, you put peppermint candies on a cookie sheet lined with parchment paper (we found that a Silicone Baking Mat worked much better.) Bake in a 300° oven for 7-8 minutes.
2. Watch carefully the last few minutes of baking so as not to over-melt the peppermints. You want them just barely melted. Once they become shiny and runny, they become a peppermint disaster and you’ll have to throw out your oven and then you might as well move to another state. (I’ve obviously been watching an over-dramatic girlie movie.)
3. To make a peppermint bowl, turn the melted peppermints out over the bottom of a small glass or plastic bowl for easy shaping. We found it was best to wait about 30 seconds after the mints came out of the oven before shaping.
4. We found that it was best to make just one bowl at a time. These are a little bit time sensitive.
5. You need 19 peppermints for one bowl; 149 for a large tray (I did 6 rows of 14 alternated with 5 rows of 13); 17 peppermints for the tiny tray.
6. These are breakable. Do not bang these on a table or play soccer with them in the living room.
7. These are only barely sticky once completed. This makes them great for decorations or gifts. You probably don’t want to use the bowls for cereal and milk, though. I mean, you make the call.
Warning: These crafts are so much fun you’ll consider buying a warehouse full of peppermints so you can make an entire house of melted candy. You’ll want to experiment with other shapes and household items. You will become addicted to watching peppermints melt and become cute. The men in your life will wonder if you’ve lost your mind (again) as they dutifully take thousands of wrappers off peppermint candies as you have directed them to do.
Have you ever tried crafts like this? Have any fun ideas for shapes?
P.S. Check out Cantina’s adorable Ribbon Tree Ornament!

I have made heart pops for friends with small candy canes melted together and then piped melted chocolate and stick. They look amazing. Take no time at all and are inexpensive.
Thanks for a craft idea that is actually doable!! Cute!
Looks great! Other possibilities: spearmint for green and red, jolly ranchers for stained glass.
Can these be sealed so they can be kept for longer than one season
I’m really not much of a crafter so I’m not sure, sorry! I would imagine sealing them in some way would surely work!