Here’s our Food and Fun: November 19-25 post!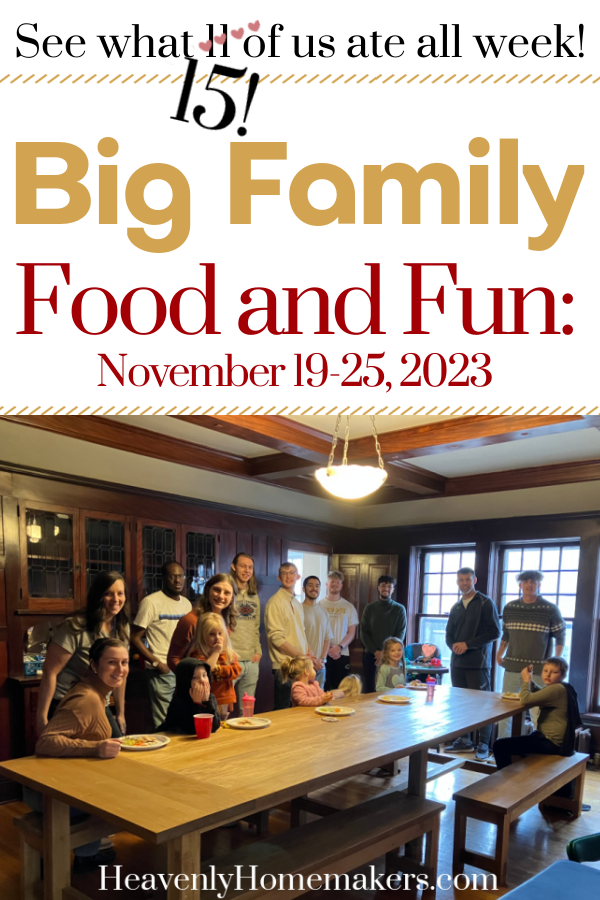
Here’s what we ate and what we did all week!
Big Family Food and Fun: November 19-25, 2023
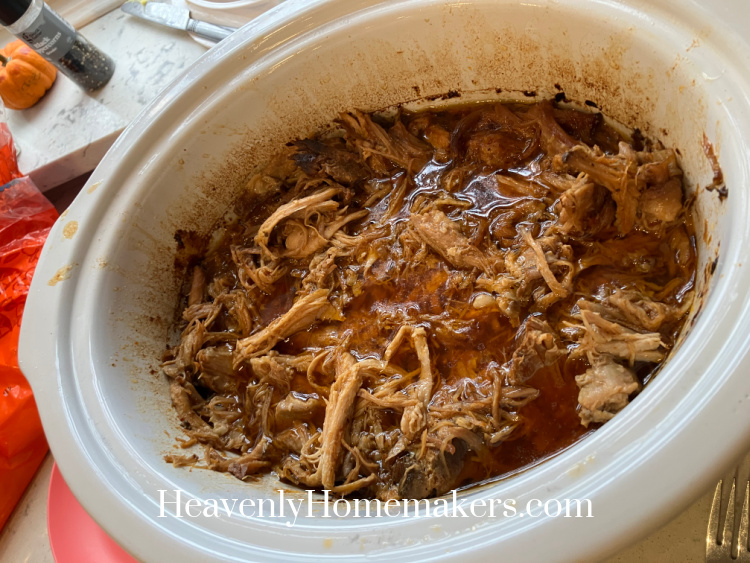
Saturday night I started a pork roast in the crock pot to cook overnight to eat after church the next day. Here’s my pork roast recipe. Here’s the overnight cooking method.
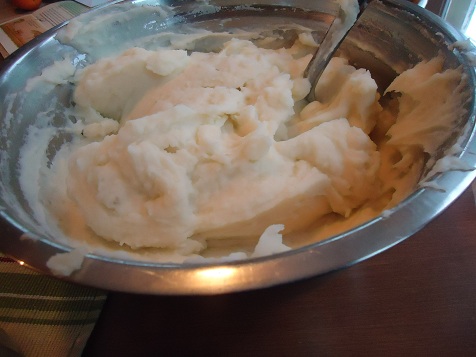
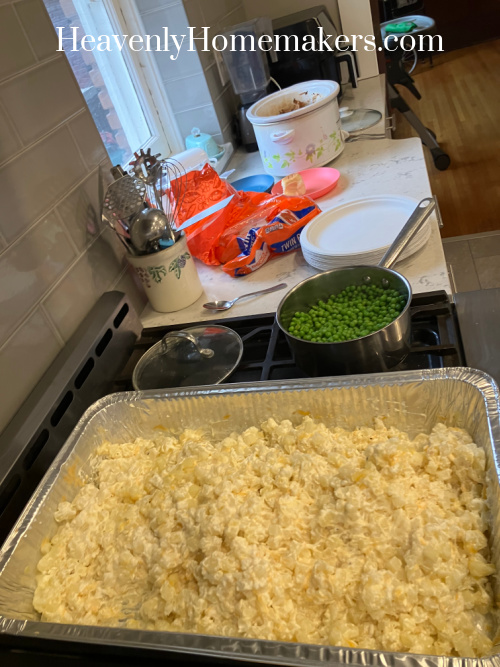
To go with our roast, I made a big pan of Party Potatoes. I had intended to make Honey’d Carrots, but left the carrots steaming too long and burned them, ugh. So we steamed some peas instead.
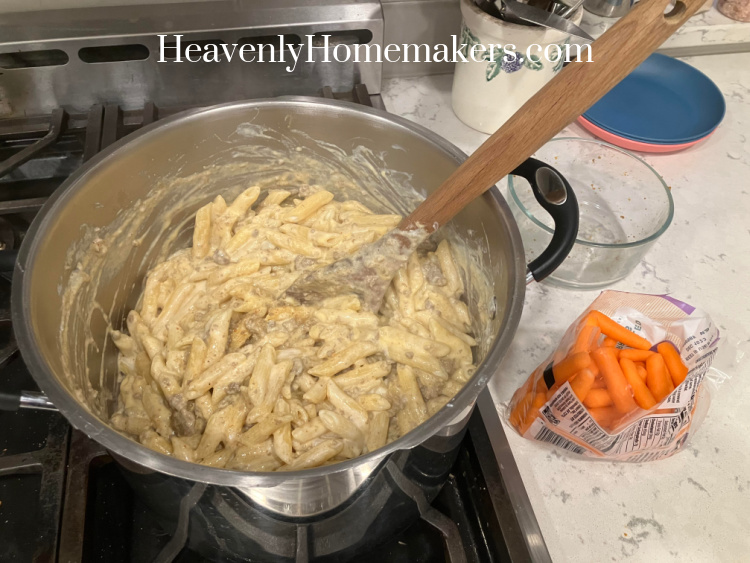
For dinner that night I pulled out some leftover taco meat we had in the fridge and stirred it into a triple batch of Creamy Mac and Cheese. We ate it with baby carrots, easy peasy.
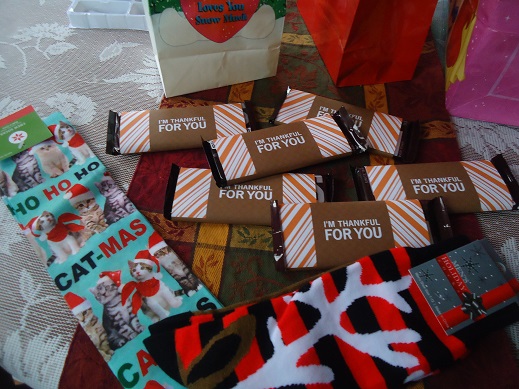
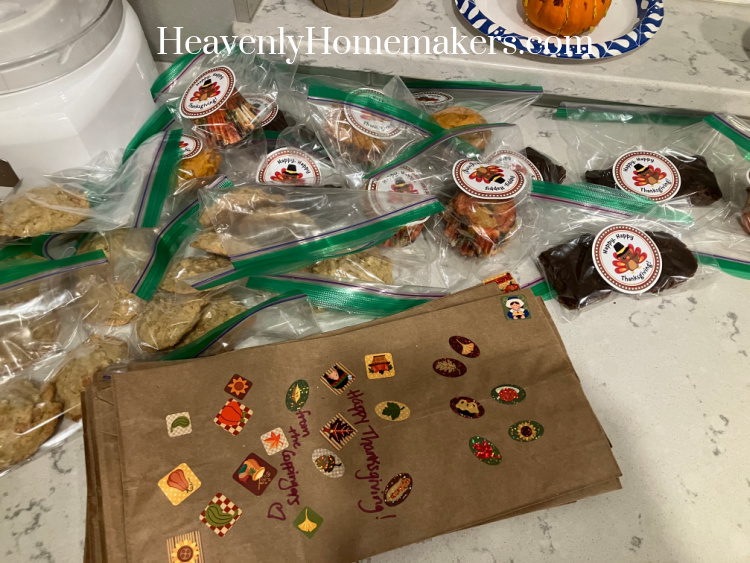
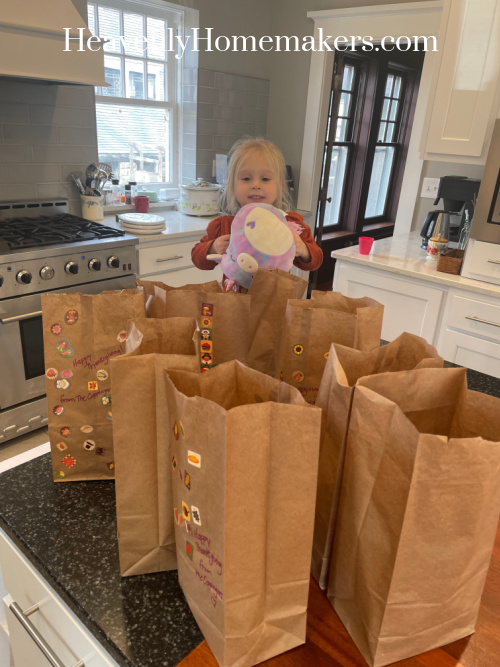
It’s been in my head for weeks to work with the kids to put together Fall Treat Bags for our neighbors. Sickness and the craziness of life has derailed us. But we’re finally finishing our project and packaging up goodies! We had stickers from Delight Design to put on our brownie and muffin bags – so cute!
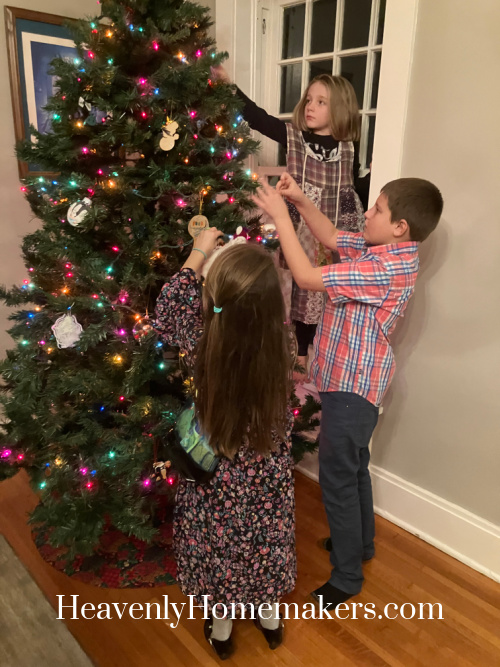
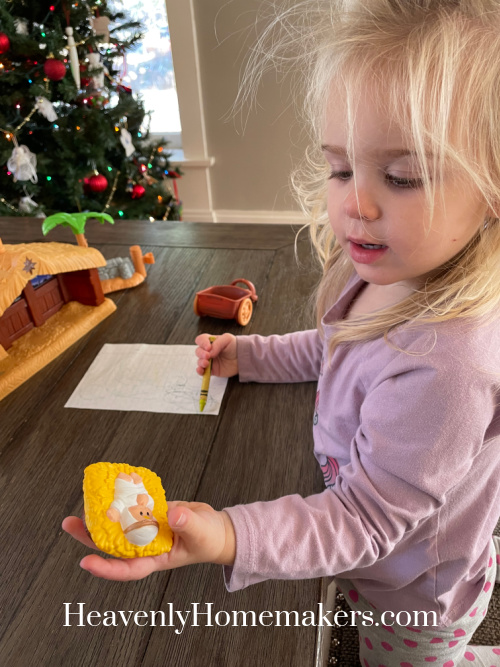
We had set up our tree with lights the night before and on Sunday night, the kids added ornaments.
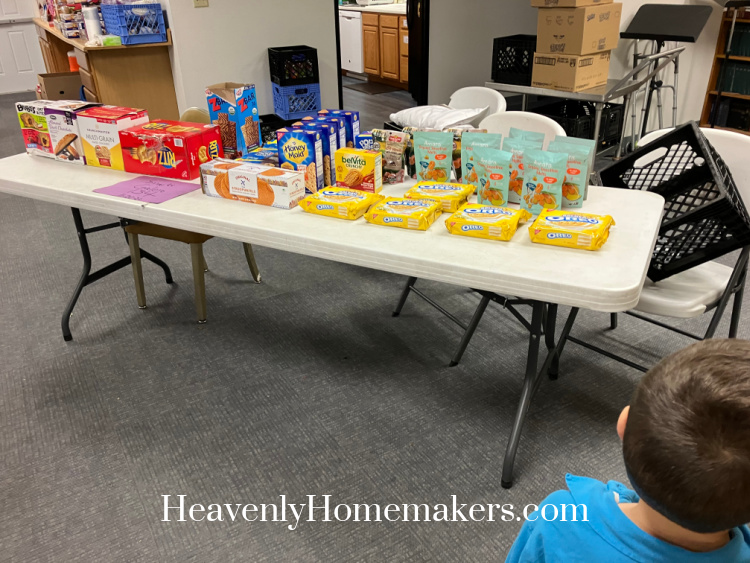
Monday morning after Brayden and Kiya got to school, we put BabyBoy#11 down for a nap, left the three little girls with Daddy, and Keith and I headed to the Food Distribution site to help set up for the Tuesday giveaway. Our goal is to help our kids learn to serve and help others. The one-on-one time with Keith is so good too. Here he is, admiring the table of snacks we set up.
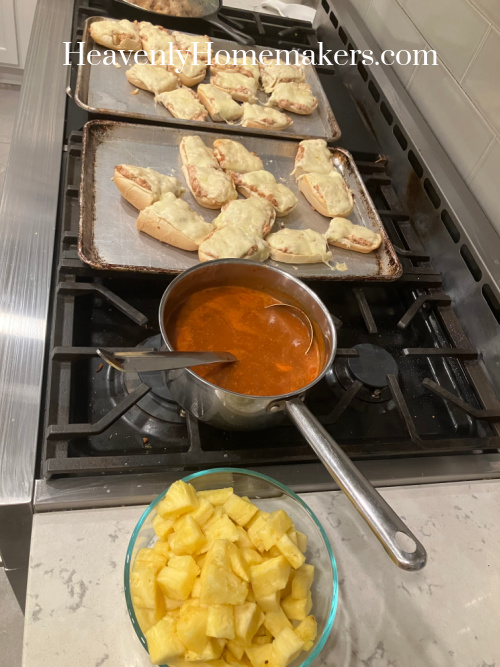
For dinner that night we made Tuna Melts with Tomato Soup and fresh pineapple.
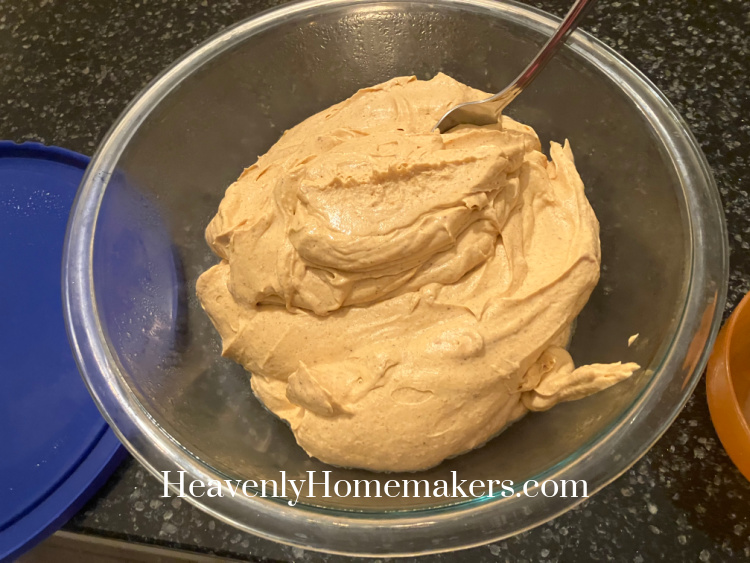
I had made a bowl of Easy Pumpkin Whip that I intended to serve for dessert. But I saw several almost-empty containers of ice cream in the freezer that I wanted to get rid of and forgot all about the Easy Pumpkin Whip. Goof. So we had the Whip for breakfast on Tuesday instead. It’s only lightly sweetened, has protein and pumpkin in it – so it made for a good breakfast!
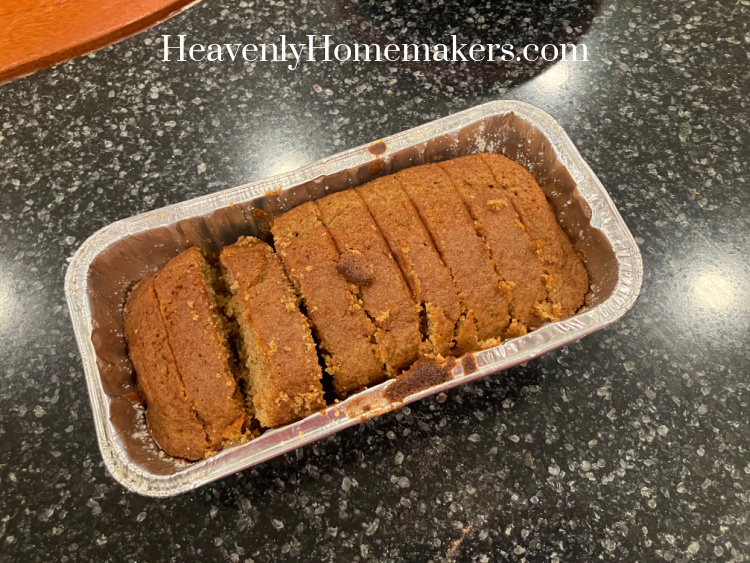
Our friend Paula had dropped off this loaf of Pumpkin Bread and we enjoyed it that morning too! So good!
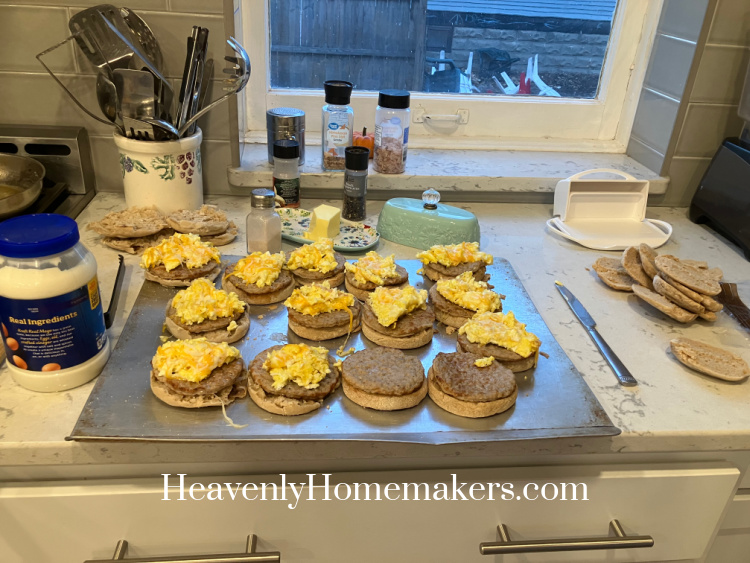
I had sausage patties and a lot of English muffins, so I scrambled some eggs and put together 14 Breakfast Sandwiches to have on hand.
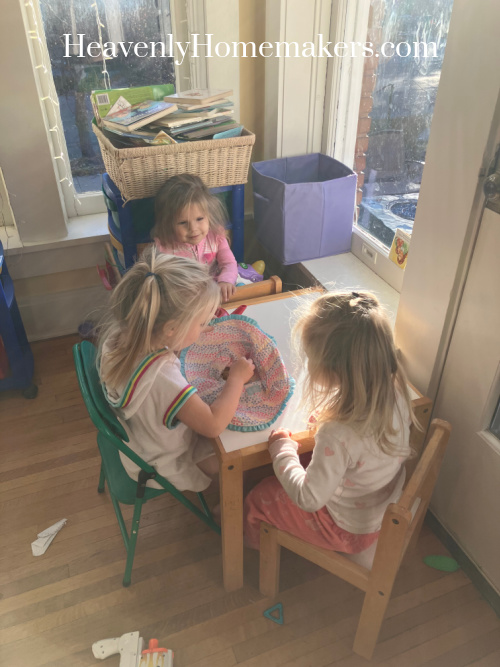
Three of the kids put on swimming suits that morning, haha. Josie stayed in her jammies. Meh, it was Thanksgiving week and I was extra busy. Regular clothing was optional. The three little girls had a get-together in our playroom saying over and over, “So nice to see you!” “So nice to see you!” in their preschool and toddler language. It was so sweet.
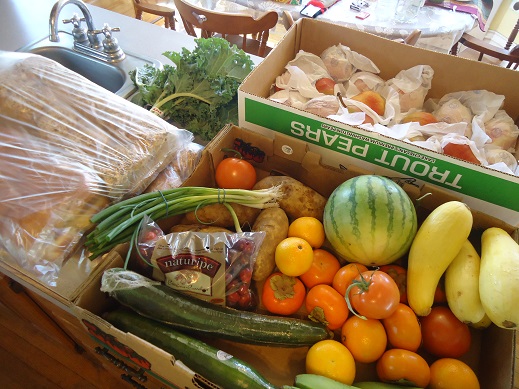
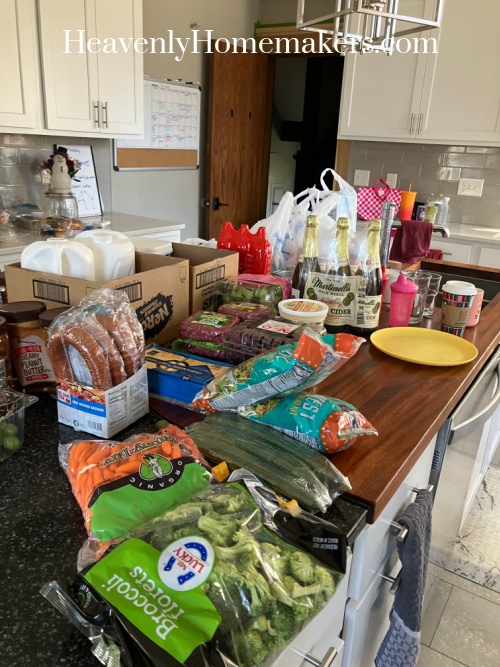
I had two appointments that morning and the second one was right by Sam’s. So I took advantage of being kid-free and ran in to get as many groceries as I could. I got a couple of special items for Thanksgiving – Martinelli’s and fancy whipped cream. Otherwise I got the regular needed items – milk, produce, peanut butter, sliced cheese, grass fed hamburger meat, and our favorite beef smoked sausage.
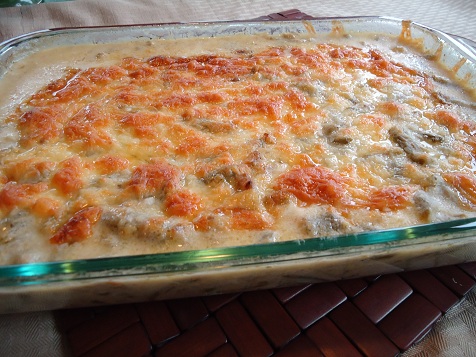
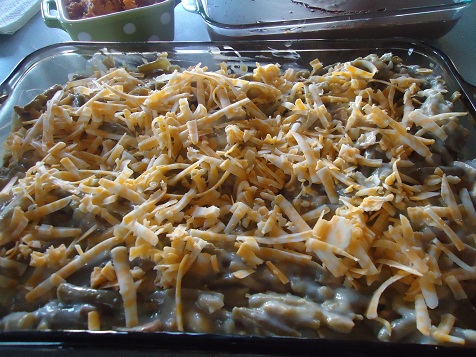
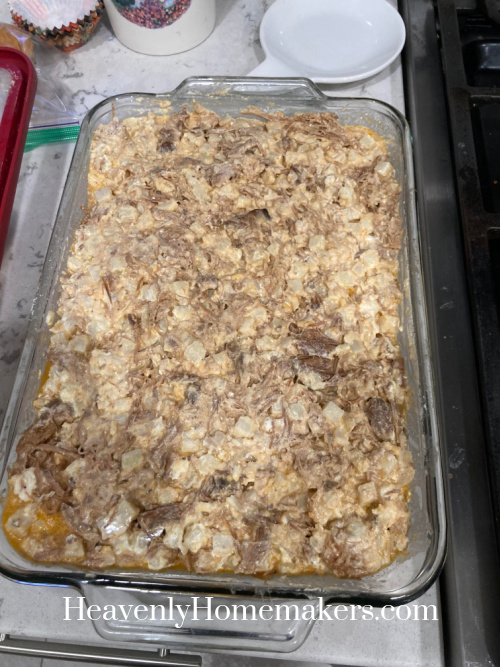
After school, Brayden, Kiya, and I went to hand out food at the Food Distribution site. When we got home, Matt had started warming up the casserole I’d put together from Sunday’s leftovers plus leftover peas.
Wednesday, Matt and Elias headed to York to work on our properties. Kelsey had the day off so she came over to help with kids and Thanksgiving prep! We had a huge day in the kitchen, getting a lot done for the holiday and then some.
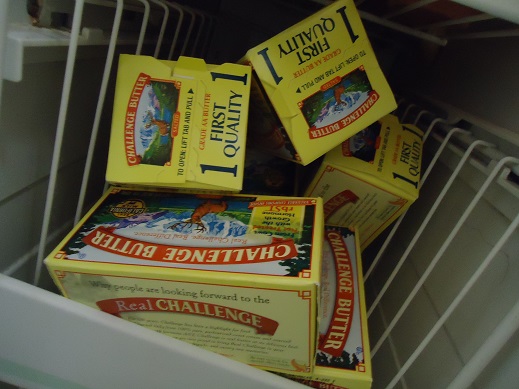
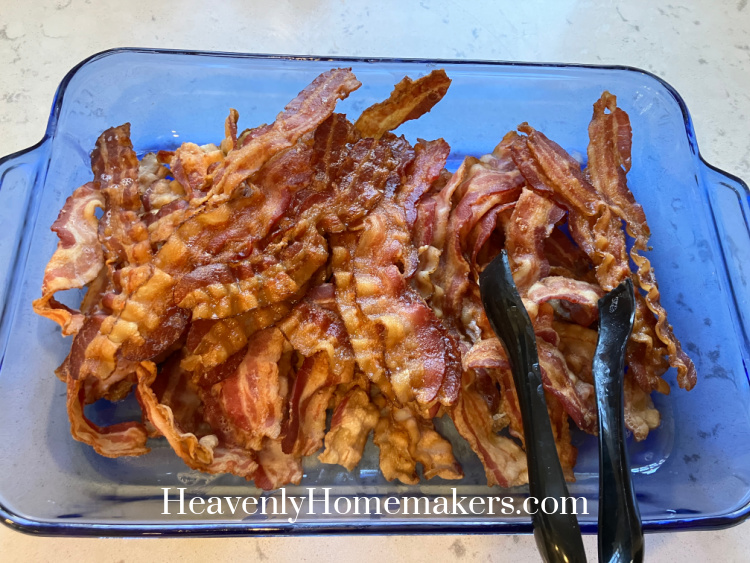
I had picked up this 10-pound box of bacon at Sam’s the day before. It was highly discounted and ended up being just $3.40/pound so I was pretty excited! We baked several cookie sheets worth of it that morning, eating it for breakfast and then putting the rest in the fridge for easy-t0-warm-up breakfasts or sandwiches during the next few days.

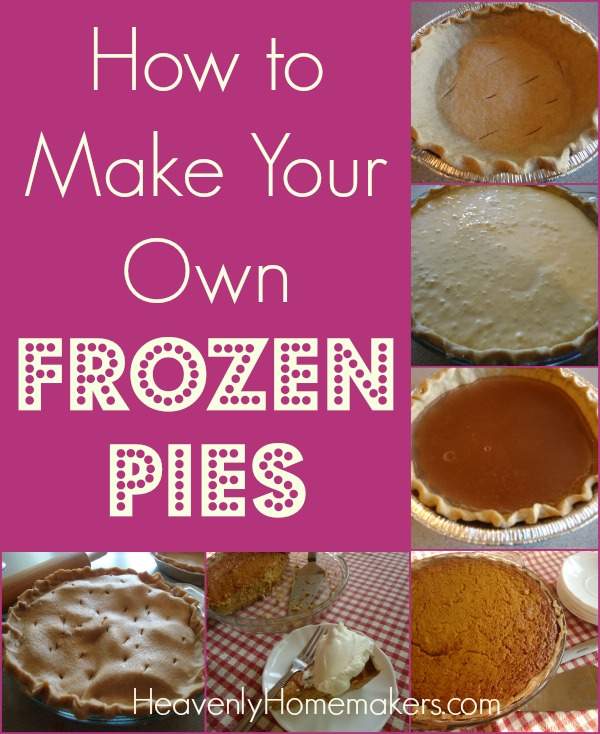
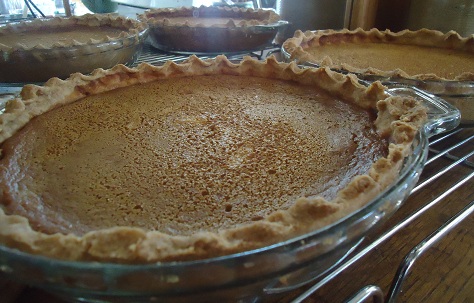
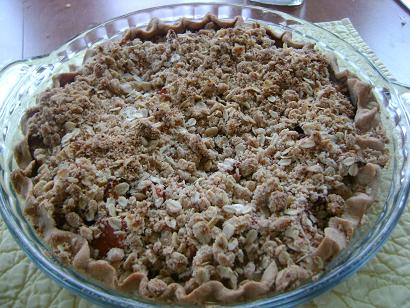
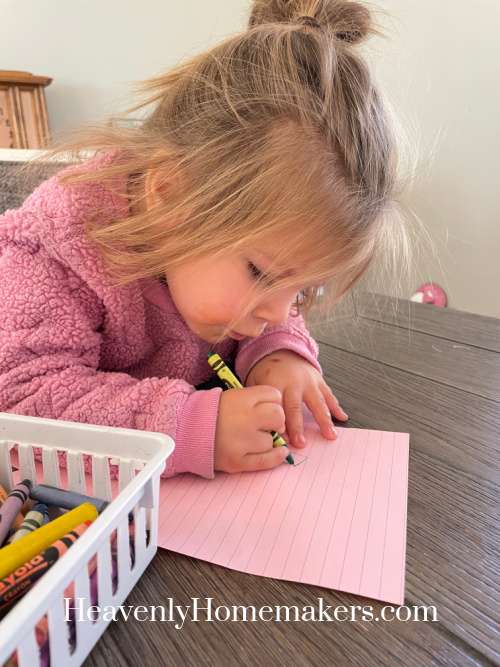
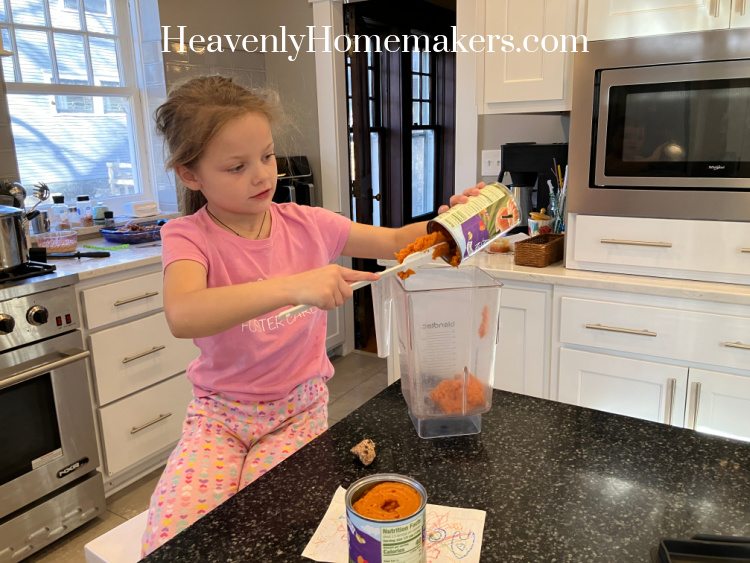
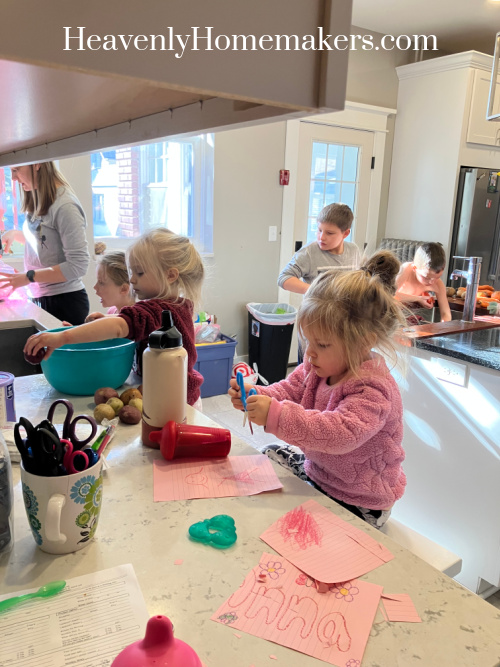
Kelsey took the three littlest girls into the living room to color while Kiya, Keith and I worked on Pumpkin Pies.
Kiya did most of the “work” of adding ingredients to the blender and Keith helped push buttons on the blender. ;)
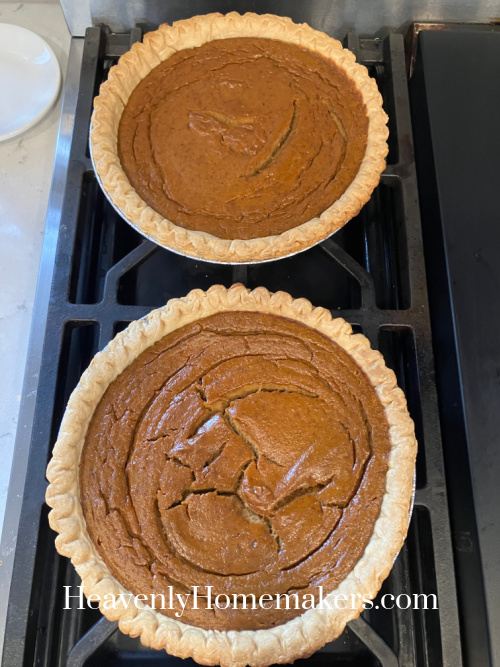
Our pies turned out great! Here’s our easy, real food Pumpkin Pie recipe.
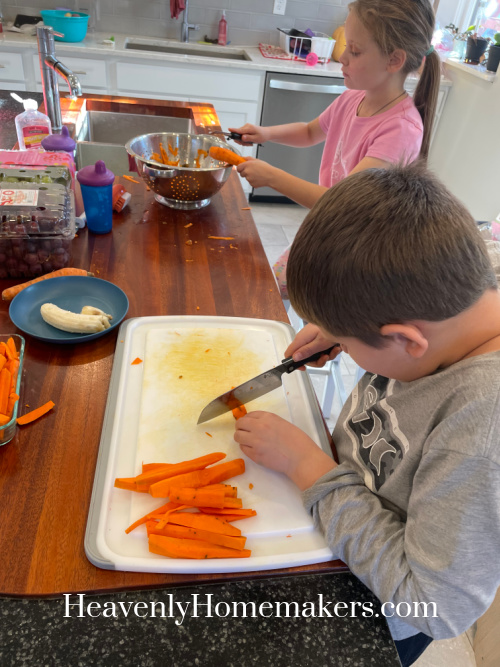
Next, Kelsey got the kids involved in potato scrubbing and carrot peeling/cutting.
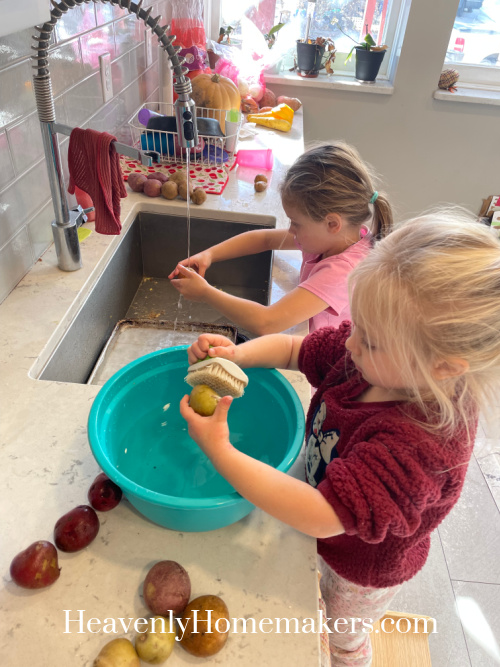
So far, we hadn’t let these two use knives, but Kelsey talked them through it and they did great!
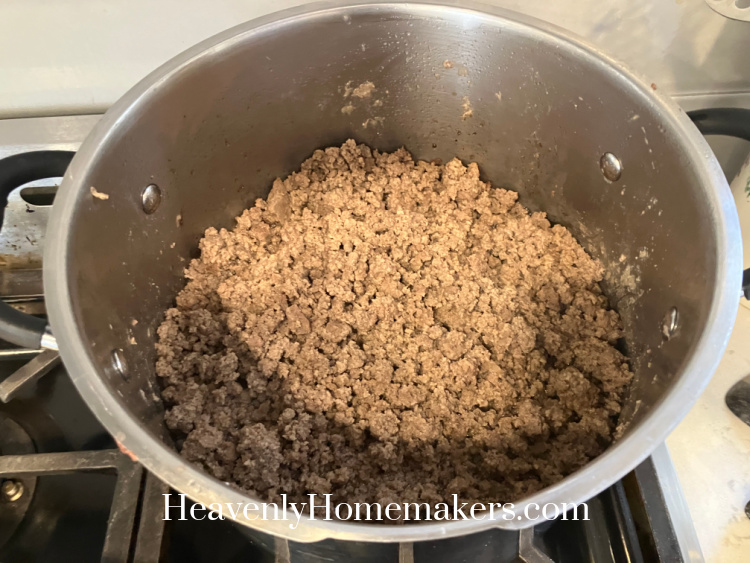
Meanwhile, we browned 6-pounds of hamburger meat to use that night and through the weekend.
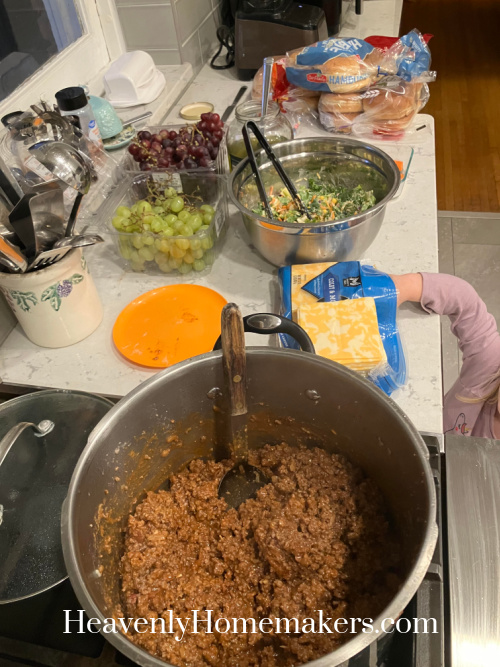
I used half of the cooked meat to make Sloppy Joes for dinner. We ate them with grapes and salad.
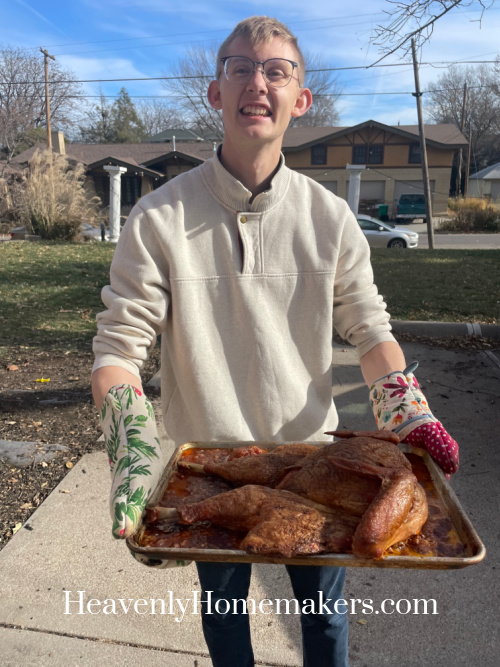
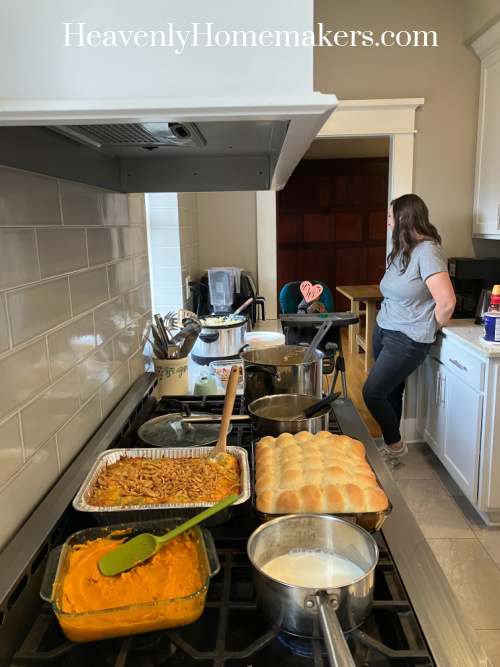
Thursday morning Justus showed up at 5:20 to get the turkey on the smoker. I had coffee and God time, then got mashed potatoes in the crock pot.
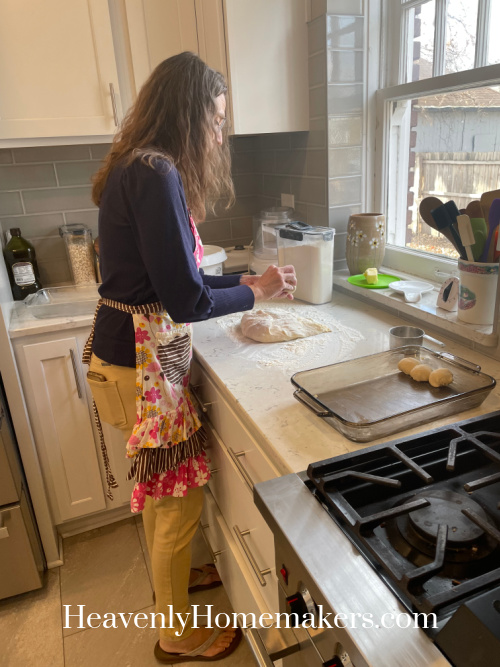
Mid-morning I made these rolls – first time I’d made rolls in a long time! Kelsey snagged this photo. :)
We’d FINALLY finished our “take fall treats to neighbors” project and were determined to deliver before our Thanksgiving meal. Our bags were filled with frosted brownies, muffins, and oatmeal cookies.
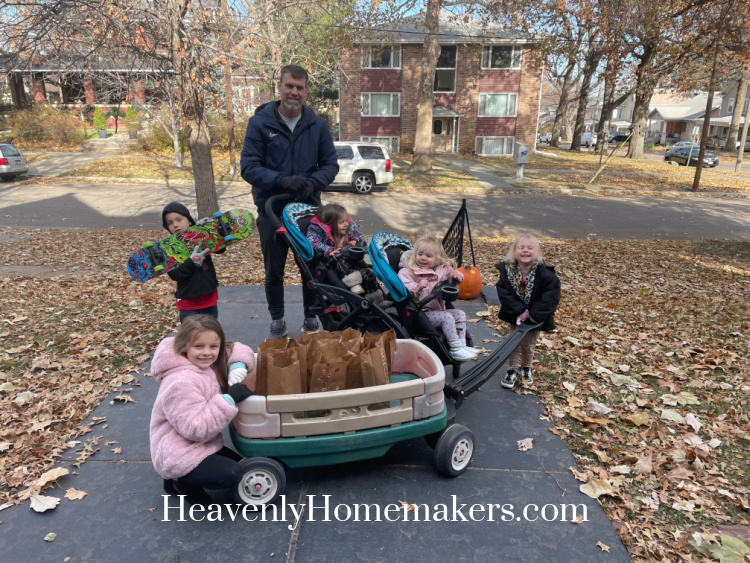
Matt loaded up all the bags plus six kids and walked around the neighborhood handing them out and wishing people a Happy Thanksgiving!
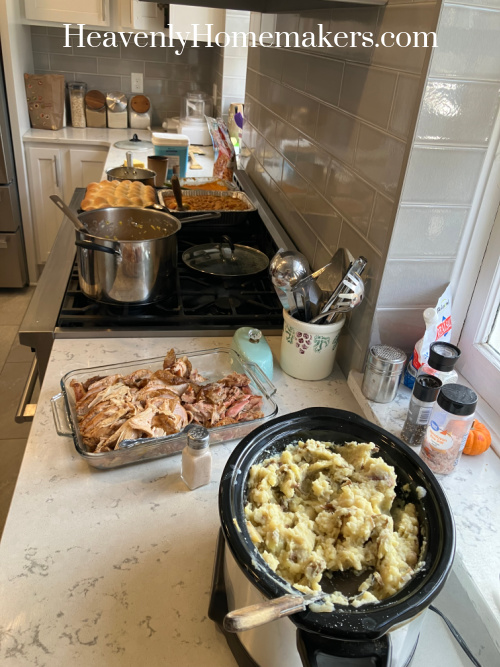
Meanwhile, guests started to show up and we finished the meal prep. Justus’ turkey turned out amazing!
Here are all of my Thanksgiving meal recipes.
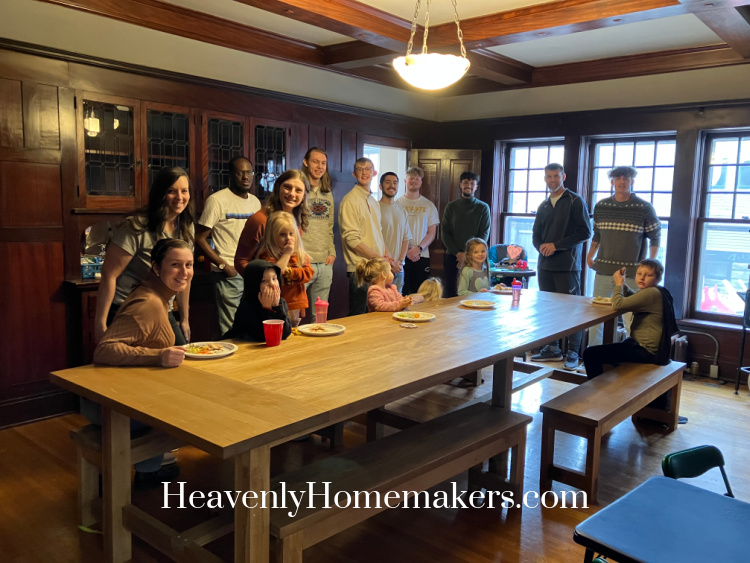
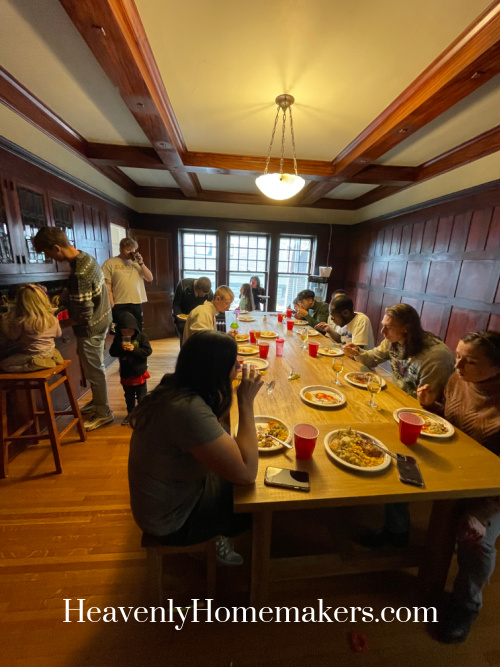
Here’s this year’s crew! It included all of our family plus one of our housemates (who is now part of our family). Plus a dear friend from York and two YU soccer guys we’ve come to know.
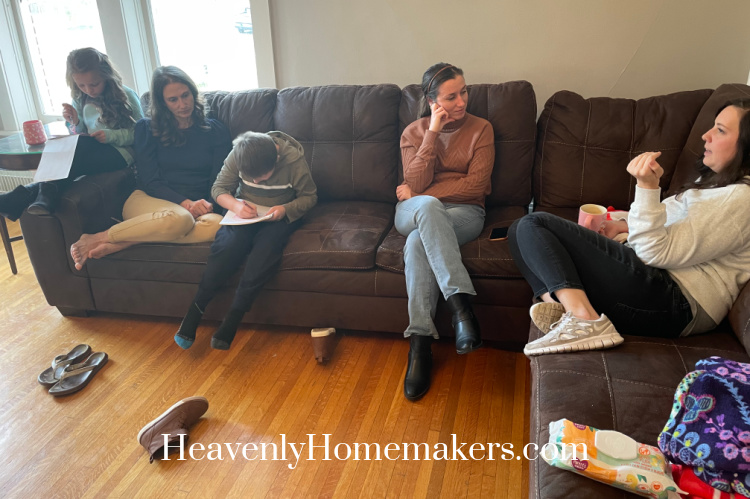
After the feast, the guys played a game in the living room and we gals rested for a while on the couches.
I packaged up a plate of food for a friend who wasn’t able to enjoy a Thanksgiving meal that day, then we started getting kids ready for Eva to take our family photos.

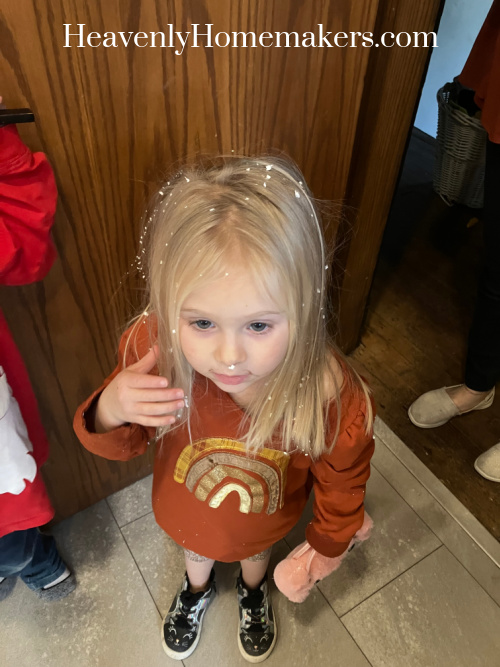
UGH. It was then that Anna came down from her “nap” with styrofoam stuffing all over her. Which meant that something had busted open and the filling was also all over her bedroom. Praise God for sweet daughters-in-law who cleaned it all up for their tired mother-in-law.
Eva is a rock star who took individual photos of all of us, plus one big family photo. (I’ll share them with you when we get them!) We came home and put together a Nacho Bar for dinner.
Then, we turned on a Christmas show for the kids to watch while we adults played Stuff Happens before bedtime. THAT was my favorite part of the day!
Friday I got zero pictures, hahaha. I was so tired that day I wasn’t on my top game. We picked up our Bonus Boy for the weekend (age 4, former foster son and half sibling to some of our kids), ate leftovers, we made mac and cheese, I took a nap. That’s about all I remember. :)
Saturday we loaded up all 8 kids and took them to the Children’s Museum for the morning. It was a great and needed outing!
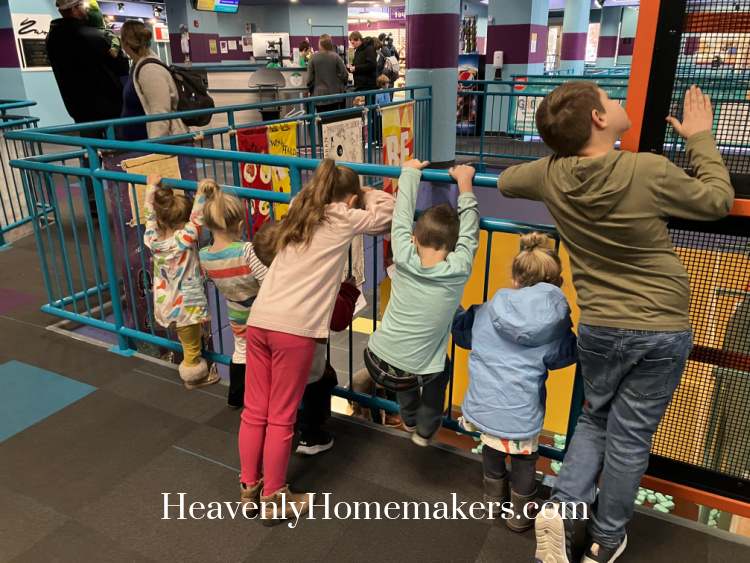
We ended our time at the museum with the kids all “working” at Runza. It was one of the cutest things I’ve ever seen them do as a group. They had on hats and aprons, flipped burgers, took orders, filled drinks, made fries – goodness it was sweet.

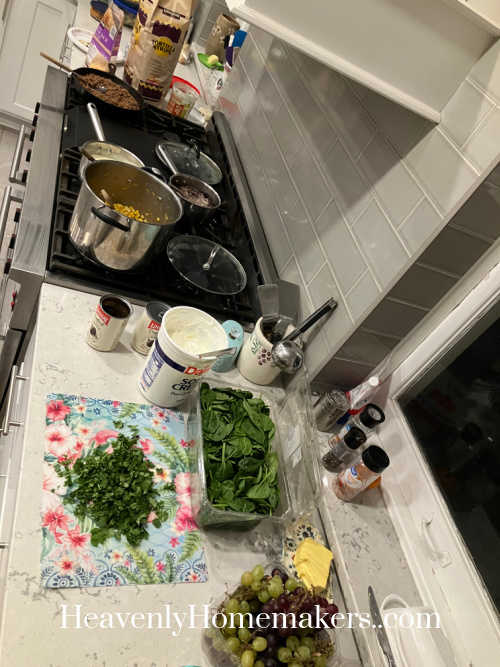
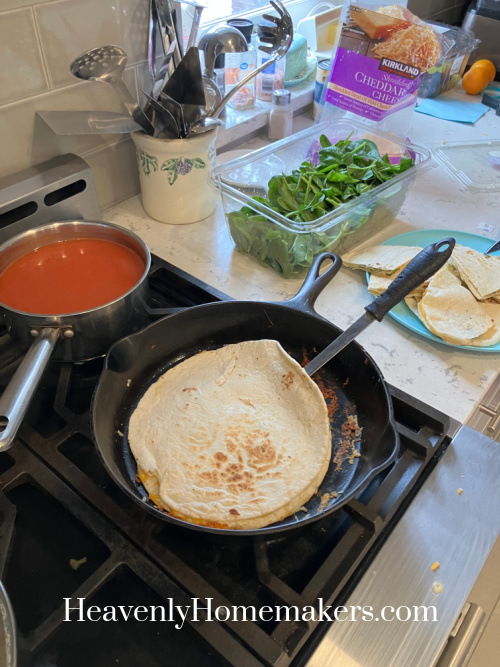
Elias had started lunch for us so that we could eat right away when we got home – Cheese and Spinach Quesadillas with Tomato Soup and apples.
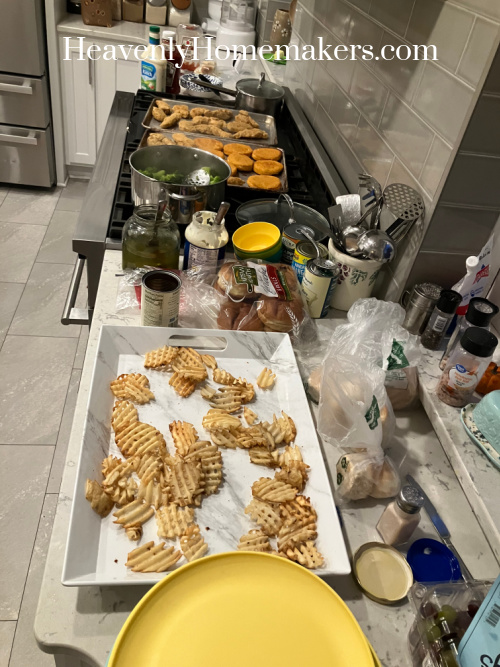
For dinner that night, I baked whatever chicken tenders and patties I found in the freezer. Plus I put waffle fries in our air fryer, steamed broccoli, and opened up cans of fruit. It was a fun, easy meal and a great way to end our week!
And now – Christmas time!!!!! Here’s to a great new week!