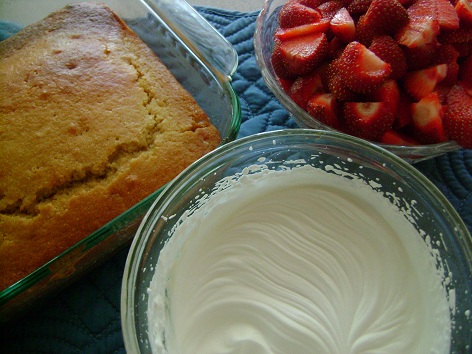
Of all the food I make from scratch, whipped cream is the one that tends to really surprise people who are unfamiliar with the simplicity (and deliciousness) of real food cooking.
“You can make whipped cream!?!?” they ask, incredulously. That’s when I tell them that they, too, can make this treat. Then I hand them the beaters and watch as they follow my ever so simple instructions to make whipped cream. (Stand, hold beaters in bowl of cream, move beaters around a little bit, watch fun patterns forming, stop when it’s thick.) After they’ve whipped the cream, thus creating whipped cream, they can’t believe that this is all it takes. I explain that this is how whipped cream got its name. It’s all very fascinating.
Cool Whip has us all a bit confused. I remember thinking that Cool Whip was whipped cream. As a matter of fact, Cool Whip used to be my favorite part of a holiday meal when I was a little girl. I did not even want the pie that went with it. Why would I want pie when there were tubs of Cool Whip in abundance? My cousin Rebecca and I would each get a bowl and fill it with Cool Whip. We’d sit back, giggling, licking spoonful after spoonful of Cool Whip. Our mothers and our aunts and our Nana would chuckle at us and we’d be like, “What?! This is the reason the pilgrims came over on the Mayflower.” We left the pie (and the coffee they drank with it) to the adults. Weirdos.
I’m all grown up now (she says, as she takes a sip of coffee). I’m over Cool Whip. I like the real stuff now. Real whipped cream is one of the easiest treats to make. Because it is real, it tastes absolutely amazing. Our bodies recognize it, so we don’t even have to be like “oh no, I’m eating so much fat, this is so bad for me.” On the contrary, our bodies don’t recognize and don’t know what to do with hydrogenated vegetable oil, high fructose corn syrup, sodium casienate, artificial flavor, xanthan and guar gums, polysorbate 60, sorbitan, monostearate, sodium polyphosphate.
Those are just some of the key ingredients in Cool Whip. Please don’t think it’s healthier. Or actual food. For the love of all things real, please whip cream.
How to Make Whipped Cream
- 2 cups heavy whipping cream
- 2 Tablespoons sugar or 10 drops liquid stevia
- ½ teaspoon vanilla extract (optional)
- Place ingredients in a high power blender. Whip on high speed for about 30 seconds or until cream has thickened. OR
- Put all ingredients into a large bowl. Whip with a hand mixer on high speed for 3-4 minutes or until cream thickens and forms stiff peaks.
Make it Ahead
I recommend making Whipped Cream one day in advance or the morning of a big holiday meal. Prepare as directed, cover, and place in a bowl with a lid in the refrigerator until serving time. DO NOT STIR this after it has been whipped or it may deflate and become liquidy.
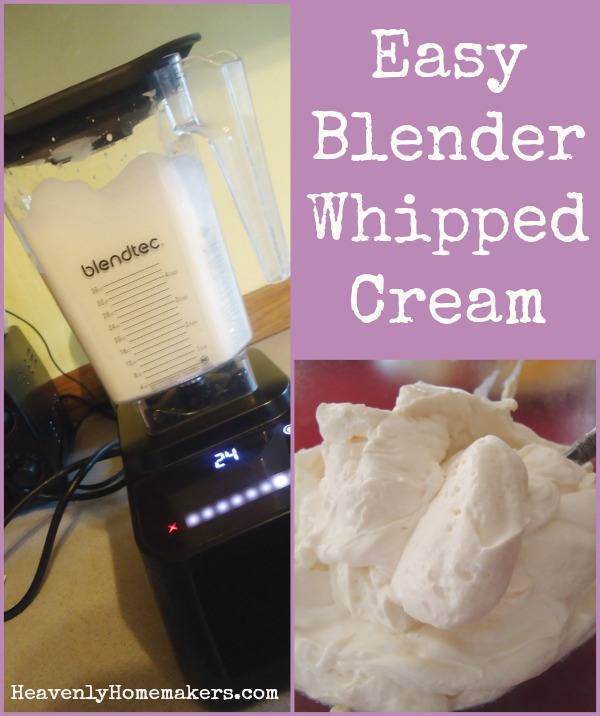
My new favorite way to make whipped cream is to pour cream, stevia, and vanilla into my Blendtec. I turn it on and have whipped cream 15-30 seconds later. It is so easy. The Blendtec is amazing in many ways (because hello, whipped cream in seconds). But beware: leaving the cream to whip much longer will produce butter. This is not a problem (because hello, butter in minutes) unless you wanted whipped cream for your pie. Butter is not the same.
How do you make Whipped Cream?
Here are the quick links to all the recipes we covered in this series:
- Make-Ahead Turkey
- Stuffing Muffins
- Cheesy Mashed Potatoes
- Oh Good Gravy
- Green Bean Casserole
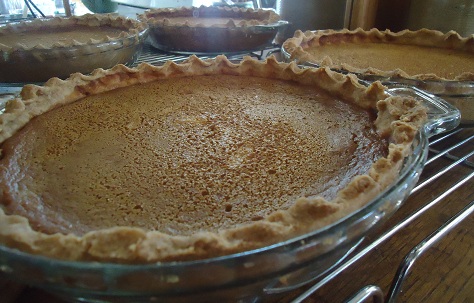
- How to Make Frozen Pies
- Simple Whipped Sweet Potatoes
- How to make Whipped Cream
- Whole Wheat Stir-and-Pour Dinner Rolls

Have you been a Cool Whip lover like I was in the past? Funny how now I can’t even stomach thinking about it. Now that I know the real deal is so easy and delicious, I don’t even see a comparison. Mmmm, real food how I love you.
~~~~~~~~~~~~~~~~~~~~~~~~~~~~~~~~~~~~~~~~~~~~~
Simple Meals is here! It’s saving my brain (and many of yours too!). If you haven’t joined yet, now’s the time. Get all the details here!