I couldn’t type one word of this post without tears. It’s what I do now apparently: snuggle and chase a bunch of little ones all day and cry a lot.
The tears are mostly the result of joy and awe spilling out all over my face. But there are also a few bucketfuls that are from heartache, frustration, fear, and longing. Never before these last 2.5 years of starting our foster care and adoption journey have I realized my absolute need for God’s strength and provision. I am so thankful for what I am learning. I am beyond thankful that God is perfectly in charge.
Wait. I’m not in charge? No, and it stinks. Except that it doesn’t, because so many times I pray for something that I think is best, and then God shows me that guess what? His ways are still best. Better than mine. Always.
So here’s a family life update, which is constantly changing, full, and often smells like a dirty diaper.
Family Update!
Well, let’s see, where to start? Our summer was full of long walks with the babies-turned-toddlers riding in the double stroller, and Brayden, our 6 year old walking beside me. We walked for miles, using the time to practice Brayden’s struggling speech skills. We did a lot of “unschooling” during this time noticing bits of nature, talking through math problems, finding things that started with different letters – so much learning. I will look back on this summer as one that was incredibly busy and wonderfully wonderful.
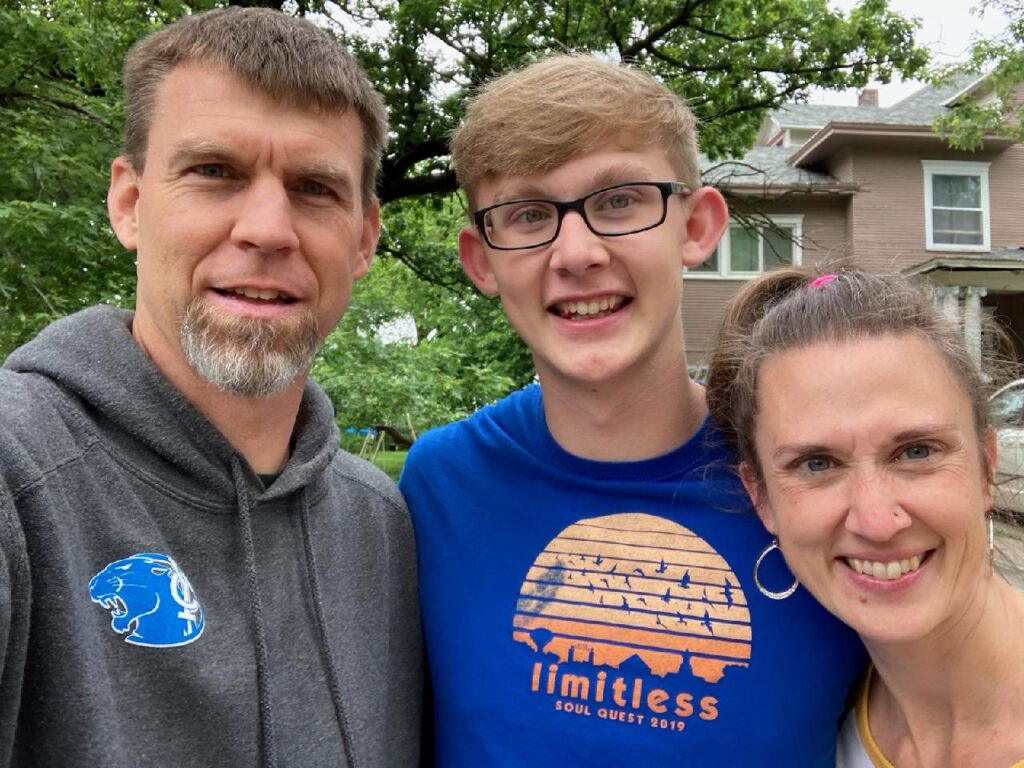
Elias graduated from high school and we were finally able to celebrate with a simple party in June. We had a cake pop and iced coffee bar (I highly recommend the iced coffee! Cake pops? They were a hit, but I’m not sure I want to take the time to make them again, ha!)

Justus was blessed to spend the summer in Texas as a youth ministry intern. As a result of his great experience, he came back in August ready to add another major to his original college plan. So now he is both a vocal performance major AND a ministry major. What a beautiful combination for whatever career God has for his future.
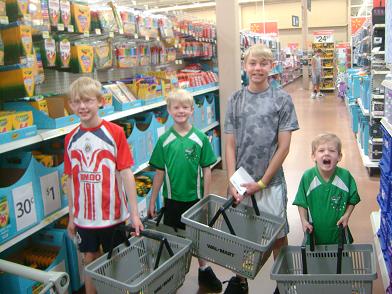
Just before school started we were amazed to get all seven boys together for our traditional back-to-school lunch. We didn’t go school shopping together like we usually do, and we didn’t go to the restaurant like we usually do. Instead, we grabbed take-out and ate together at the park.
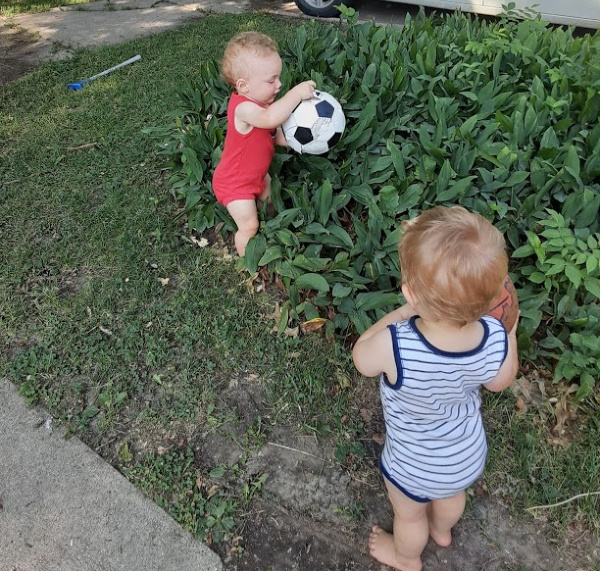
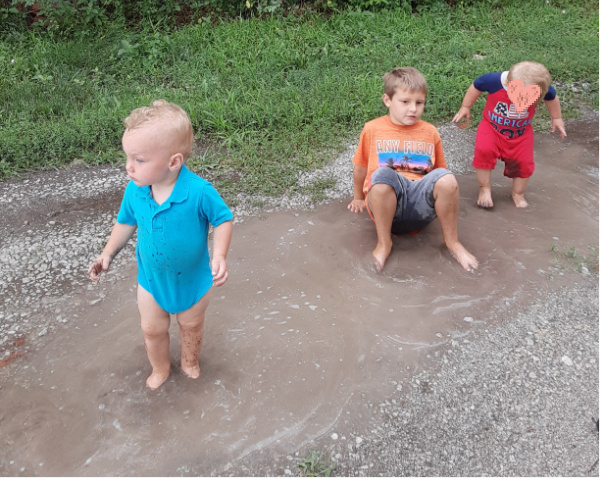
From this:
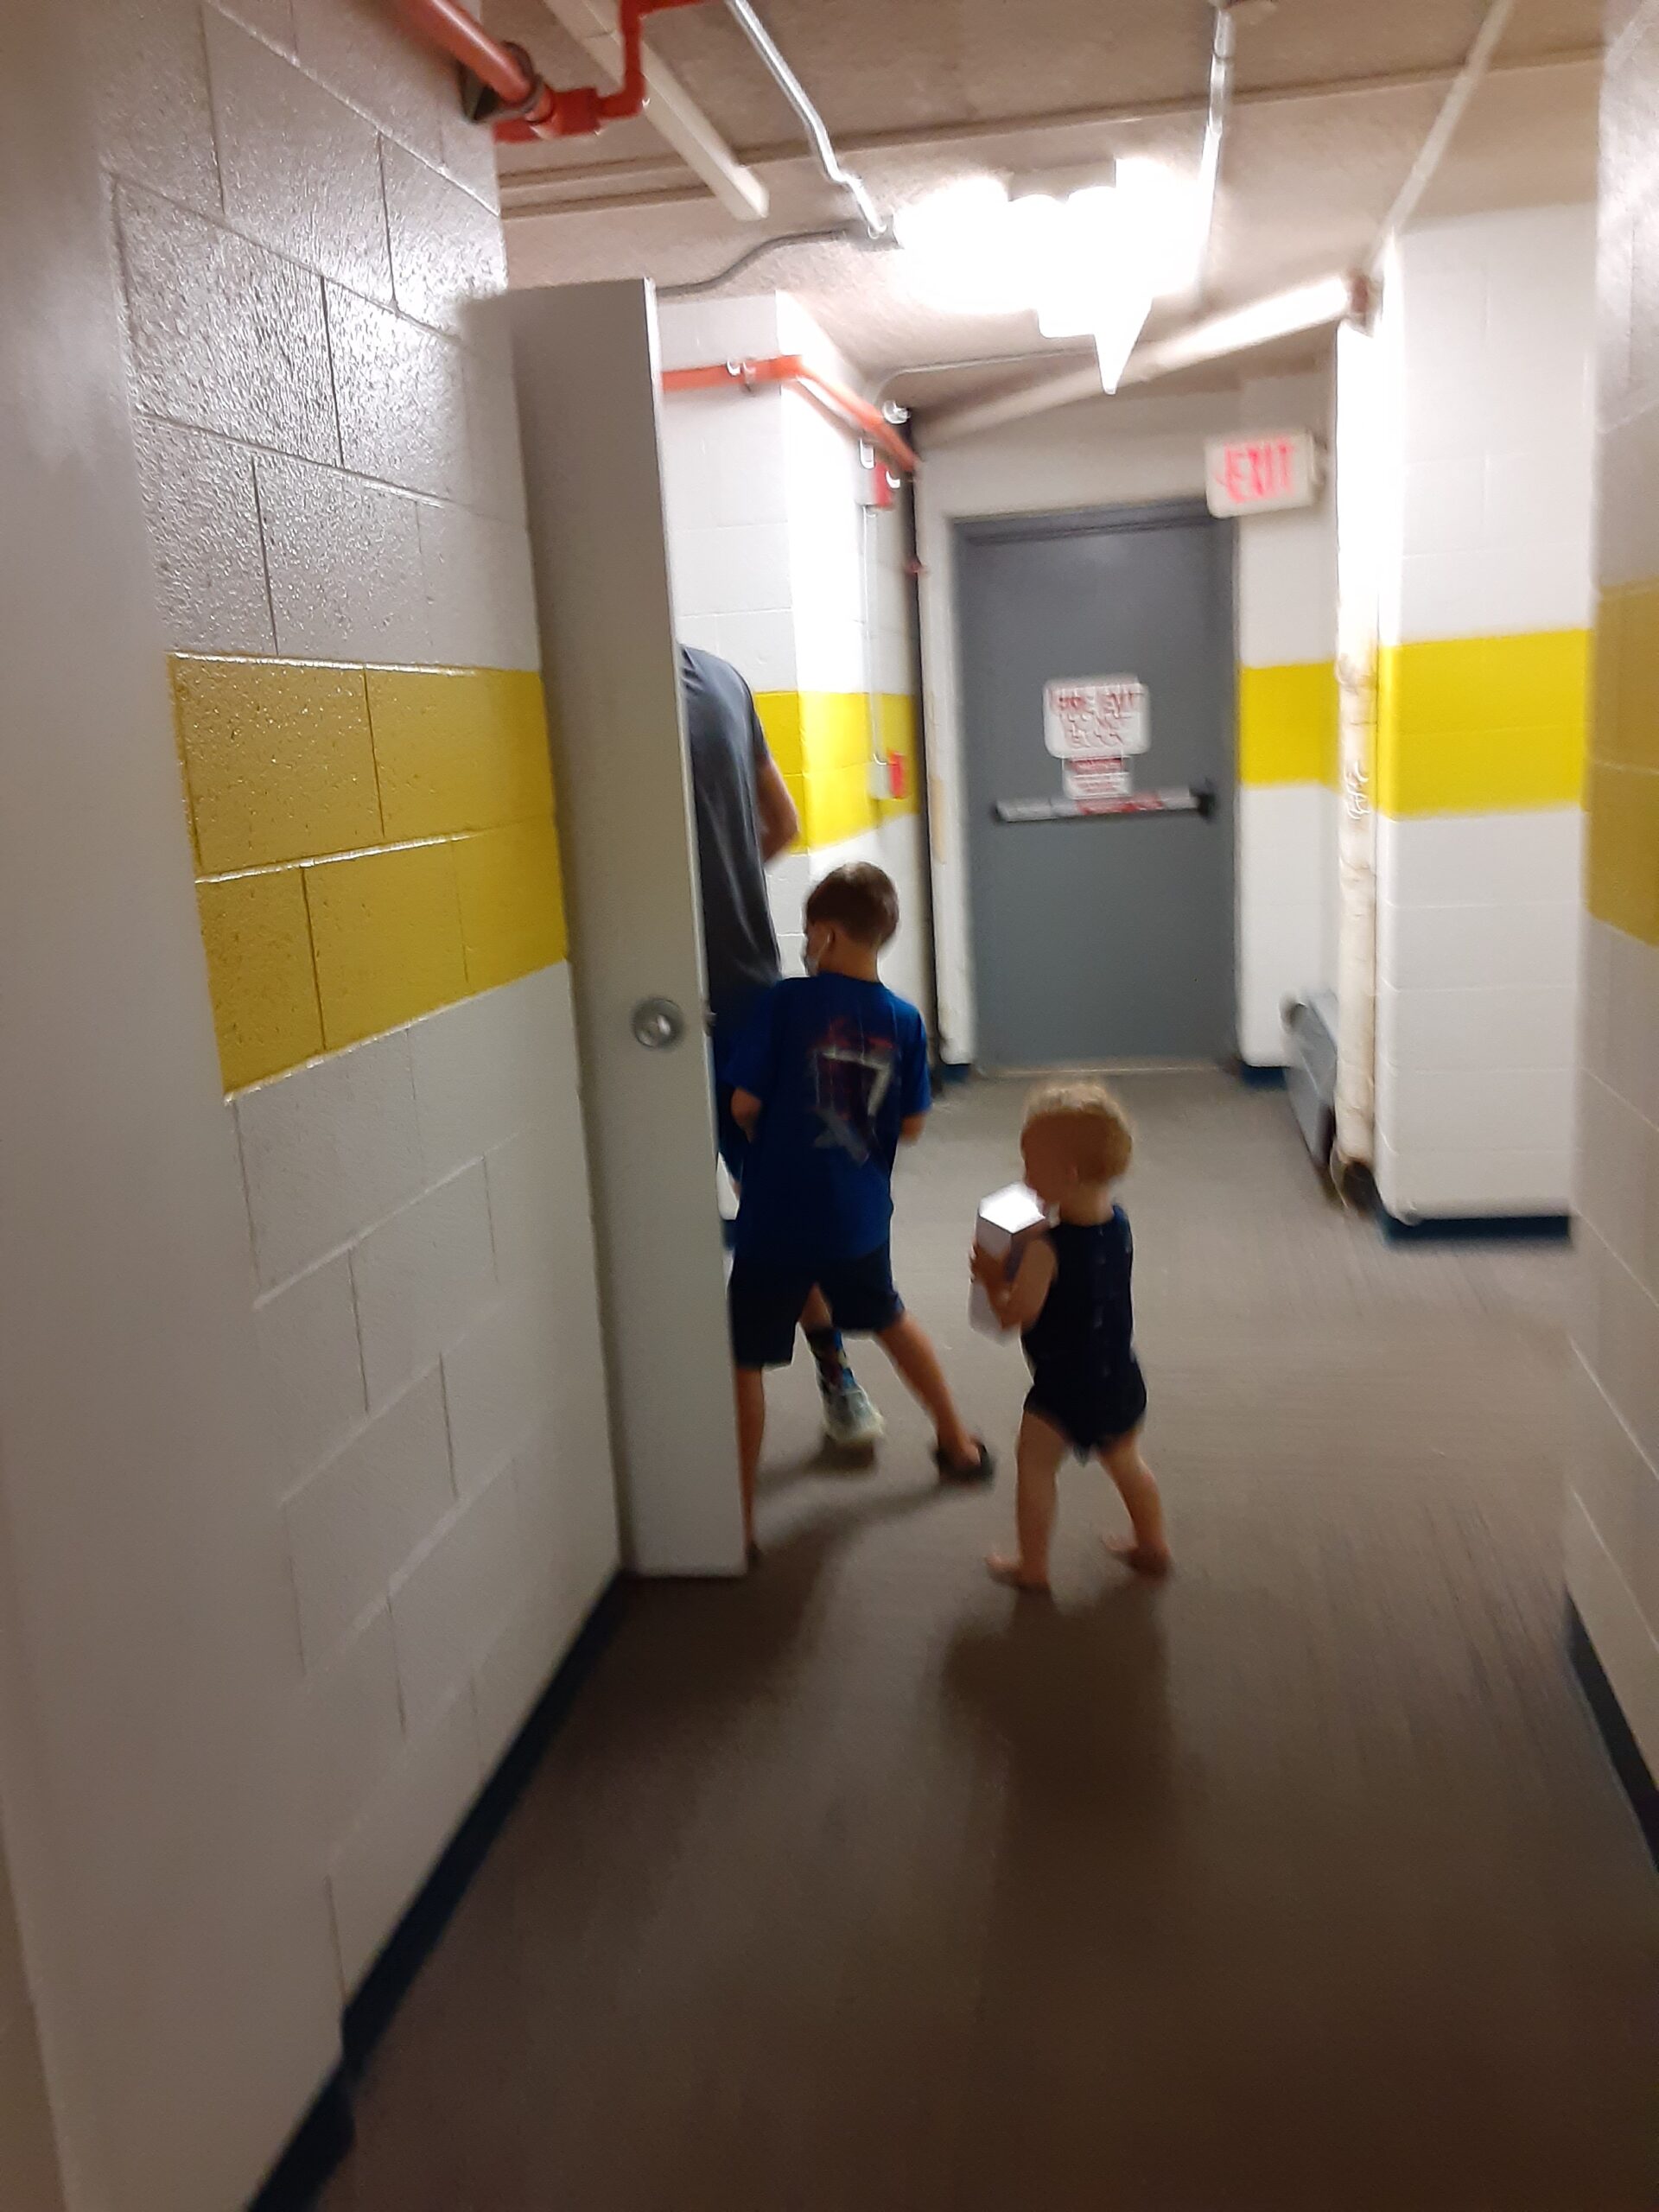
To this:

Mid August, we got Elias and Justus moved into their college dorms/apartments. Even Keith helped. :)
Suddenly, Malachi went from the youngest of four boys to the oldest of four boys at home. He rocked this role from the start. We settled into our school year homeschooling a sophomore and a first grader while chasing two busy toddlers.
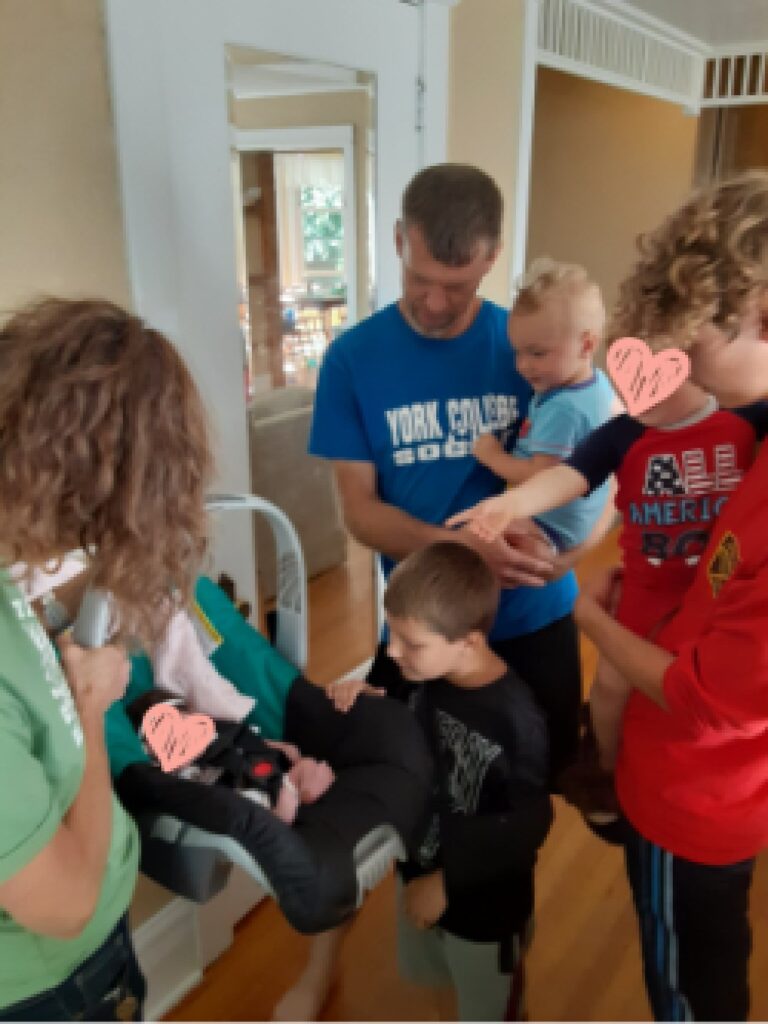
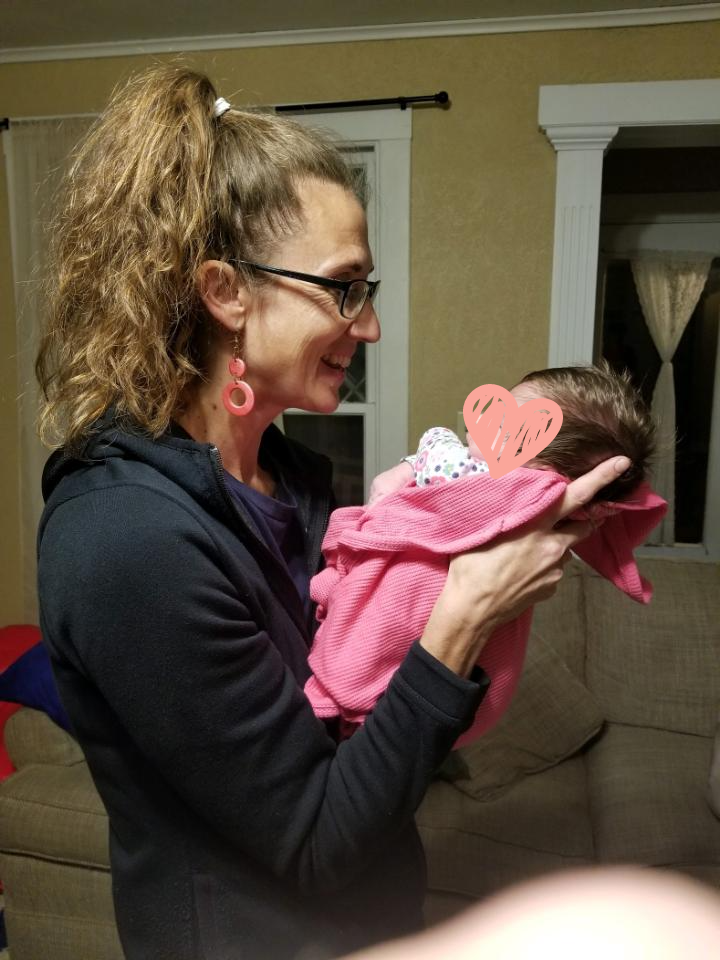
Just when we thought we couldn’t get any busier, God surprised us and changed our lives completely by putting a newborn bundle of pink in our lives. She’s a bio family member of our other bonus kids, so God’s yes was an immediate yes for us too. We were all smitten from the moment we laid eyes on her.
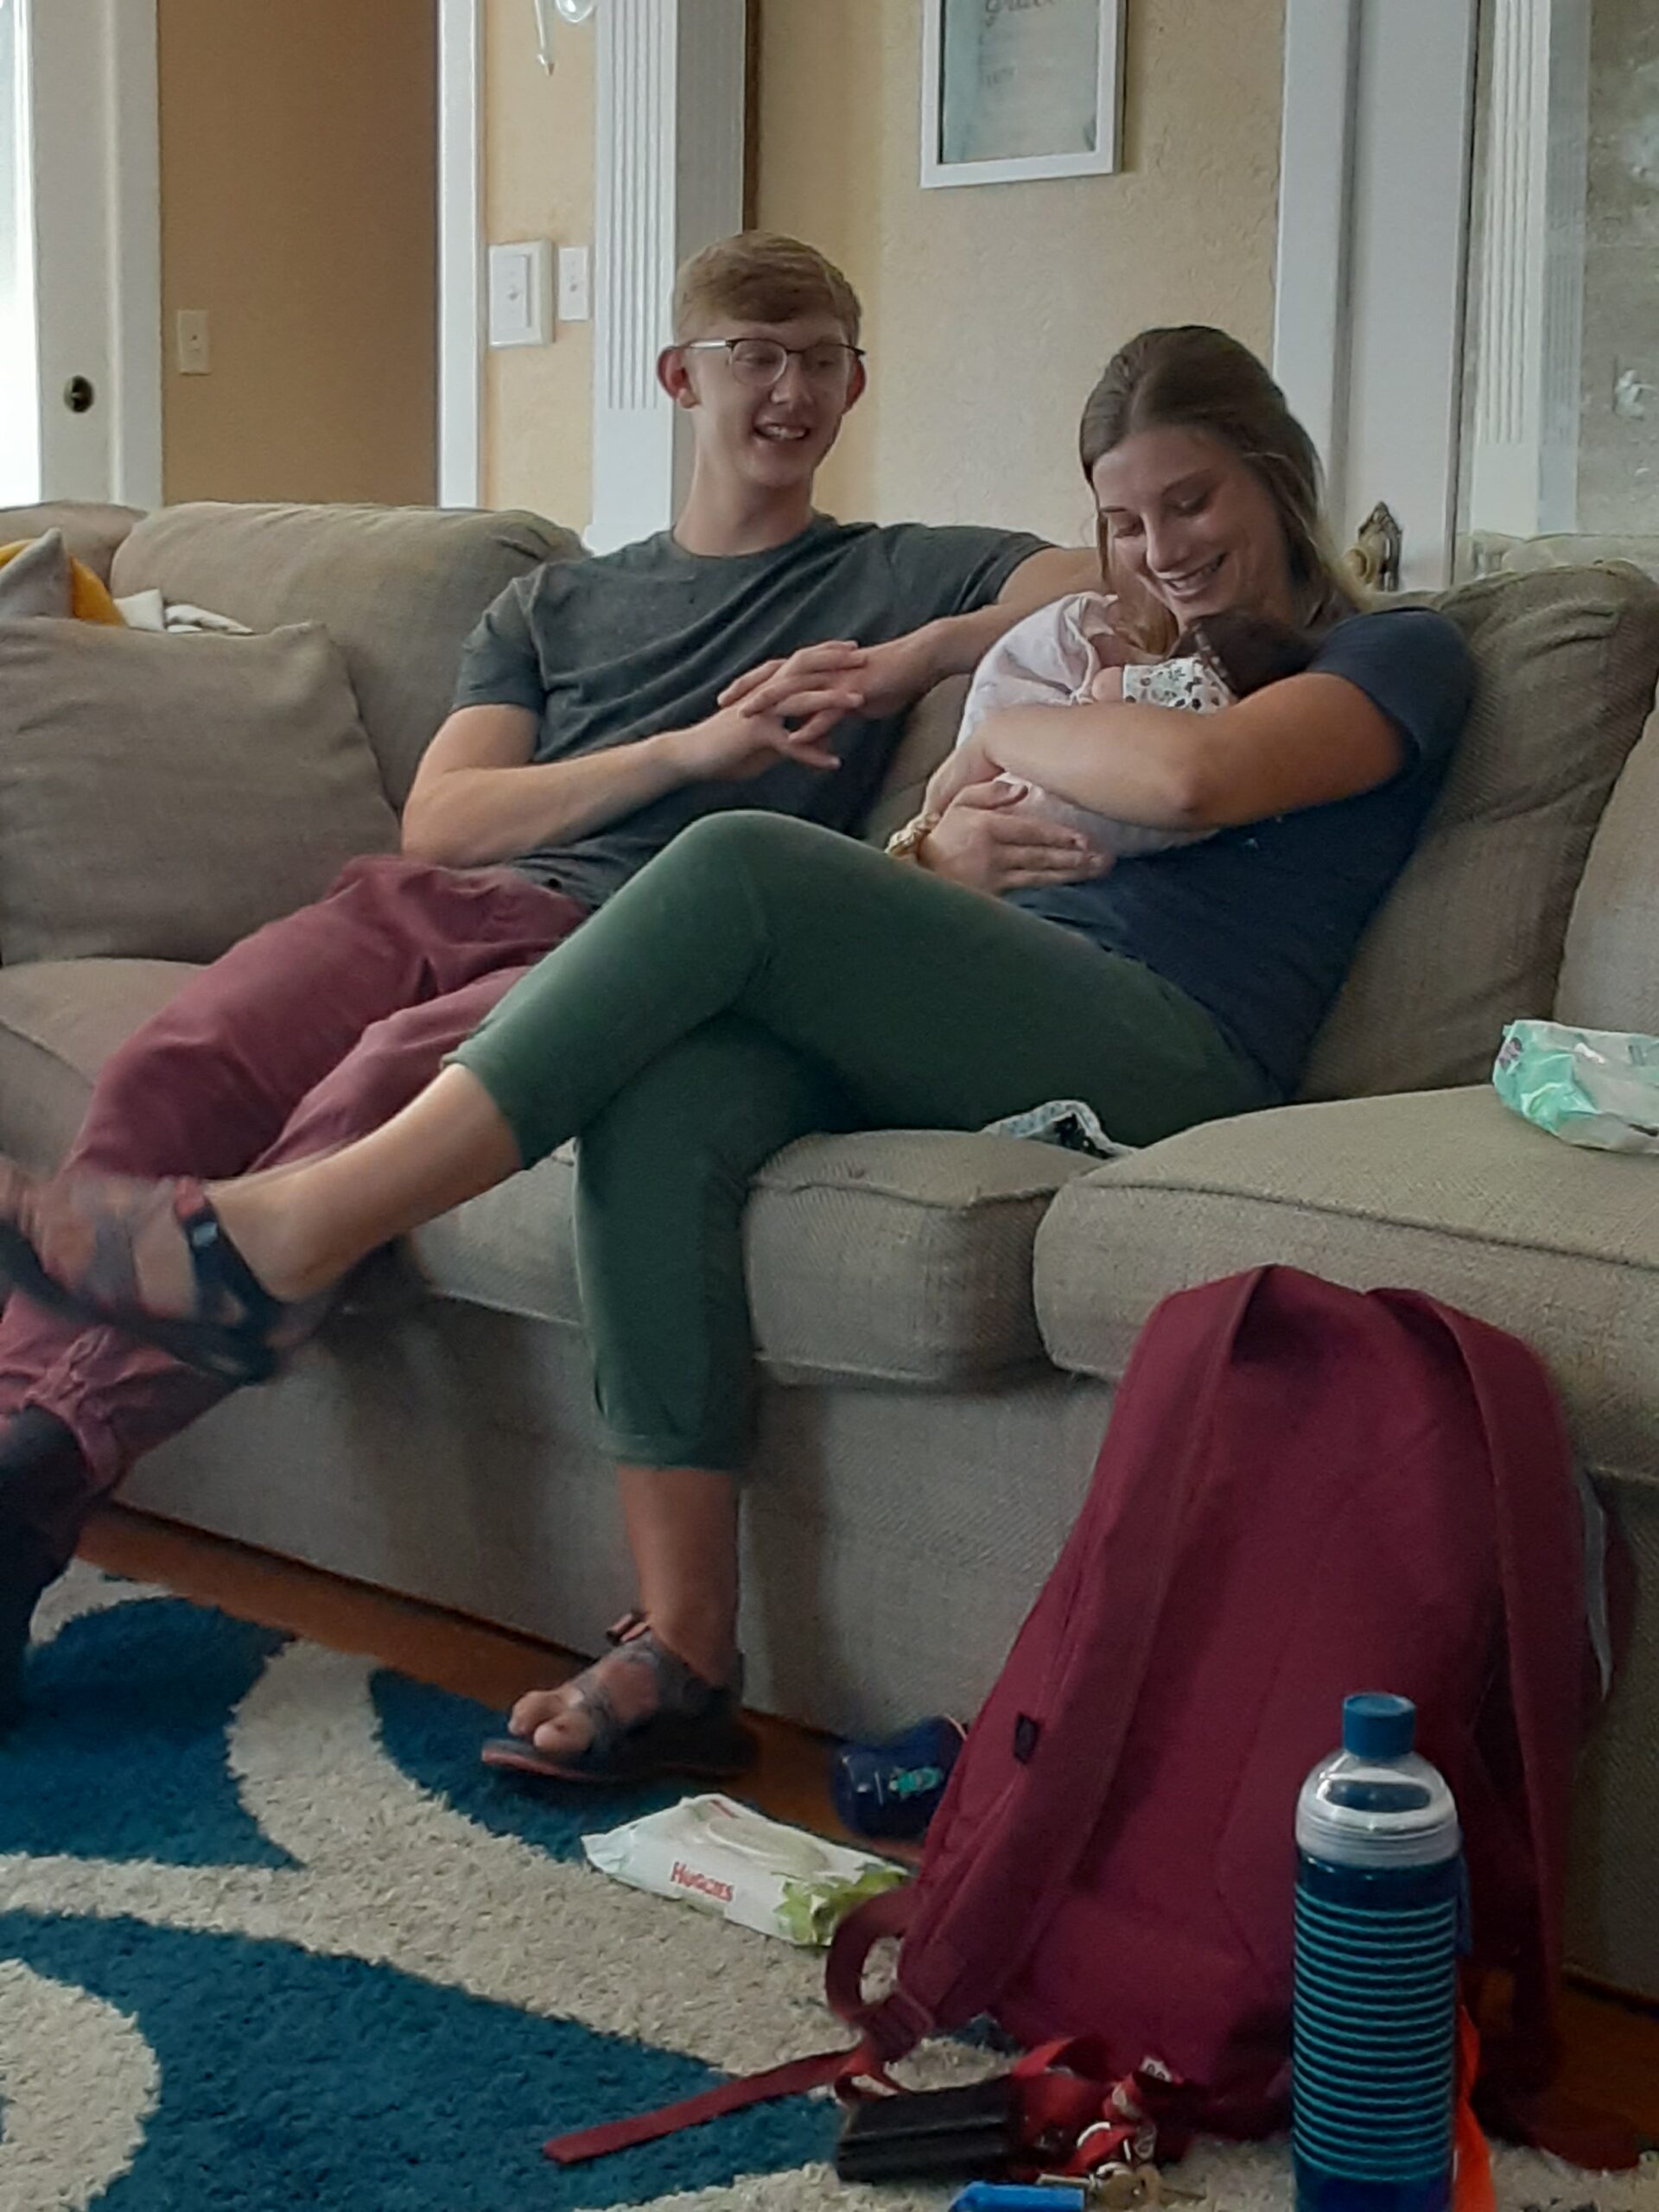
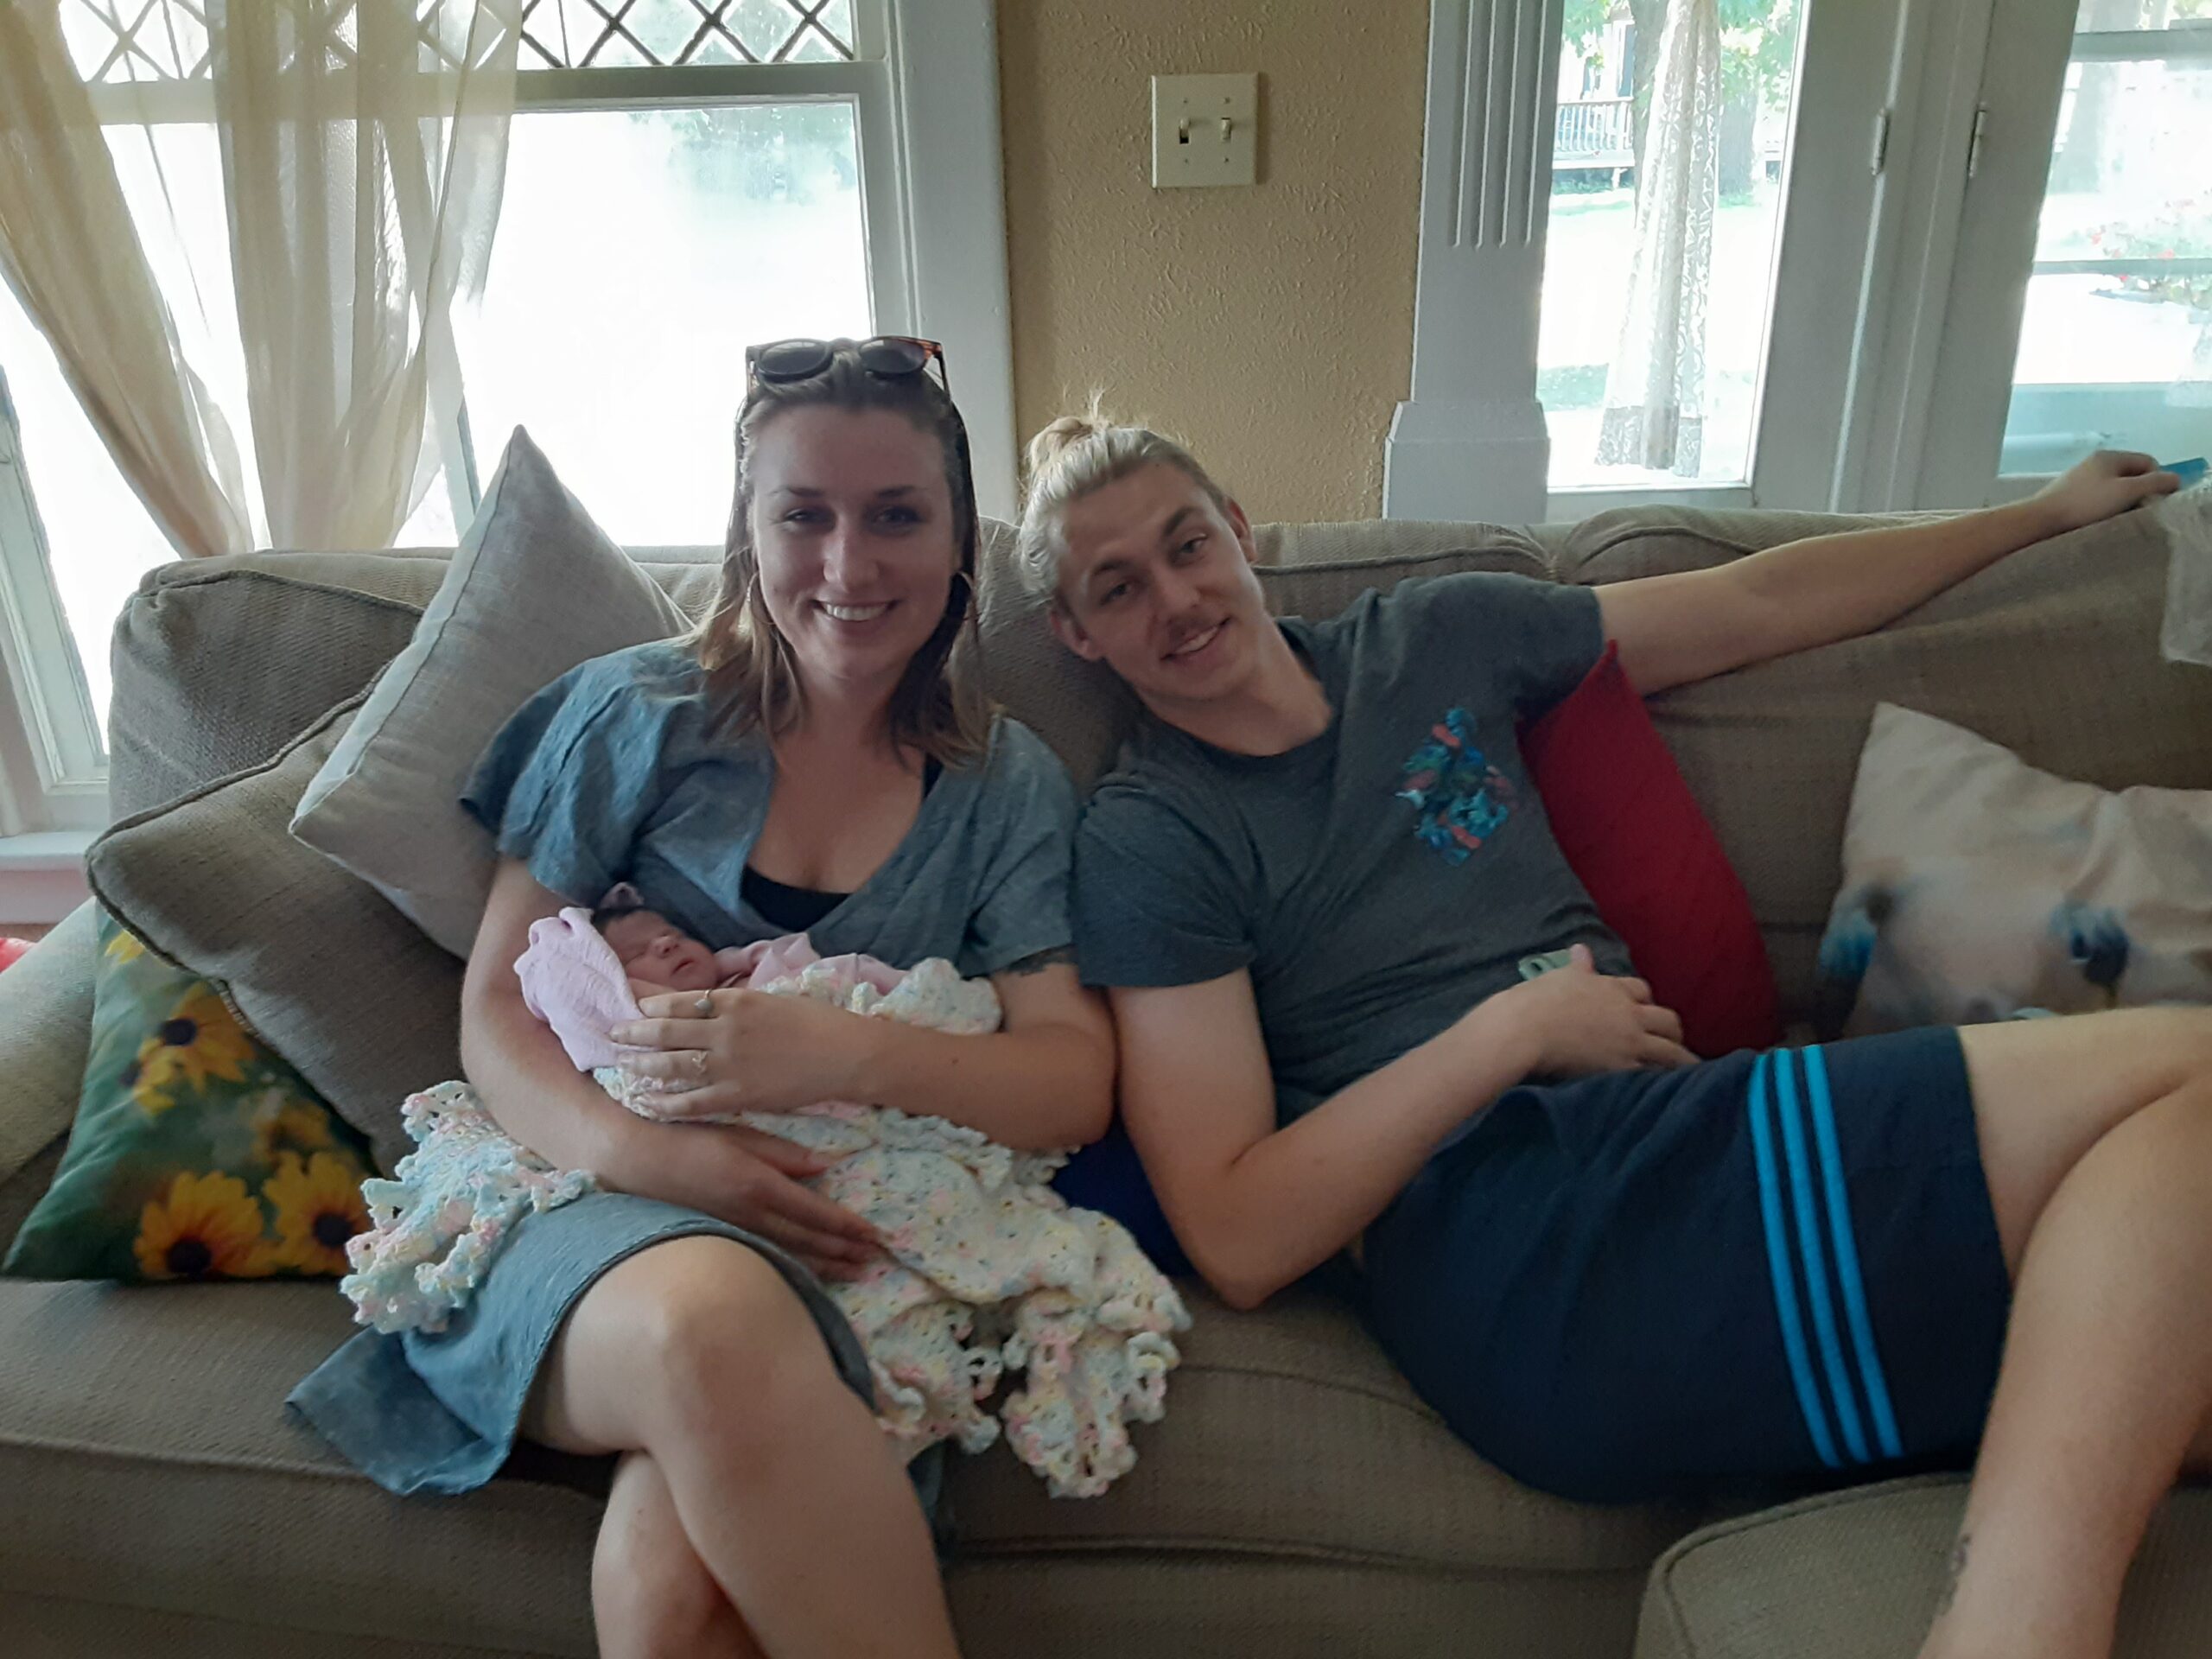
Our college boys come home with they can, and oh look, sometimes they have a special girl with them!! :) :) :)
Our littles love to pile on our big boys whenever they show up.

Asa doesn’t make it home often now that he is living and working in Lincoln. But he and his special girl come when they can and we treasure every minute.
Phew. So here we were. Trying to juggle this very full life with four awesome big kids, a fabulous six-year-old, two one-year-old toddlers, and a newborn. Homeschool much? Well, isn’t that the question of the year.
Malachi is a sophomore so he’s able to do a lot of his work on his own and with a tutor that God led us to hire for him. Homeschooling Brayden became a much bigger challenge, though the truth is, the challenge had started even before we got a newborn.
The past several months had revealed more of the struggles our little guy faces with academics and behavior. The time his needs were taking me every day took away from other important needs, and I found that even when I poured a huge amount of energy into his learning and behavior needs, I still wasn’t able to give him what he required. I regrouped, tried different ideas and methods, prayed, prayed, prayed.
God answered. I ignored Him though because He told us to send Brayden to school. Send our boy to school? No, that couldn’t be the answer. We’ve always homeschooled. I could do this. I would do this.
God said it again in a different way. Then again. Then again. Finally, I listened and we obeyed. Funny how I’ve always supported every person’s educational decisions for their family no matter what they chose, but goodness I had a hard time letting go of this for myself. I’ve grieved and cried because wow this change is a big one. I’ve always been a homeschool mom, I cried!! Then Justus said, pointing to Baby Sis, “Well up until two weeks ago you’ve always been a boy mom.” Well isn’t that the truth? Change might be hard, but it doesn’t have to be bad. Change can be very, very good.
God is faithful and good. He paved this out and eased Brayden’s transition, and here we are. Brayden has been going to public school for two months now, getting the extra help and resources that he so badly needed. Truly, we are so grateful.

So back to being more than just a boy mom. What a huge change, and well, it’s alright I guess. ;)
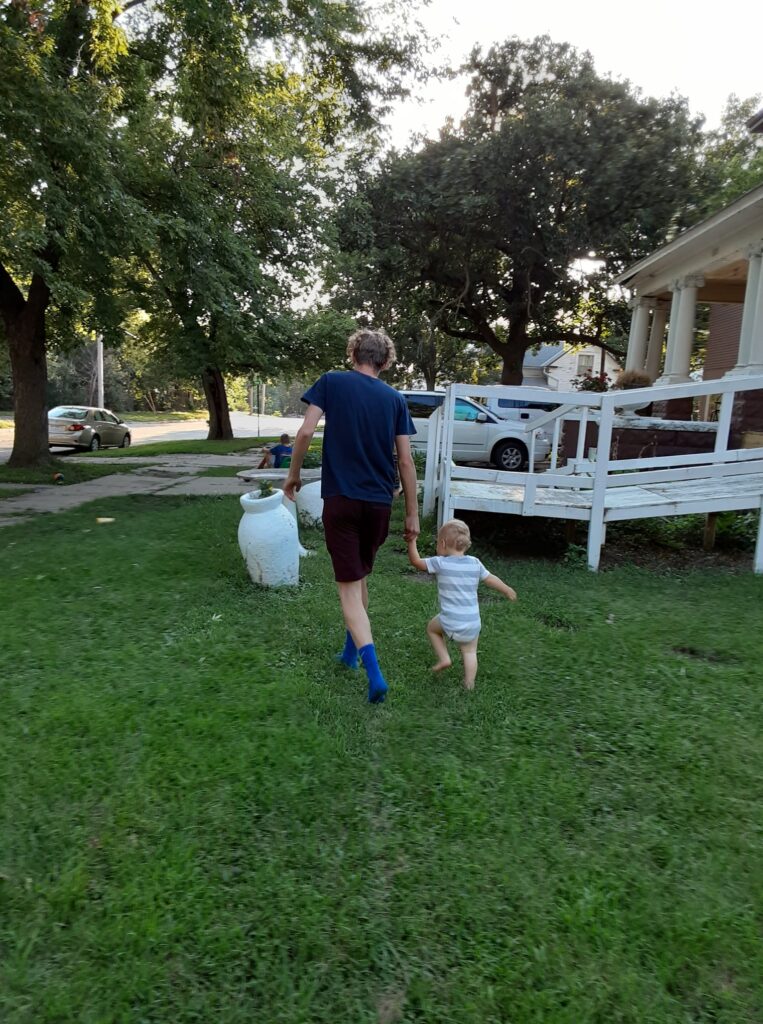
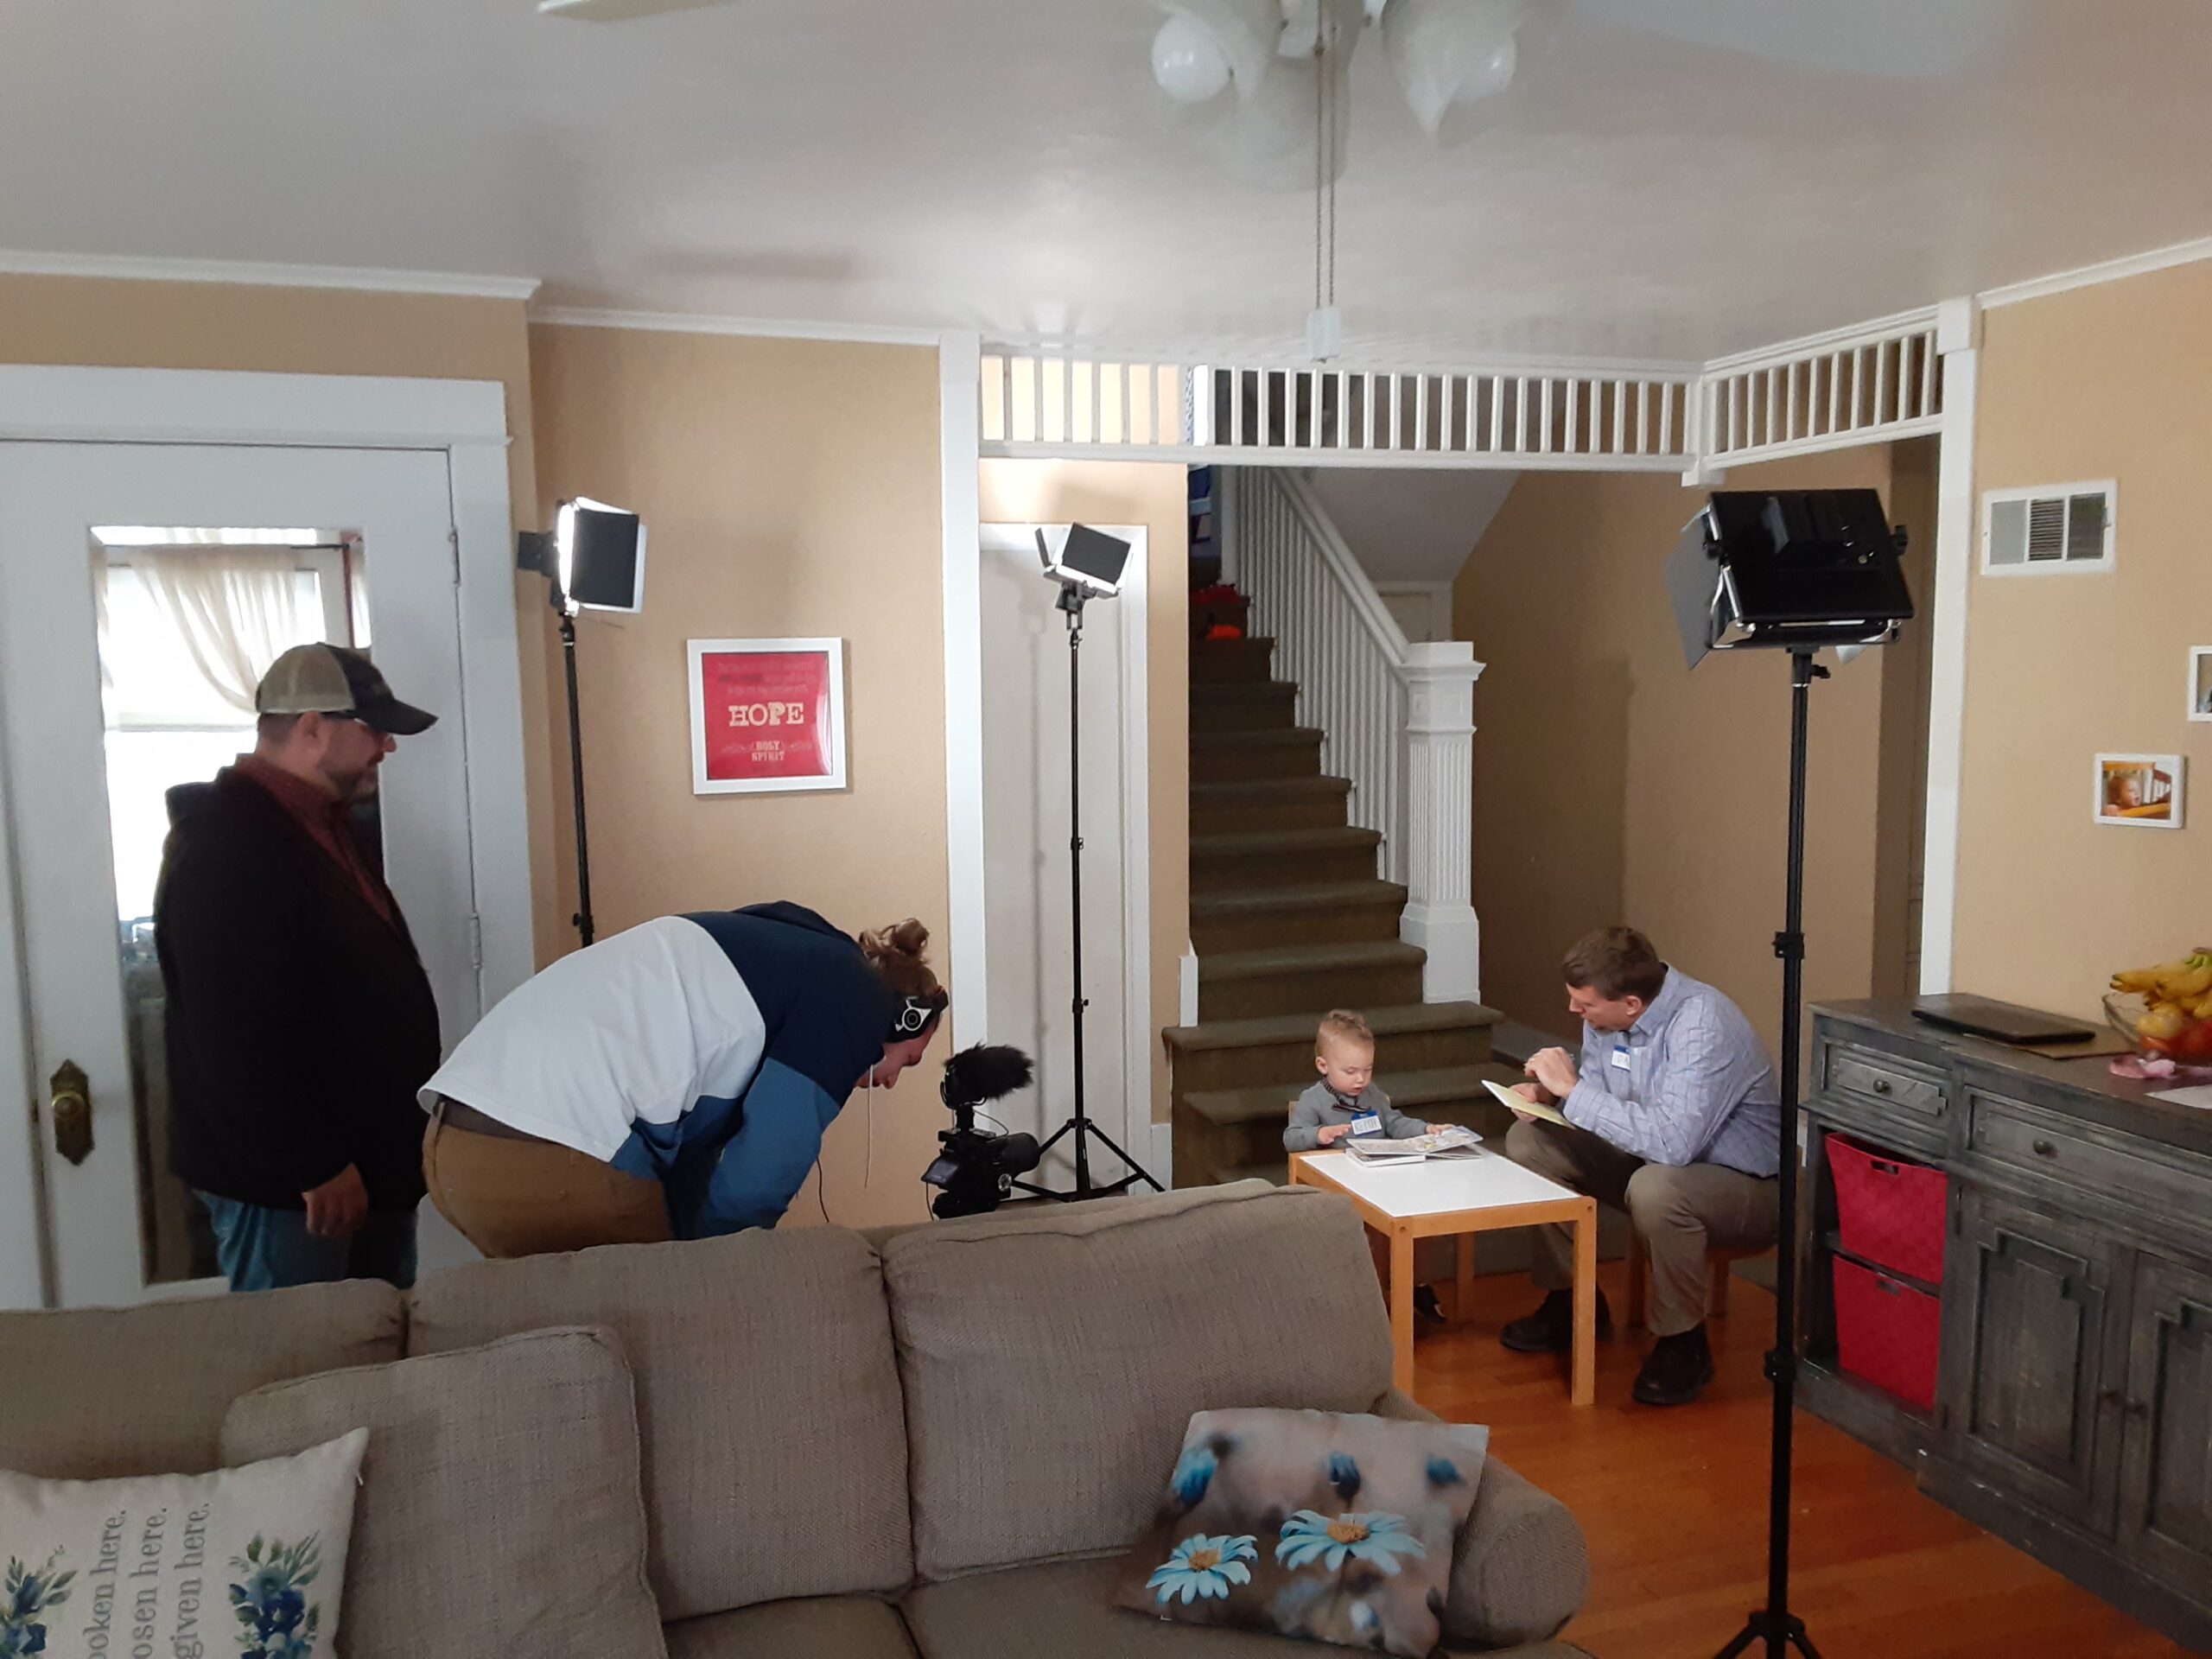
We try to sleep when we can. My kitchen floor is almost always gross. Our toddlers are almost two. One of them is likely to go back to bio family soon. Keith (our adopted toddler) is Mommy and Daddy’s sidekick whenever possible. And look at this! Asa and his film crew came from Lincoln to feature Keith in a special video. I’ll let you know when it comes out!
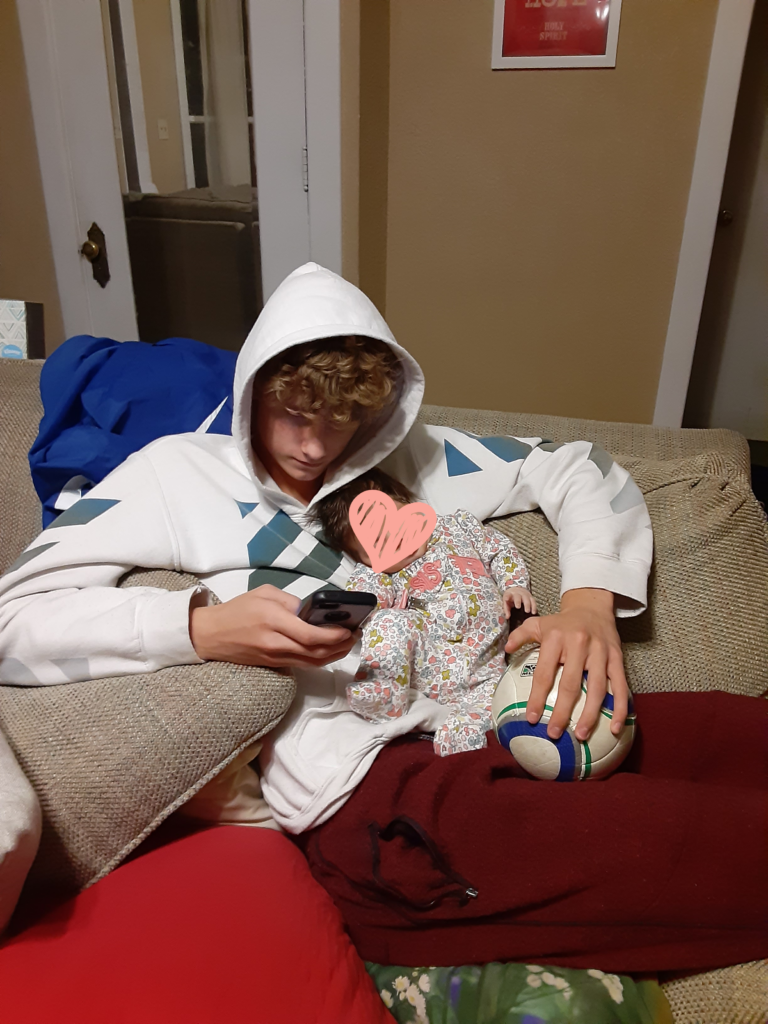
Malachi holds Baby Sis (diapers are a no-go though!) so I can chase toddlers and make dinner. Just when we started to feel settled in again with our newest little one, God answered a prayer we’ve prayed for a very long time…
Another bio family member of our littles gets to move in with us too! So now there’s not just one girl, but two!

Friends? We have a GIRL ROOM in our house now!

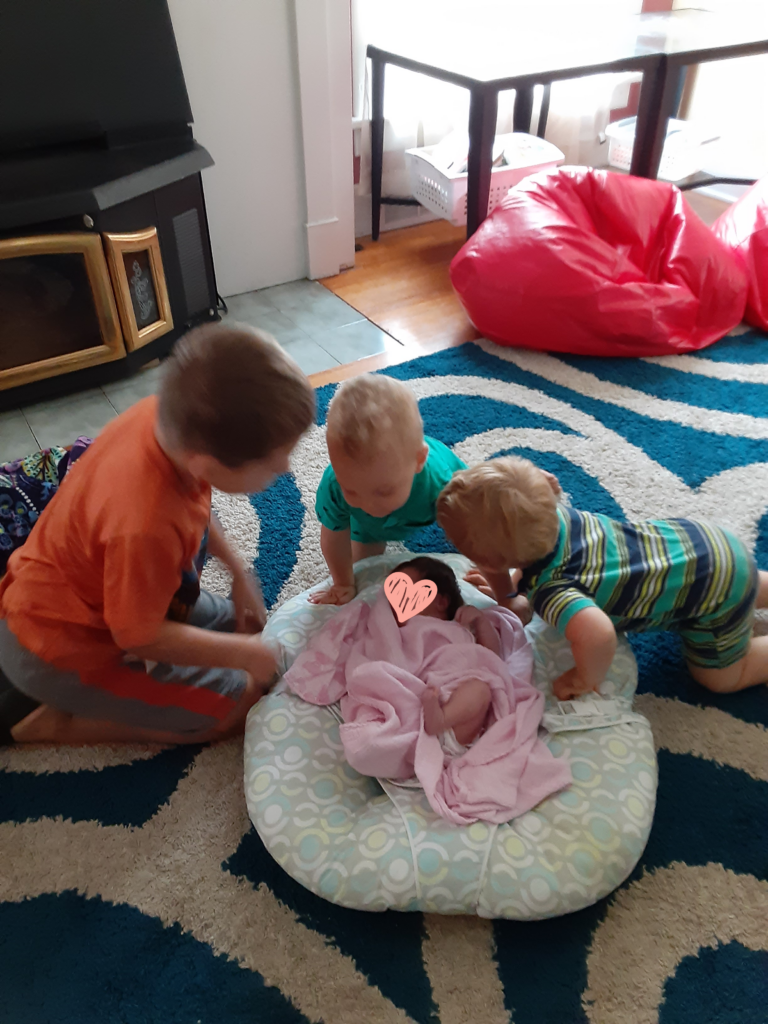
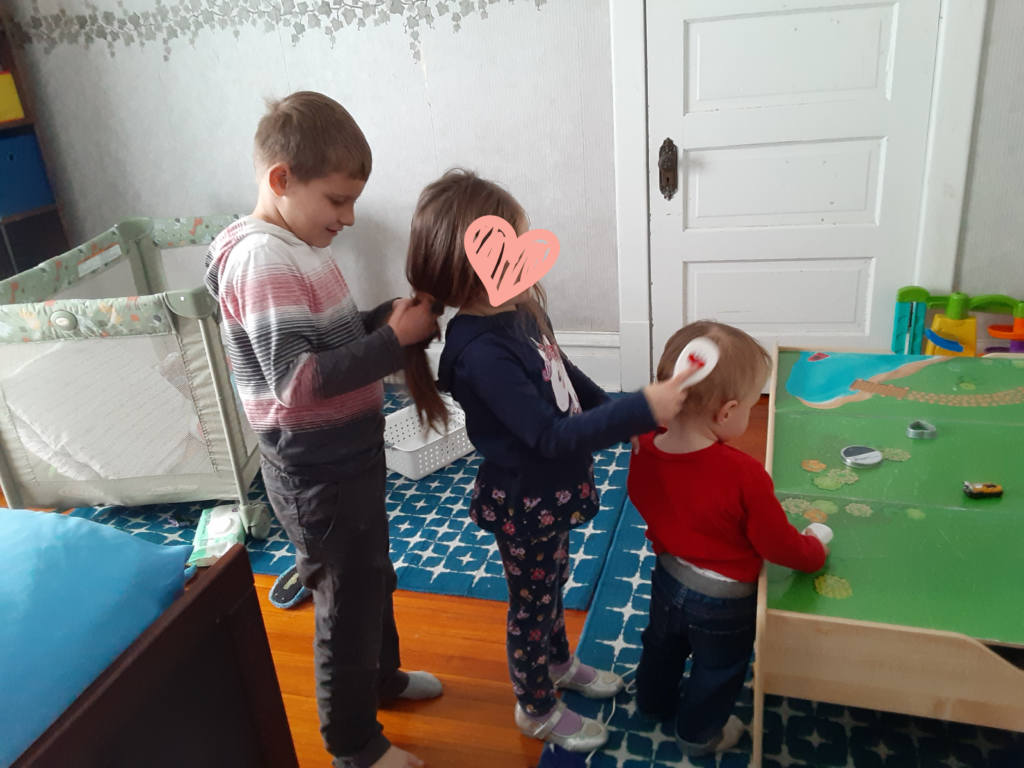
Our newest one is sweet as can be and constantly amazes us with the level of girlness she has brought to our home. Princesses, dress-up clothes, hair styling, dollies, crafts, sparkles – once again, we are smitten. I walked into the boys’ room one day this week to witness this:
So this is our life now. Seven boys. Two girls. For today. And we’re truly learning that we must live just one day at a time.
God’s mercies are new every morning. We ask for your prayers and we thank you for your constant encouragement and support. Whatever you do, don’t underestimate what God may have for your life. If He surprises you by bringing you something unexpected, lean in, and be open to all He wants to teach you through it. The challenges that come with the changes will be met with God’s strength in the most beautiful way you can imagine.


 What should I bake?