Hey Mama, Wife, Friend, Aunt, Sister, Daughter, Dearest Child of God: You are Worthy!

Remember my friend Tasha? She’s the one that wrote Does Family Really Come First at Mealtime? She may become a regular voice around here because she’s got a lot of good words to share with us, plus she cracks me up a lot. She and I are raising babies together – Tasha, because she’s a young mom and me, because I’m an old mom raising babies for the second time. Who knew I’d get to be cool enough to hang out with the young moms again?!
Please enjoy Tasha’s words of humor and wisdom…
~~~~~~~~~~~~~~~~~~~~~~~~~~~~~~~~~~~~~~~~~~~~~~~~~~~~~~~~~
Dear Mama, You Are Worthy
(Laura’s alternate title: I’m Not Naming Names but Someone Needs an Amazon Intervention)
By Tasha Hackett
Taking care of my baby, I have been surviving on roughly 3-5 hours of sleep per night for a few months. Total hours. Not even all at once. Pretty sure when God made the moon and sun and then the animals and humans he designed us to work in a rhythm that included the humans sleeping at night. I’ve told my husband, Ben, on more than one occasion, “I feel like I’m slowly dying.”
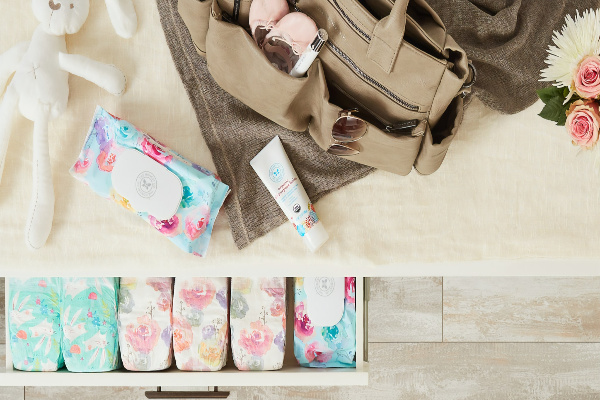
During the long and seemingly endless nights, sometimes I read the Bible on my phone, and sometimes I remember that I need to change my Subscribe and Save order because I do NOT need another 25LB bag of rice. And sometimes I order a super cute sundress and when it arrives it turns out to be not nearly as cute on me as it is on the model.
One time I opened a package and found boho style parachute pants with peacock feathers designs on them and I did not have a memory of ordering them. Truly! I tried them on, and they fit. But I wondered who had sent them. Amazon knows. My orders show that I did indeed buy them two nights prior. I thought they looked ridiculous. Ben said, “You will wear them.… and let that be a lesson to you.” And wear them I did. With tennis shoes, obviously. Turns out they are the most comfortable pants EVER. My sleep-deprived subconscious apparently knew what I needed. I wore them all day, and all night, and the next day, etc… shhh. Don’t tell my Grandma.
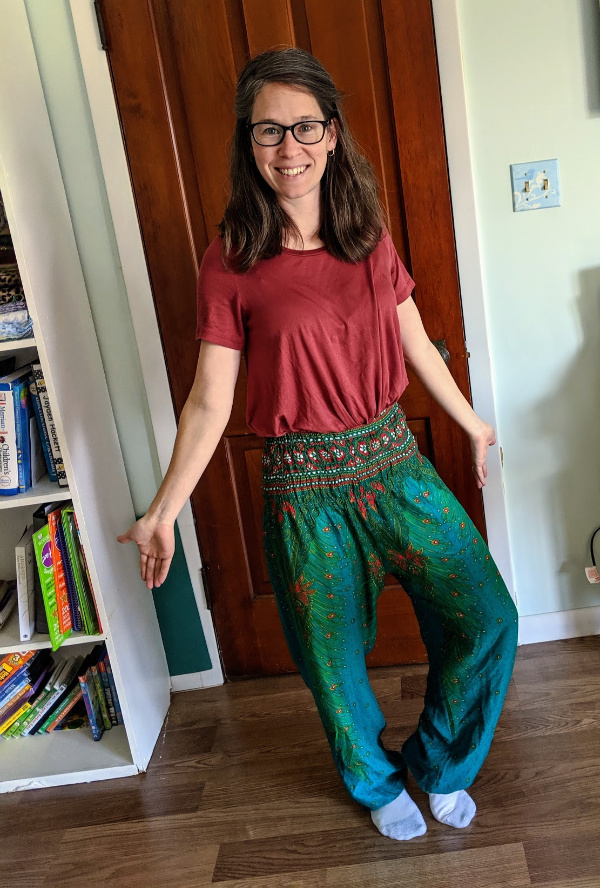
Note from Laura: You, too, can have a pair of pants like these.
Also, if anyone can pull them off, it’s Tasha. Am I right?
My 3 am Amazon deals haven’t gotten me into too much trouble yet. I pushed the limit last week with the middle of the night purchase of the ever-coveted Blendtec. Yea. That was me. I’m the one in need of an Amazon intervention. I blame Laura. She talks and talks and talks about the Blendtec! Give us a break already! How are we to hold up against such constant nagging persuasion?! Also, it was on sale. Like, SO MUCH on sale. AND. IT’S FOR THE BABY! If I make the baby super yummy and healthy food he will grow strong and healthy and he will thank me someday. And maybe sleep?!?
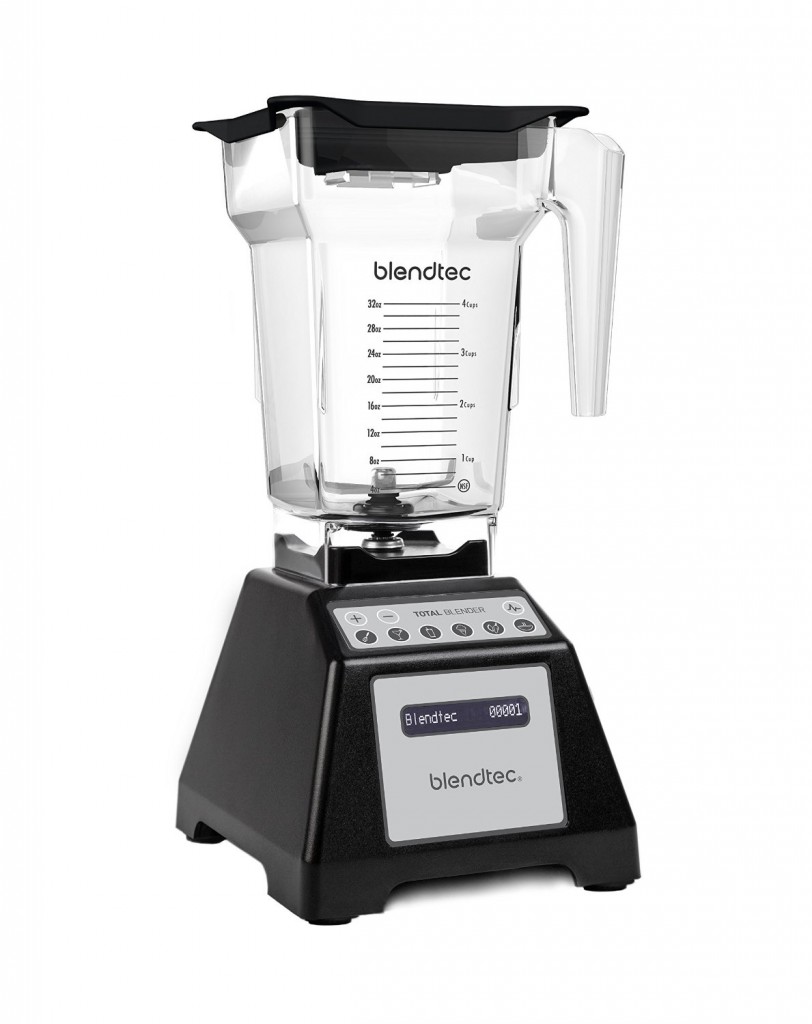 Here’s Laura, nagging about the Blendtec.
You should get one.
You should so get one.
Get one! Get one now! Hurry up!
Now back to what Tasha was saying about how great it is that she bought a Blendtec…
So. Click. I bought it. Do I love it? Yes. Yes, I do. In the first three days I made three types of baby food (with all the extra frozen into cubes and bagged for later), ground-up oats and coconut into flour, two smoothies, tomato sauce, ice cream, applesauce, frappuccino, strawberry whipped dessert…

Buying the blendtec that night was a splurge. I had been considering one for over a year; my defenses were broken down that sleepless night. So, so, sleepless. I know this season of my life is just that. A season. I joke about many things, and I am enjoying parts of life, but I am surviving it one day at a time, one afternoon at a time, one hour… and sometimes the next ten minutes.
This past year of poor sleep has been one of the most difficult of my life. Okay, so I have an Amazon addiction. You want to know a little secret? This is a fairly new addiction. A couple of weeks ago, I decided that I needed help. Like, really needed help.
My physical, emotional, and spiritual red flags were waving. I decided that I would rather pay for that help than save up for a vacation that I had no energy to go on. I now pay someone to come clean my house once a week, I pay a highschooler to come babysit for an hour twice a week, I pay a neighbor to mow my huge lawn, I am meeting weekly with a counselor. …and, I started buying more things for myself. You know why? (I mean, besides the fact that it’s 3 in the morning and I’m scrolling around on Amazon.) It’s because I decided that I am worthy. I am worthy of using my money to buy things for myself. *GASP*
I am not encouraging you to buy a bunch of stuff you don’t need. Please don’t. But if you are that Mama that scrimps when taking care of herself, is it because deep down you don’t feel like you deserve it? Like somehow you’re not worthy of having nice things? Are you so busy running around that you forgot to eat again? Did you “find time” to shower?
So it has taken me two weeks to type this out because: motherhood. But tonight I have something amazing to share with you. The baby has begun to sleep. Praising God every morning. Last night was a full 8 hours at once. But with a clearer head, I have something important I wanted to tell you.
You are so worthy!
I am crying out to you right now, please hear me. Did God send his only Son down here to be born as a tiny, crying, hungry, wet, and bloody baby for us to say, “Oh, I don’t deserve ____.”

Wow, isn’t God amazing?! Jesus came down here to be subject to a mother’s teaching. I guarantee you as a toddler he fell and scraped his knee and cried and Mary took him in her arms and dried his tears. The God of the whole universe came down here to be with us because he wanted you to know, to really really know, how much you are loved. You are his beloved.
You are worthy of love. You are worthy of being happy.