Today, I asked Elias what we should make for our healthy treat…
He said, “Something with strawberries!! Some kind of cake!!”
Since strawberries aren’t in season yet…and I couldn’t really come up with any good ideas for a cake using frozen strawberries…
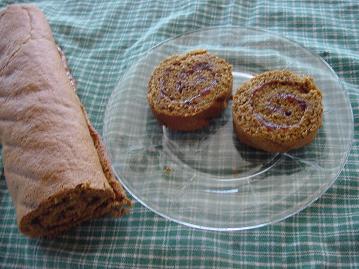
We came up with the idea to make a Strawberry Jelly Roll.
I’ve actually never made a jelly roll before…
Um, because, they’ve intimidated me.
I admit it. I have Jellyrollaphobia.
I’m usually a mix-up-a-cake-and-throw-it -into-the-pan kind of a girl. The idea of whipping my egg whites and folding in my flour mixture…blah, blah, blah…
And then rolling the cake thingy and spreading the filling, and rolling it back up without the thing breaking apart all over the place really scared me…
Jellyrollaphobia.
But today, everyone…
Today, I have overcome my fear of the Jelly Roll.
I have learned that Jelly Rolls are nothing to be afraid of.
This was very easy to make…and not at all scary.
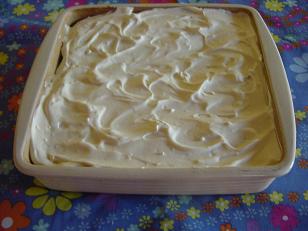
Strawberry Jelly Roll
1/2 cup whole wheat flour
1/2 t. baking powder
4 eggs yolks
1/2 t. vanilla
1/3 cup rapadura
4 egg whites
1/2 cup rapadura
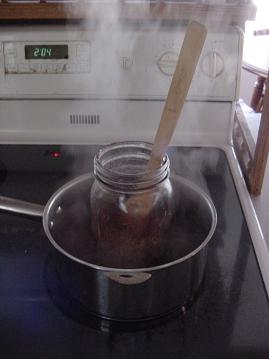
Strawberry Jelly – the kind made with only fruit, of course
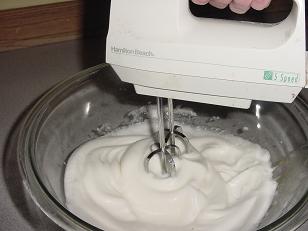
Stir together flour and baking powder. Set aside. In another bowl, beat egg yolks and vanilla and 1/3 cup rapadura. And in another bowl, beat egg whites until soft peaks form. Add 1/2 cup rapadura to the egg whites and beat some more until hard peaks form.
Then, fold the egg yolk/vanilla mixture into the egg whites. Next, fold the flour mixture into the egg whites.
Spread the batter onto a buttered piece of parchment paper lining a cookie sheet. Bake it for 12-15 minutes at 375 degrees. The cake should “spring back” if you gently touch it in the middle.
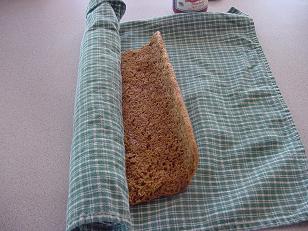
Immediately pull the cake off of the parchment paper and lay it onto a tea towel. Roll it up in the towel. Allow it to cool completely.
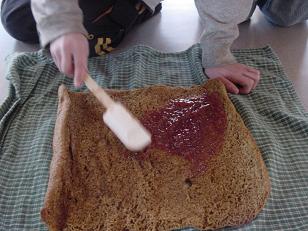
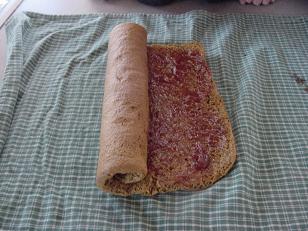
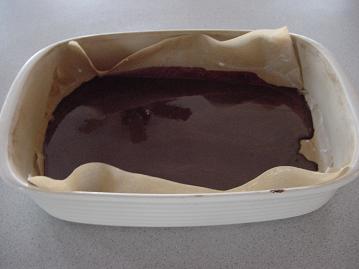
Unroll it, spread jelly all over it, and roll it back up.
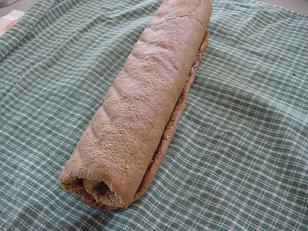
Done.
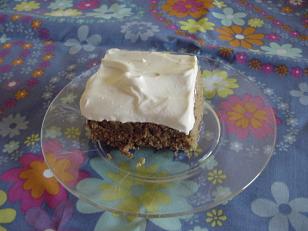
Slice it, eat it, share it, exclaim over it, be amazed by it.
We all really liked this treat.
And I will definitely make it again sometime.
I’ll probably even play with it and make different fun variations to the Jelly Roll.
Pumpkin Roll, Chocolate Roll, Cream Cheese something or other Roll, Chocolate-Pumpkin-Cream Cheese-something or other Roll…
I am a Jellyrollaphobic no more.


