I couldn’t decide. Should I tell my kids what was in this Spinach and Artichoke dip…or should I not?

Turns out, I didn’t have much choice, because they came into the kitchen and asked what I was making and what was in it. I wasn’t going to lie, obviously, but shucks, I was just sure that once Elias, our 10 year old, heard that there were artichokes and spinach in the dip, he’d suddenly be, “not very hungry right now.”
Thankfully, there were chips involved. ;) Chips are always a good motivator for eating artichokes, right?
All of the boys decided to “give it a try”, which in Elias’ case, means putting a teeny bit of dip onto his chip. Much to my surprise, all of the boys loved the dip. And Elias was the one who raved about it the most.
The moral of this story? I give up on ever being able to predict which of my kids will like which foods, because about the time I think for sure my pickiest child will rebel against artichokes, I will be wrong.
Just a note: When picking out Marinated Artichoke Hearts at the store, watch out! Many of them contain partially hydrogenated oils. Ick. I was happy to find a healthier version at Vitacost which contains only artichoke hearts, water, salt and citric acid. Sweet!
As for chips, I recommend an organic variety of corn chips so you will be avoiding bad fats and GMO corn. Or, this dip also tastes great with carrot sticks and other veggies.

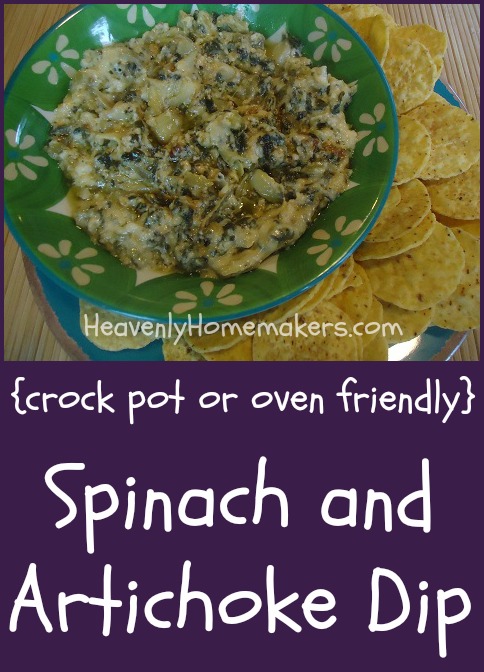
Hot Spinach and Artichoke Dip
- 1 - 14 ounce can marinated artichoke hearts, drained
- 1 cup sour cream
- 1 cup grated parmesan cheese
- 1 cup fresh, torn spinach leaves
- 1 - 4 ounce can diced green chiles
- Mix all ingredients and place in a crock pot.
- Cook on low for 2-3 hours.
- Serve with tortilla chips.
- Alternate Cooking Method:
- Mix ingredients and spread in a pie dish or 8x8 inch baking pan.
- Bake in a 400° for 30 minutes and serve.
Share with us: Are you a fan of artichokes? I dare you to try this dip whether you are or not. If Elias likes it, I’m pretty sure you will too. :)


