
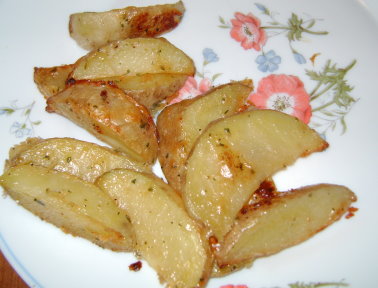
Move over little gold fish. There’s a new cheese in town.
Heidi emailed me a couple of months ago asking if I had a good cheese cracker recipe. Well no, I said, but I sure do love me a recipe challenge! It took a bit of trial and error, but I finally figured out a recipe that not only tastes good, but is SO easy.

Who knew a cheese cracker recipe that would qualify as a High Five Recipe!! (Oh, but psst…we’re not counting the tablespoon of water in this recipe as an ingredient…because that would mean there are technically six ingredients in this cracker. I really wanted to make this a High Five Recipe and it just would not work without a bit of water. Just sprinkle it in and look the other way.)
Crispy Cheese Crackers
¼ cup butter, softened
¼ t. sea salt
1 cup shredded cheddar cheese, room temperature
1 cup whole wheat flour
¼ t. baking powder
1 T. cold water
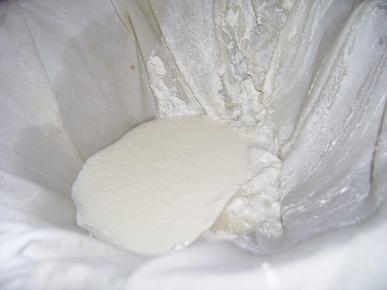
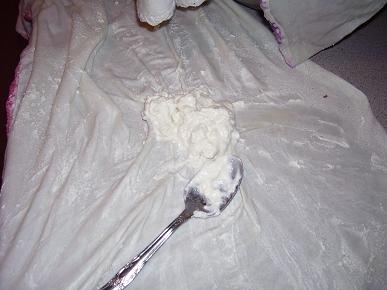
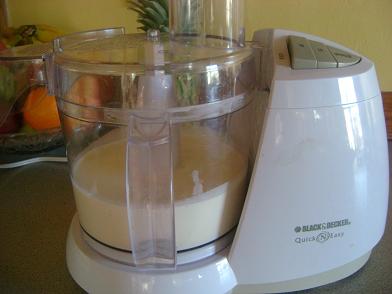
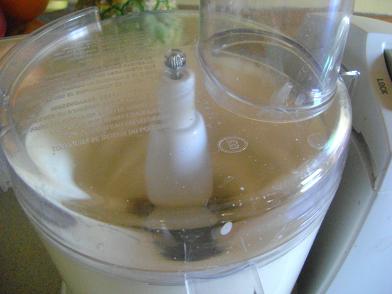
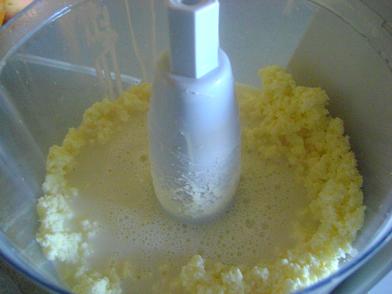
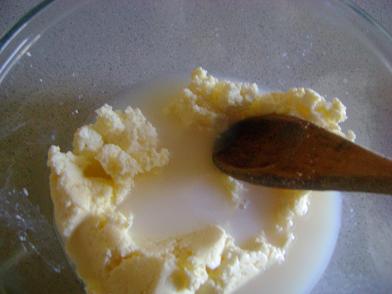
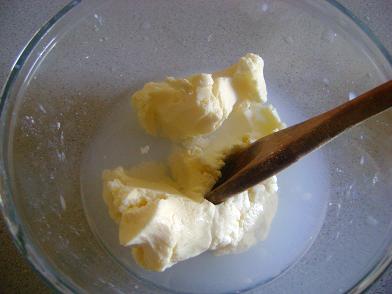
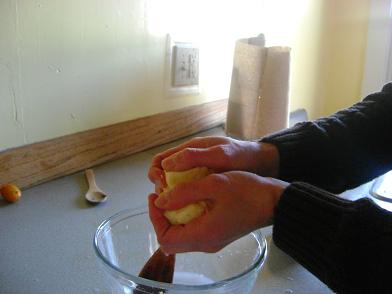
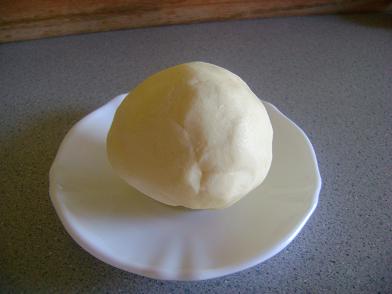
Use beaters or food processor to mix butter and salt until creamy. Add cheese. Mix well. Gradually add flour, baking powder and water, mixing until dough begins to form a ball. Form dough into a ball with hands.
Roll the dough into 1/8 inch thickness onto a cookie sheet. (I find that placing the dough between two pieces of parchment paper helps me to roll them out more easily.) Cut the rolled out dough into 1 ½ inch squares. Bake 15 minutes at 350° or until lightly browned. Turn off the oven and leave the crackers inside to crisp up. Store tightly covered.

That’s all there is to it! I’m not exaggerating when I tell you that my kids will eat the entire pan of these (before Matt and I get some) in one ten minute time frame. They LOVE these! So much for trying to make a snack to “have on hand”. Guess I oughta double the recipe, huh?


