I’ve had several requests for my homemade barbecue sauce recipe. Turns out…it’s a high five recipe! Doesn’t get much easier than that!

Homemade Barbecue Sauce
- ¾ cup ketchup (I use an organic, no high fructose corn syrup variety)
- 2 Tablespoon minced onion
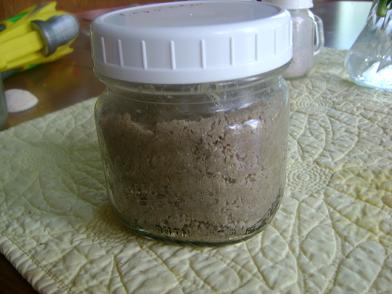
- ¼ teaspoon garlic powder
- 1 teaspoon liquid smoke
- 1 Tablespoon molasses, honey or sucanat (optional)
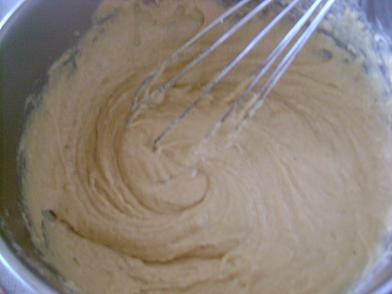
- Mix ingredients in a small sauce pan.
- Simmer for a few minutes until flavors are blended.
As for the ketchup, I use an organic, no high fructose corn syrup variety. Muir Glen is my favorite.
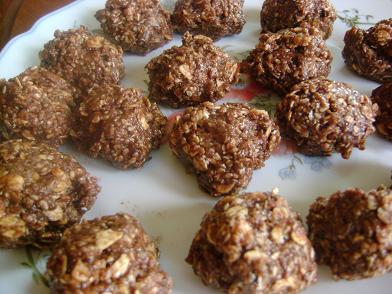
I mix this Barbecue Sauce up as a dip for our meatballs or Popcorn Chicken…YUM!

Sometimes I put a few pieces of chicken into the crock pot, dump the sauce over the top, and let it cook slowly for a few hours. It’s the easiest main dish ever! Get the details on my Crock Pot Barbecue Chicken Breasts here. It’s also fantastic on Grilled Barbecue Chicken.
Or, sometimes I add it to leftover roast beef for BBQ beef sandwiches. Even more fun? Make your BBQ Beef into Barbecue Beef and Cheese Hot Pockets. They are freezable so you can make them ahead and pull them out as needed.
So let’s review.
Recipes that use Homemade Barbecue Sauce
- Crock Pot Barbecue Chicken Breasts
- Grilled Barbecue Chicken
- Barbecue Beef and Cheese Hot Pockets
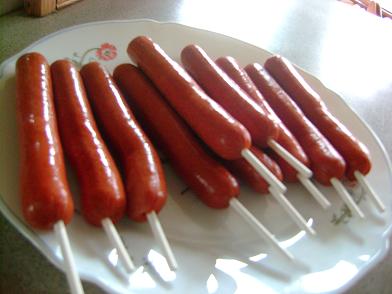
- Use it as a dip for Popcorn Chicken
What all do you put barbecue sauce on?

Oh, and by the way – I really have no idea what “liquid smoke” is. I’m assuming that it isn’t the healthiest ingredient in the world. BUT…it makes for a yummy, easy BBQ sauce. This version is MUCH healthier than the HFCS versions I could buy at the store.
If I ever figure out how to turn smoke into a liquid and put it into a bottle all by myself, you’ll be the first to know.


