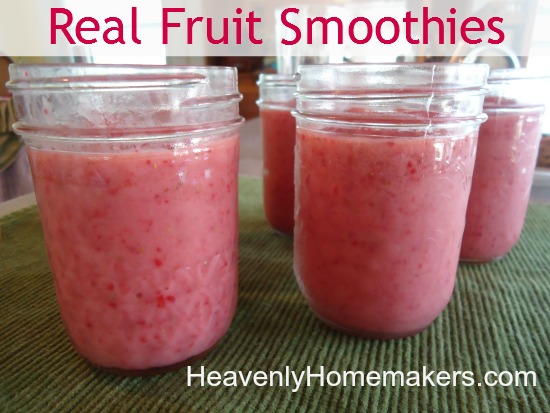
All these “natural sugar” treats are soooo working for me around here. They satisfy the sweet tooth…my kids love them…and I can feel good about us all eating them!
Here’s today’s recipe!
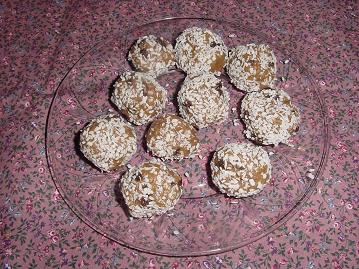
Coconut Macaroons
4 egg whites
1/4 t. sea salt
1/2 t. vanilla
2 T. arrowroot powder
1/2 cup real maple syrup (grade B is best)
2 cups unsweetened, shredded coconut
Separate eggs…putting the whites in a mixing bowl and the yolks in the fridge for tomorrow’s breakfast!
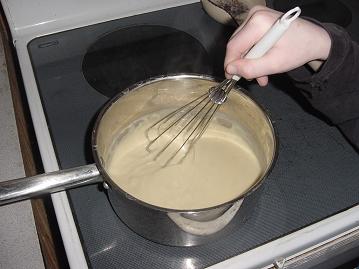
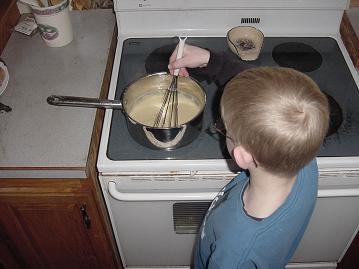
Beat the whites and salt with a hand mixer until soft peaks form.
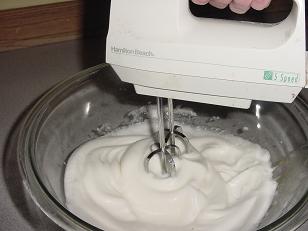
(I took this picture with my left hand while I beat my egg whites with my right hand. But, I’m not trying to brag or anything…)
Continue to beat and add vanilla, arrowroot powder and maple syrup, one at a time.
(I cannot brag about adding these ingredients and beating the egg whites and taking a picture all at the same time.)
(I mean, I could have… but I was too busy working on our taxes, practicing my latin skills and tayloring a new suit for my husband while I did this step. I simply cannot do everything at once.)
Fold in the coconut.
Drop by spoonfuls onto a cookie sheet lined with parchment paper.
Bake at 300 degrees for 30 minutes….then turn the oven to 200 degrees for one hour to let them crisp up.

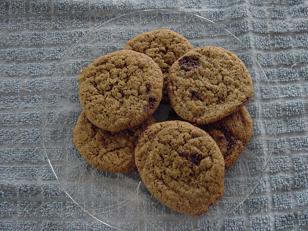
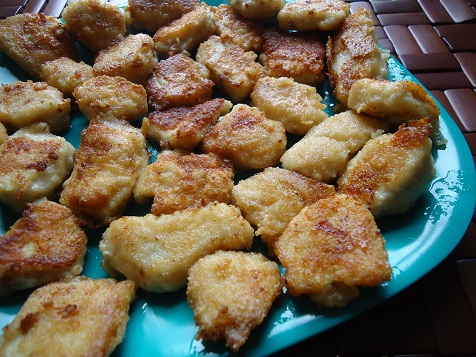
These little treasures are so delicious!
The hard part about making them is smelling them bake for a whole hour and a half….and not being able to eat them!
Ah, but your patience will pay off!
Enjoy!
Tomorrow’s natural sugar recipe will have something to do with bananas…as I have several around here who have seen better days.
I’m thinking…hmm…banana cake?!
I also plan to share with you some deep insights into why I hope to be like a banana someday.
Deep. Very deep insights.
Be sure to take a look at all of the great natural sugar treat recipes…and to keep coming back for more each day!