Yes, I am aware that I have already posted this recipe and that MANY of you have told me how much you LOVE these pretzels!
But we were encouraged to re-post our favorite Works for me Wednesday post…and this is by far my favorite…for oh-so-many delicious reasons!
So now you can be re-encouraged to make these pretzels!! Here you go (again)…
Okay, brace yourself.
The recipe I am about to share with you is INCREDIBLE!
Ask anyone who’s ever tried them.
People have even called me the “Pretzel Lady”. (I’m sure they’ve even called me the “Beautiful Pretzel Lady” and the “Unbelievably Intelligent and Witty Pretzel Lady” behind my back.)
I used to sell these at our local farmers market each week. On my best week, I sold over 100 of them in less than 17 minutes (yes, I timed it).
Okay, so here is the recipe and the step by step tutorial on how to make Laura’s Amazing Soft Pretzels:
Ingredients:
1 cup water
2 Tablespoon yeast
2 teaspoon honey
2 1/2 cups milk
1 stick butter
1/2 cup honey
4 teaspoon salt
8 cups whole wheat flour
butter
salt
(You can make these with white flour and white sugar if you want to have a delicious mound of empty calories…but I have found that using these healthier ingredients does not make us like these pretzels any less!)
Okay, here are the directions for preparing the pretzels that are to die for:
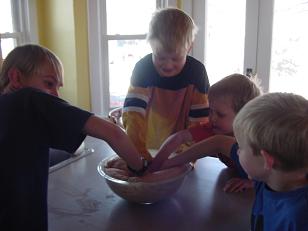
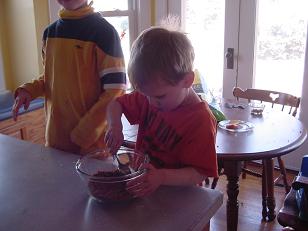
In a large bowl, mix 1 cup very warm water, 2 T. yeast and 2 t. honey. Stir this together and kind of mush the yeast around. Let this sit for a few minutes while you do the next step.

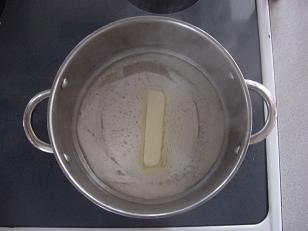
Melt a stick of butter in a large saucepan.
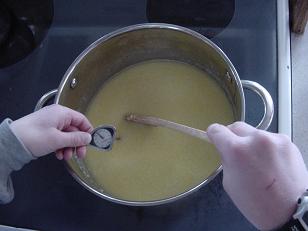
Add 1/2 cup honey, 4 t. salt and 2 1/2 cups of milk. Heat this to 120 degrees.
Pour milk mixture into yeast mixture and stir.
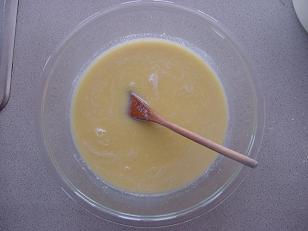
Stir in 8 cups of flour, 2 cups at a time. (add more if you need it)

Knead the dough for 5-10 minutes.
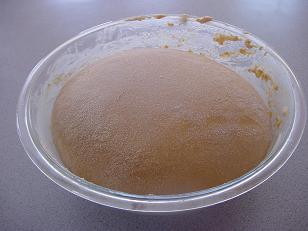
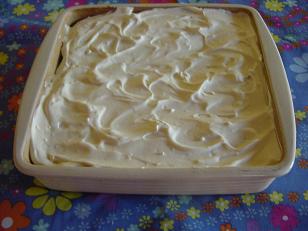
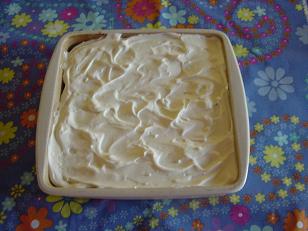
Plop it into a bowl, cover it and let it rise for 1-1 1/2 hours.

And it should look like this:
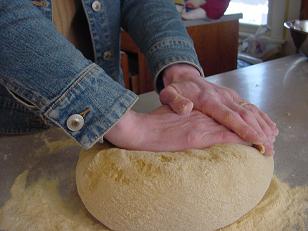
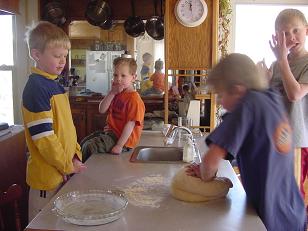
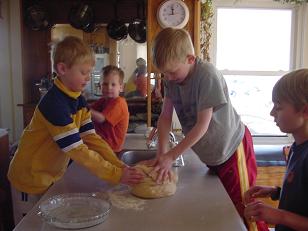
Pull it out of the bowl and knead it a few times to get the air out.
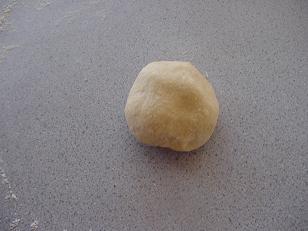
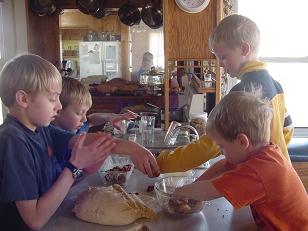
Pull a ball of dough, about the size of your fist off and get ready to make your very first pretzel! (such a proud moment)
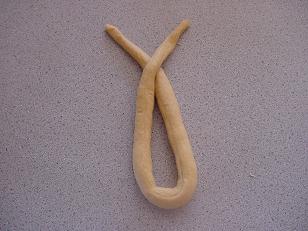
Roll it into a long snake.
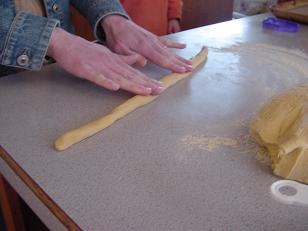
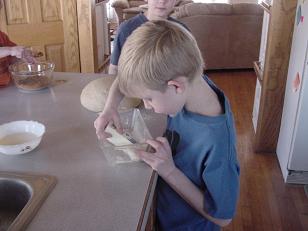
Then do this:
Then twist it again to look like this:
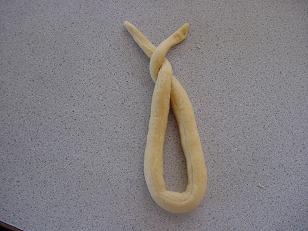
Then pick up the ends and pull them down to the bottom. (And please make no snide remarks about my blueish, boney hands. It is always a little cold in my house and my hands are never quite warm AND I inherited my Nana’s boney hands and I know my Nana would have never allowed her hands to be put on a blog while she lovingly told you how to shape a pretzel because she was ashamed of her boney hands, but I’m okay with it. I’m not embarassed at all. Not one bit.)

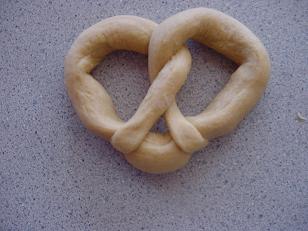
And then, it should look like this. And if it doesn’t, just undo it and try again. By the time you get to the end of shaping your big blob of dough into pretzels, you’ll have the hang of it and be able to talk on the phone, make a grocery list, check your email, tie someone’s shoe AND shape a pretzel, ALL AT THE SAME TIME!
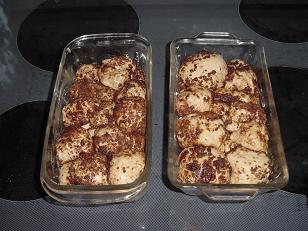
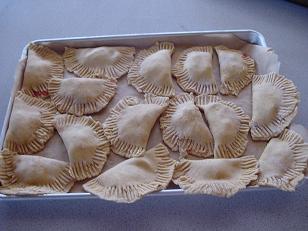
After you shape each pretzel, put them on a cookie sheet about an inch apart. Bake for 20 minutes at 350 degrees.
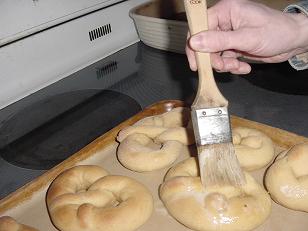
Melt a stick of butter in a saucepan.
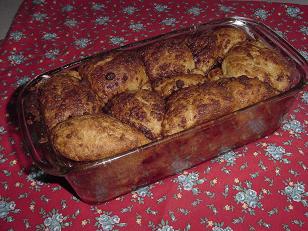
Right when you take the pretzels out of the oven, slather them with butter. Lay it on thick. Don’t hold back.
Then sprinkle salt over them.

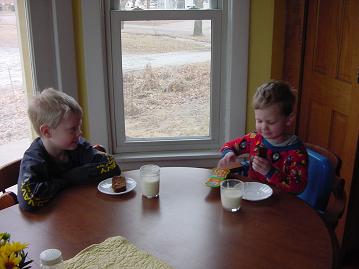
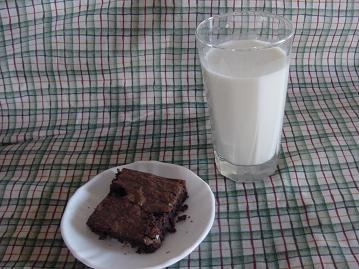
And, if at all possible, eat one right out of the oven. They are good two days later too, but OH MY GOODNESS, you HAVE to eat one right out of the oven!
With a glass of milk.
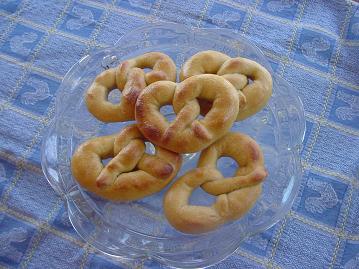
And if you really want to have fun, shape some into hearts!

Whenever I want to make a special treat for my family, this recipe always works for me!
[tags]whole wheat soft pretzels, healthy treats, homemade breads[/tags]


