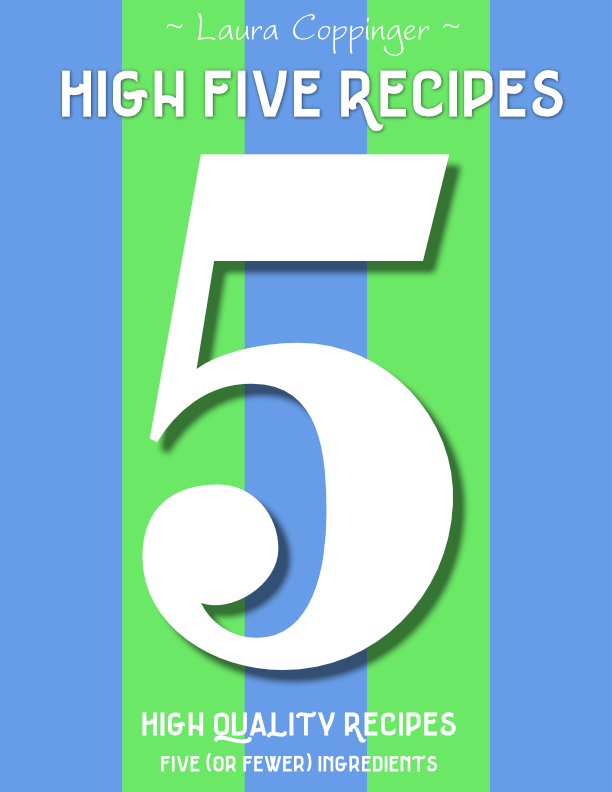
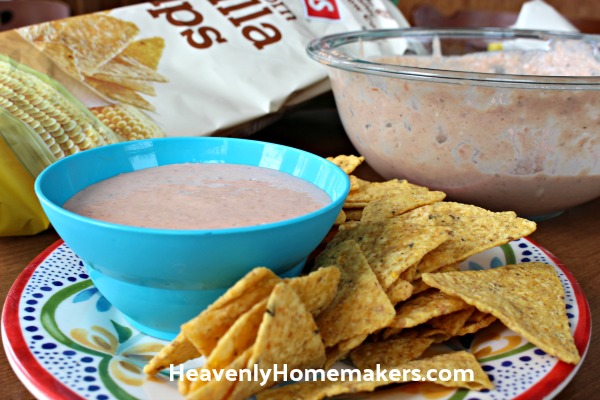
Did you get your High Five Recipes eBook yet? Now’s the time as we’re launching it at half price!
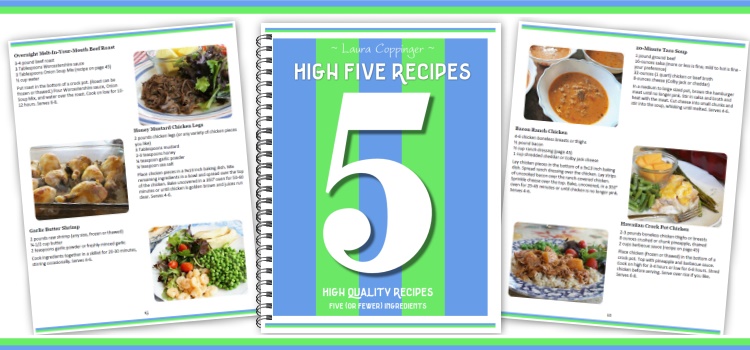
This High Five Recipes eBook includes 111 wonderful recipes all of which:
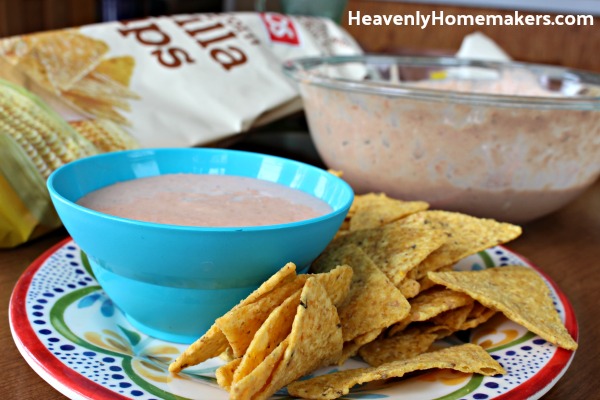
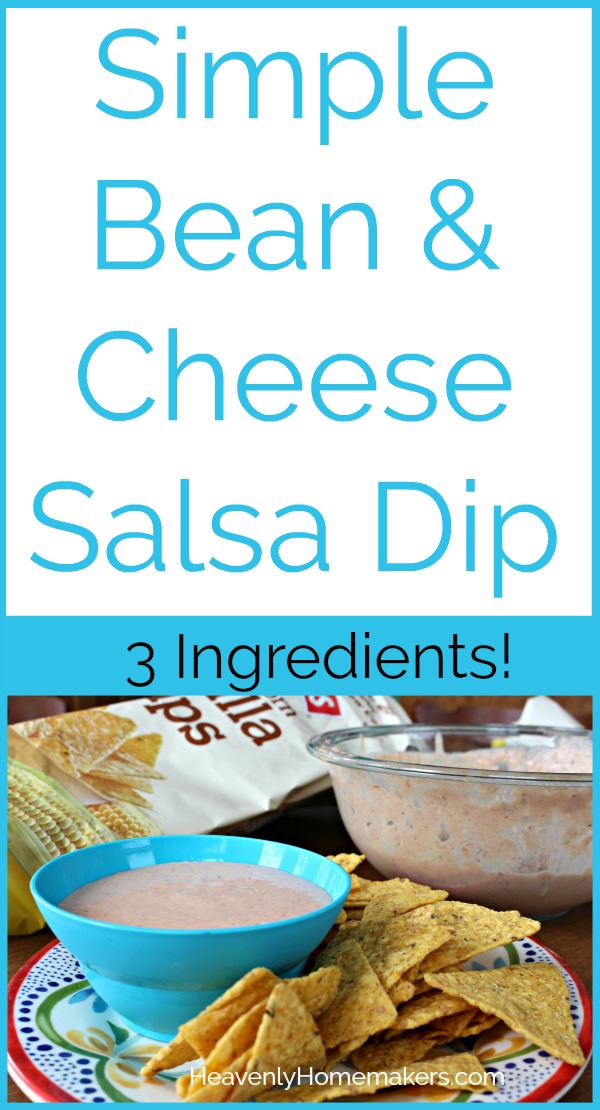
- Call for 5 or fewer ingredients
- Are all made from real food ingredients
- Taste incredible
- Take very little time and effort to make
You probably already have all or most of the needed ingredients in your kitchen. Don’t you love it when food becomes un-complicated!?
What will you do with all your extra time??
High Five Recipes offers:
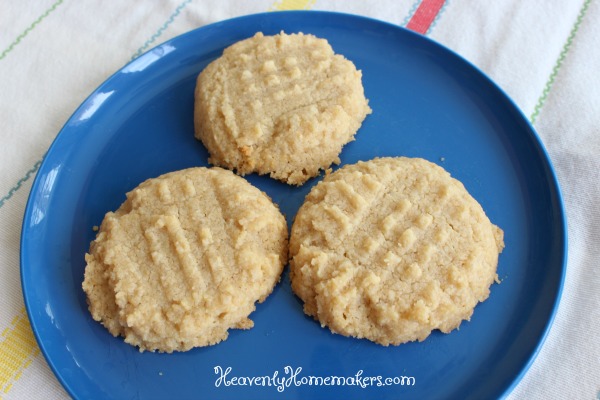
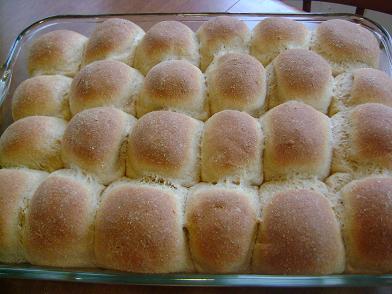
- 14 Bread and Breakfast recipes
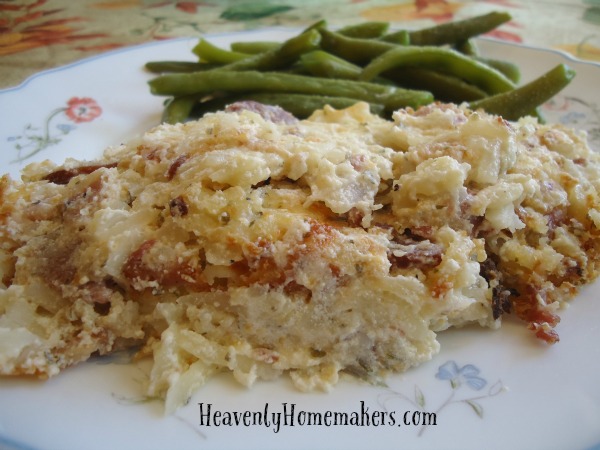
- 35 Main Dish recipes
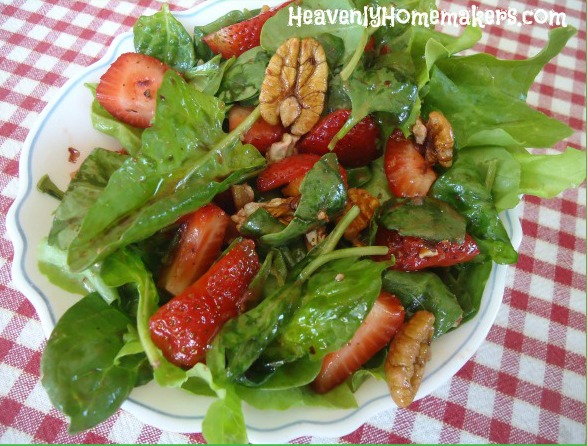
- 13 Side Dish recipes
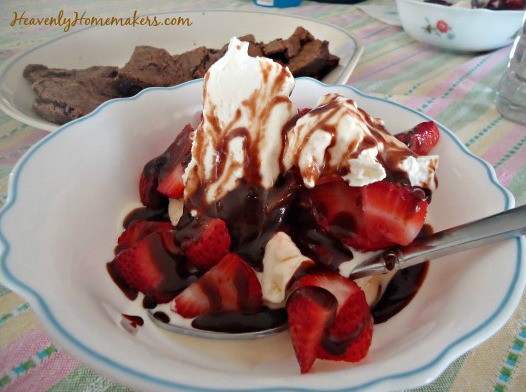
- 29 Dessert and Snack recipes
- 16 Drink recipes
- 4 Extra recipes
While High Five Recipes is worth more than five bucks (regular price is still a value at $9.95), we decided to launch it at $5 to give us all the complete High Five experience. So if you hurry, you can get High Five Recipes eCookbook, filled with 111 recipes that each include 5 or fewer ingredients, for just $5.
Bet you can’t guess what coupon code we set up. Ok fine. It was too obvious. Use the code HIGHFIVE to get the book for just five dollars right now! That’s half off, so take advantage!! Code expires Thursday, April 5.
[wp_eStore_fancy1 id=32]