Dairy free chocolate sauce….the new way to top a waffle.

We sure do eat a lot of cream cheese around our house.
This has nothing to do with the recipe I’m about to share with you – except that it is my way of saying, “We definitely aren’t a dairy-free family.”
Why a Dairy Free Chocolate Sauce then?
- Because coconut milk is nourishing and I like to use it in addition to cow milk as a way to give my family a variety of nutrients.
- Because I love having recipes on hand that I can use to bless our friends who can’t eat dairy.
- Because this Chocolate Sauce is rockin’ and I can actually eat it because it is low in sugar.
You pretty much can’t mess up this recipe. Go ahead. Try. Not that you would. (I mean, I can sometimes mess up a recipe without even trying, say…when I’m trying to talk and cook at the same time??)
But this recipe is really fool-proof and adaptable. You can make it a little sweeter if you like. You can keep the sugar low and enjoy this as a “dark chocolate” sauce. You can add a splash of vanilla extract or mint extract.
Oh my goodness, you could stir in some peanut butter! I just thought of that, will try it, and get back to you. You’ve gotta love it when a delicious brainstorm comes in the middle of writing a sentence.
How to use your Low Sugar Dairy Free Chocolate Sauce
- We love it on fresh strawberries, bananas, blueberries, or raspberries.
- Often we use it as an apple dip.
- Try stirring it into a cup of hot coffee. Yup.
- Instead of maple syrup, spread this sauce over your pancakes or waffles.
- Hello. Just eat it on a spoon.
- You can drizzle this on ice cream, but if you do have to eat dairy free, you’d also have to make or find dairy free ice cream (this was obvious but still worth mentioning)
Low Sugar Dairy Free Chocolate Sauce
- 13.5 ounce can of full fat, unsweetened coconut milk
- ⅓ cup unsweetened cocoa powder
- ¼ - ½ cup sweetener (honey, sucanat, or brown sugar)
- Mix ingredients in a small saucepan, cooking and stirring on medium heat until well combined.
- Serve warm or cold.
- Store this sauce in a covered container in the refrigerator, rewarming on the stove-top as needed. It will keep for up to a month in the fridge.
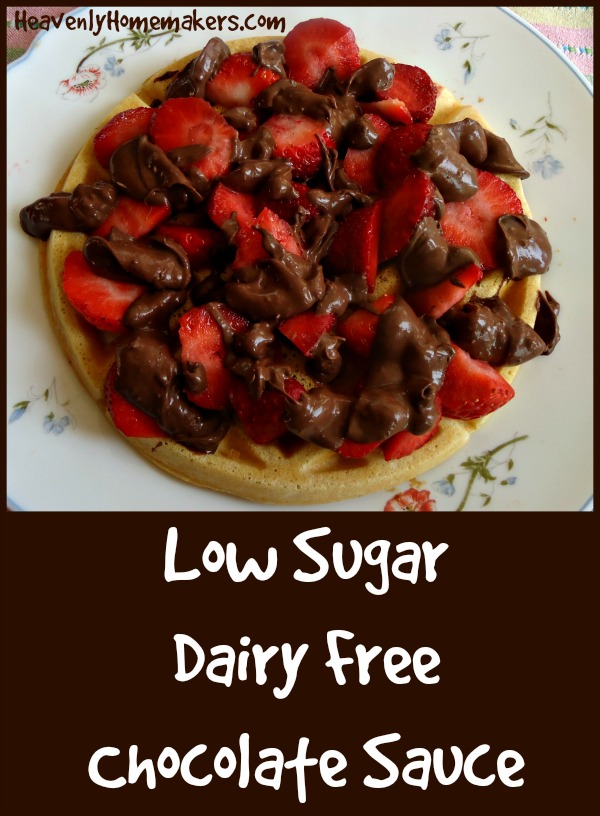
This sauce just takes a few minutes to whip up and it seriously tastes like a gourmet treat.
Need Coconut Milk?
I typically purchase cans of coconut milk in bulk online. Some of my favorite resources are:
- Vitacost
- Amazon
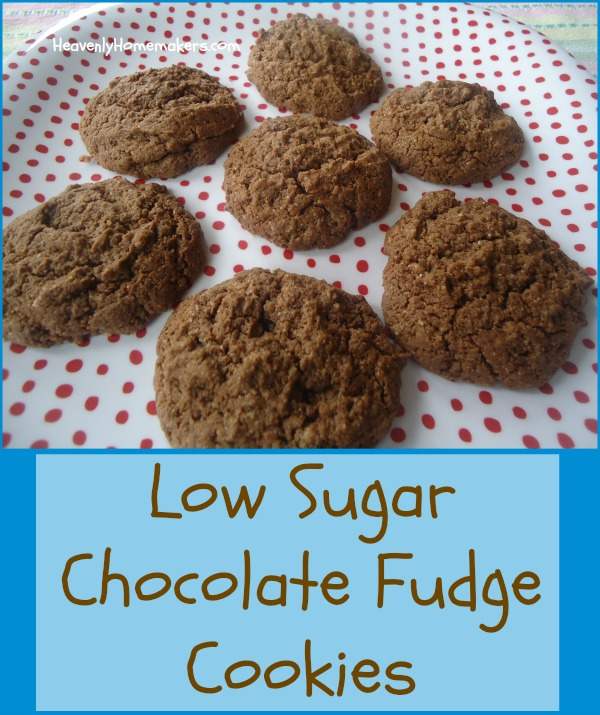
Want the Dairy-Full version? You’ll find one here. Be warned: it’s super full of sugar. I should play with that and see how we can reduce it!
Can you think of other great ways to eat this sauce?


![gratituesday[2]](https://www.heavenlyhomemakers.com/wp-content/uploads/2014/01/gratituesday2.png)