Remember that one time I almost ran out of butter, and I was like, “eh, no biggie” and then I took a nap?
Yeah, nobody remembers that – because butter, buttttttter, BUTTER, but-ter. Laura loves butter. Running out is not okay. (Also, I rarely have time for naps.)
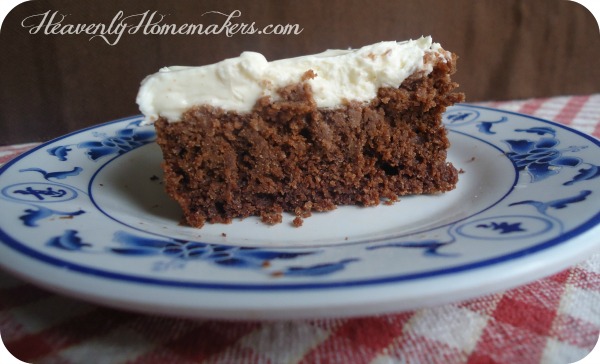
I love butter so much that once for my birthday,
my boys made and decorated me a cake shaped like a big stick of butter.
Best birthday cake ever.
Also, those Cake Boys sure were precious.
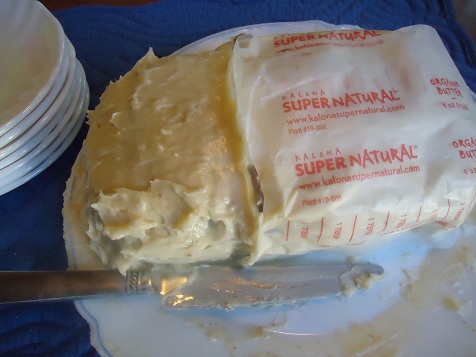
I have always watched for sales on butter and stock up when I find one. I almost always have 10-20 pounds in my freezer and about 8 sticks in my fridge. When I need more in my fridge, I send a boy to the freezer to get a couple of pounds for me. My butter needs are always met.
But the rising cost of butter is messing up my bulk purchase, never run out, always have plenty, butter is never a problem, there will always be butter situation.
This favorite of mine hasn’t been on sale for way too long around these parts. Wait – I take that back. It was sort of on sale three weeks ago, but when I went to the store to stock up, they only had three pounds left, which is like a 4-day supply for me when I’m baking and inviting people over to eat. Apparently everyone else in town had already been there and stocked up, thinking nothing of my needs. There was plenty of margarine on the shelves but absolutely not, I don’t think so, no way.
Much ado about butter
So is this what it has come to? Is this what it’s going to be from here on out? Is the cost going to continue to hover at $3.50-$5.00 a pound, or worse, keep rising from here? Ouch.
I can’t find any recent information about dairy prices. An article written about a year ago said that prices were up, but expected to go down. Ironically, the “up” referred to in that article was lower than the prices I’m seeing a year later. That article did make me a little bit more sympathetic to the farmer, helping me recognize that I should probably never complain about food prices because farmers work really hard. God bless the farmer. But also God bless my grocery budget. God bless us everyone. Please pass the butter.
So spoiled American here, working to feed her family well, while appreciating the farmer and staying within budget, and trying not to gasp in fear that there is only one pound of butter left in my house. Apparently I’m going to have to go to the store and pay full price. Wha?!
I am very interested to know what you are paying for butter these days. Has the price gone up here, there, and everywhere? Any dairy farmers among us who can shed some light? How many pounds of freezer do you usually have in your house on a regular basis?