![gratituesday[2]](https://www.heavenlyhomemakers.com/wp-content/uploads/2014/01/gratituesday2.png)
I tell you what ~ it has been one wild ride having a senior in high school. I had no idea all that went into this year, not to mention the emotions that would smack me over the head without warning.
God has been so good to love me so gently this school year. As I talk to other moms who have graduated or are graduating their kids, I’m learning that I am quite normal. This is good to know. Home school mom, public school mom, private school mom – it matters not. We are Mom. We are loving our kids through making giant decisions all while preparing to launch them into all that God has planned for them. We cry a lot, not necessarily because we are sad. We cry because we’re happy. Because we’re excited. Because we’re a little bit weary. And because we couldn’t be more proud of our graduates.
Well anyway. That’s been my year in a nutshell. That, along with helping my senior through some very difficult online college courses all while trying in vain to keep up with other aspects of life like dust and laundry.
You know how some kids just know what they are going to do after high school? Our kid wasn’t one of them. He’s been searching for God’s answers all year long, not feeling confident in making a final decision for his immediate future.
The wrestling. That’s been tough to watch. And yet, it’s also been beautiful. For the first time, our 17 (almost 18) year old found himself faced with many great options and four thousand questions about what would be best. Had the answers just fallen into his lap back in September, I don’t believe the he would have experienced God’s work in his life in such a life-changing way. He had to learn to block out all the other voices and only listen to God. Then and only then did the right answers come.
As of last week, the decision has been made. Asa sees it as the one God has laid out for him in a very exciting way. And would you believe, after all the wrestling, everything came around to Asa choosing to go five minutes down the road to our very own York College? (Matt and I met and graduated from this Christian school in the 90’s.)
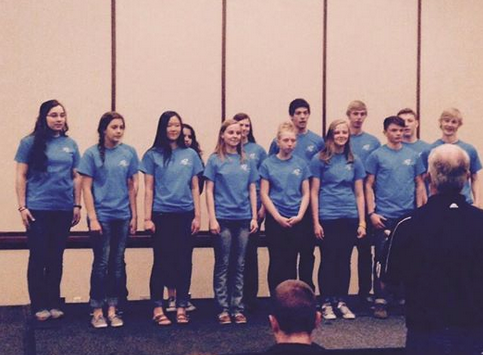
Indeed. He is YC bound. While doors were closing on the other options, God kept paving the way to YC. The soccer coach recruited him and offered him a scholarship. The choir director recruited him and offered him a scholarship. The admissions director saw his grades and granted him an academic scholarship. In those ways and many more, God just kept making it more clear that this is the school for him.
He plans to pursue a degree in Business Communication. This is a great fit for him as he continues to develop his skills in videography to perhaps run his own video business someday.
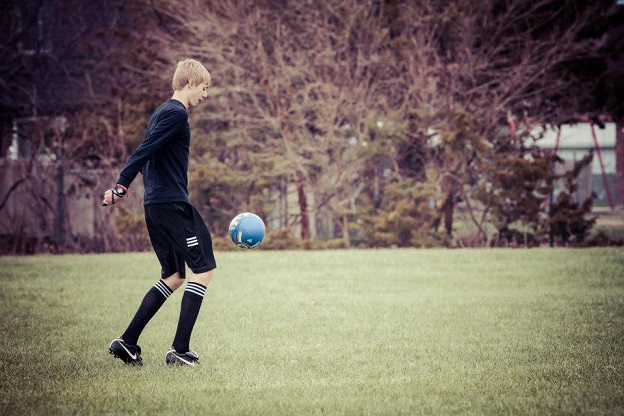
He has decided to be on the soccer team and in the concert choir. He will live in the dorm – and hopefully sometimes he will sleep. While Matt and I loved our YC experience, we were very open to other options God might have for Asa. Now that he’s chosen York College, we’re rather excited that we can be a fly on the wall during some of the events he participates in on campus. We’ll get to meet more of his friends. He can come home to do laundry and raid the fridge.
Yes, we’re all very excited. Most of all, we’re so grateful to see how God worked to pave out the path for Asa and to make it so clear to him that this is the way he should go.
And now, we carry on with the final few weeks of the school year. It’ll be a bittersweet ending this year, full of gorgeous new beginnings. God is faithful through every season of life. How exciting it is to see all He has in store for us all in the tomorrows.
What are you thankful for this Gratituesday?