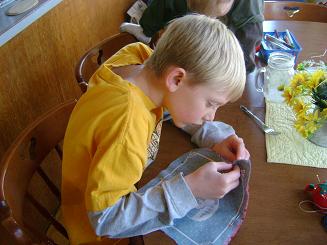
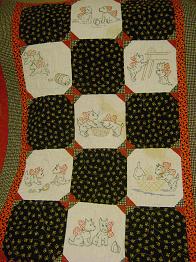
The boys and I are having SO much fun making Christmas gifts this year! I told you about the quilt I’m making for my nephew…and I mentioned that the boys are learning to sew (although I can’t tell you what they’re making because a couple of aunts and a Grandma are reading this right now :) ).
I love how excited the boys are to be making their gifts this year! They keep saying, “Can we make one for ______ too!?” Yay, they’re learning the joy of GIVING!!
As we come up with ideas, I’ll try to share them with you. There are SO many gifts you can make that don’t cost much money. (Does it sound like I’m being cheap? ‘Cause I’m not trying to be cheap…just trying to not spend much money while I focus on teaching my kids to lovingly give…and about what’s really important during Christmas time.)
Here are a few kid gift ideas to start off this series:
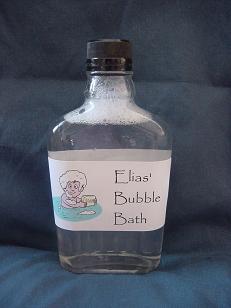
Homemade Bubble Bath
This was a great hit when I made this for Elias. It costs…pennies to make.
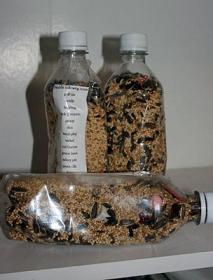
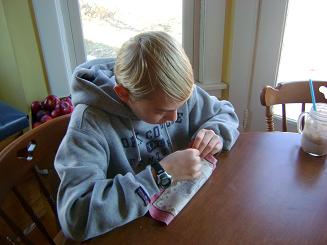
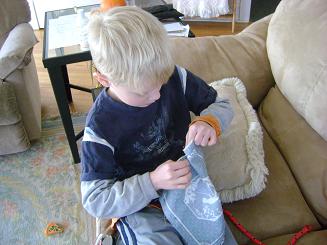
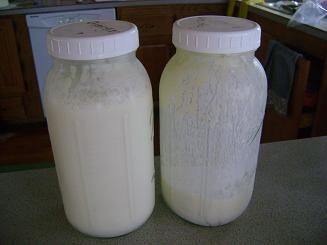
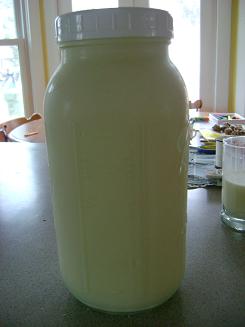
I Spy Bottles
GREAT for a road trip!
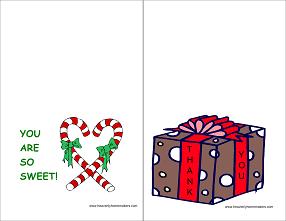
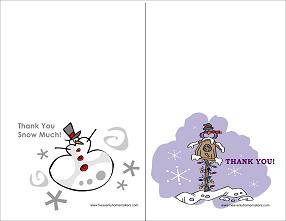
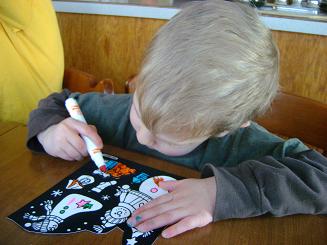
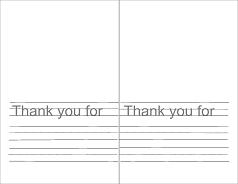
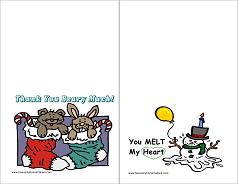
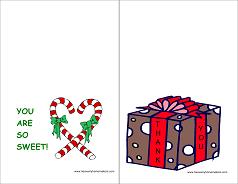
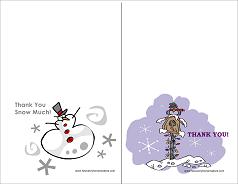
Thank You Card Packs
I just created these “Thank You Cards” to put in my kids’ stockings…and thought you might like to have them too. They aren’t fancy, just simple…but I’m hoping my kids (and yours) will have fun with them. There are six different cards (just cut along the line and fold the card over). Print them in black and white if you think your kids will enjoy coloring them.
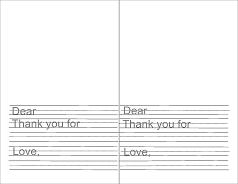
For my littler guys, I’ll also print this on the back to make their writing easier (and so that the people they are written to will actually be able to read them).


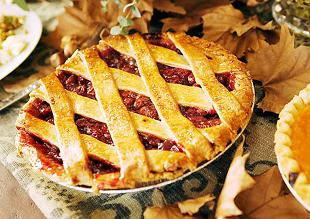
Stay tuned for more fun inexpensive gift ideas…and of course for some fun holiday treat recipes! Also, if you have any great ideas to share or have blogged about it on your site, tell us about it in the comments or email me (laura @ heavenly homemakers dot com)! Share the love!
—————————————–

