Cooking beans is crazy easy. It’s remembering to soak them the night before that is the hard part.
My morning brain and my night brain are two completely different beasts. My morning brain is like, “Wooooo yeah! We gonna cook all day and do school work with the kids (let’s do art today!) and organize ourselves completely and make all the phone calls and make 20 quarts of applesauce and finish the laundry and write two blog posts! Let’s do this!”
As the days wears on, I knock out about three of my twenty lofty goals (because my time and energy always run out before my to-do list ends – and also because I hate making phone calls). After a full day of thinking hard and working hard and loving hard, my night brain is like, “I’m not speaking to you right now.”
This is why it is hard to soak beans.
The irony is that I never forget to grind coffee beans at night to put into my coffee pot for easy coffee making the next morning. Obviously, I have my priorities. Perhaps my two bean worlds could collide and I could let my coffee beans trigger a reminder about my pintos? It only makes sense.
On the rare occasion I do remember to soak beans, I feel so accomplished when I get into bed at night. Forget all the other stuff I did for 15 hours all day long. I totally put my beans in a pot with water! I am so very amazing!
Once the beans have been soaked, we can put them into a crock pot to cook all day for our dinner that night.
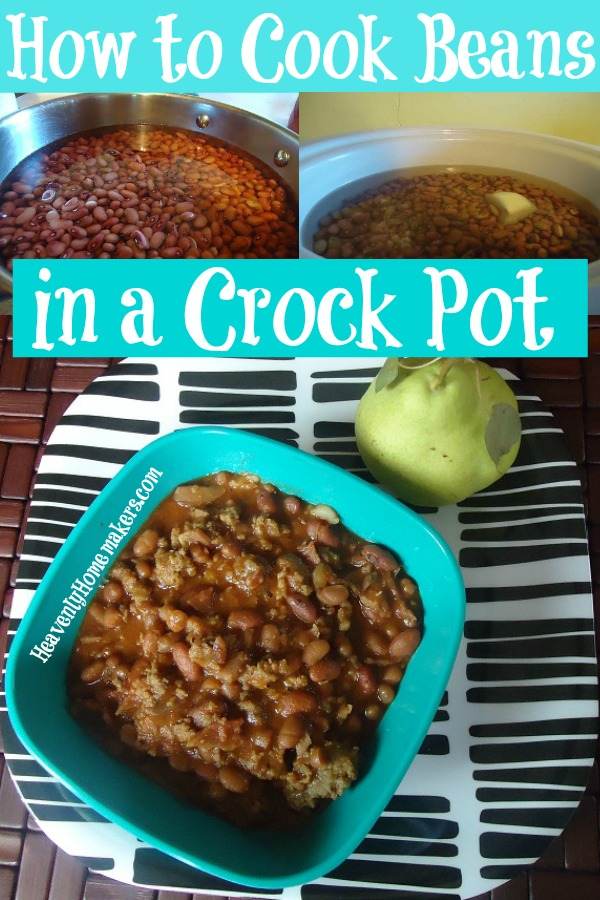
How to Cook Beans in a Crock Pot
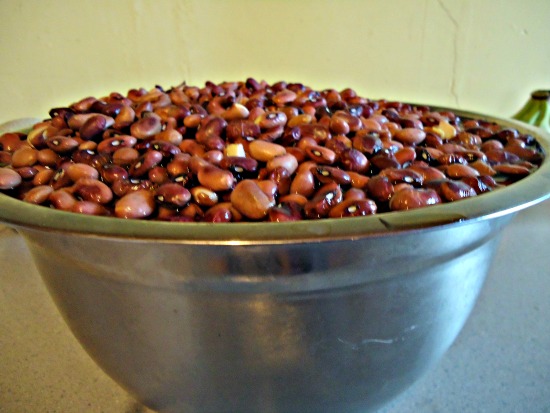
1. At night before bed, put about 4 cups of any variety of beans into a pot with 6-8 cups of water.
2. Splash in a little vinegar. It’s supposed to help with the toots. I offer no guarantees.
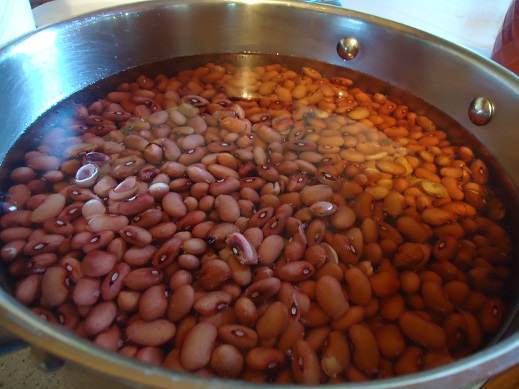
3. Let the beans soak overnight.
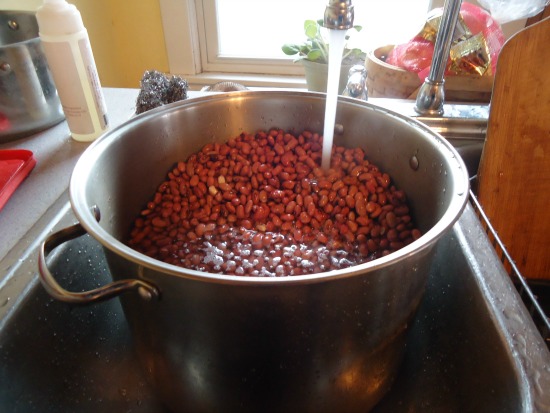
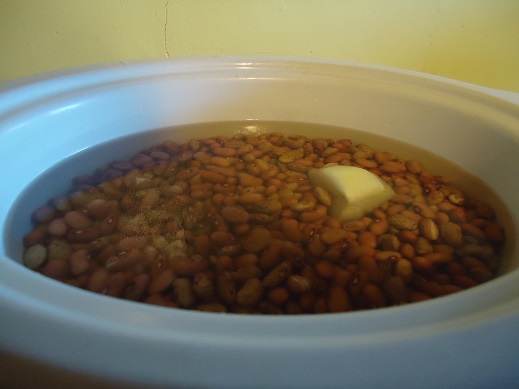
4. Strain and rinse them in the morning. Put them into a crock pot and cover them with fresh water.
5. Add a couple of chopped onions to the post for flavor. This is optional but yummy and recommended.
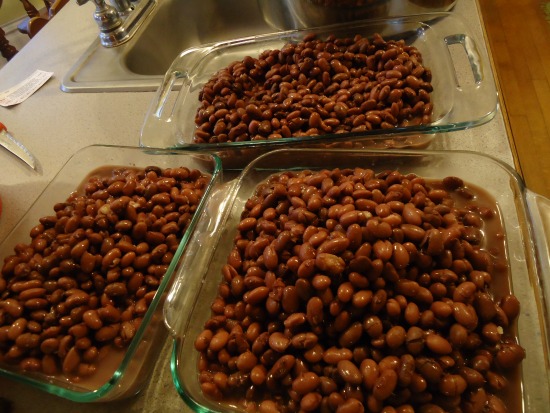
6. Cover and cook the beans on low for 8-10 hours or until they are tender.
At this point, you can enjoy your beans in any way you enjoy beans. Our favorites are:
- Chili
- Chili Mac
- Easy Cheesy Bean Dip
- Black Bean Chicken Nachos
- Black Bean Salsa
- Bean and Cheese Burritos
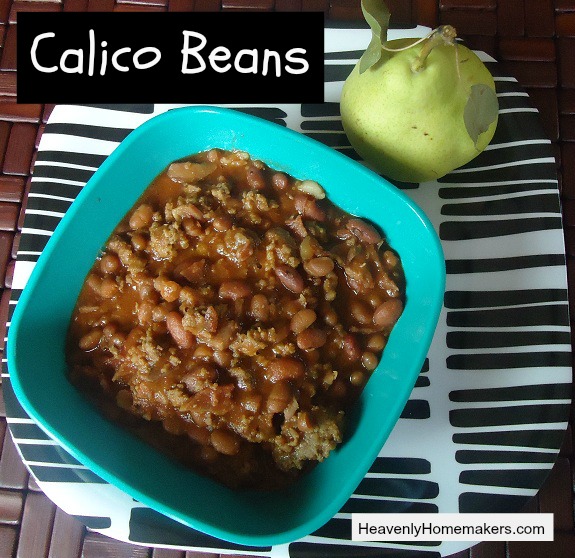
- Calico Beans
What are your favorite ways to eat beans? Please tell me about your morning brain vs. your night brain. Which works better for you?