Homemade Nutella, anyone?
It all began at Asa’s graduation party with two other graduates last May. The moms and I planned it together and they decided to go all out. One of the items on our menu was “crusty bread with different topping options” like meats, cheeses, and nutella (though probably not all at the same time). My friends and I set out a lovely buffet. I was the one in charge of purchasing the condiments, sauces, and Nutella.
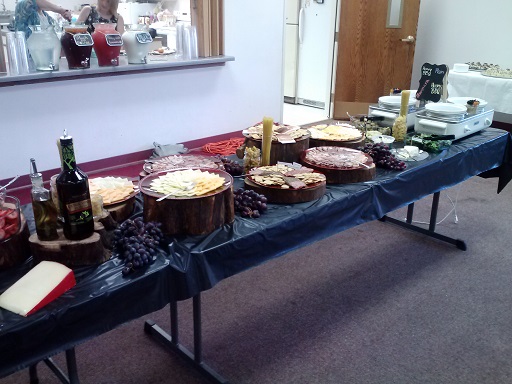
Not knowing how many hundreds of people might show up and how many of those hundreds would want to spread Nutella on their bread – I bought four enormous containers of it. We went through exactly 1.5 of those huge tubs, so guess what we’ve been eating since May?
My boys have been so sad about this.
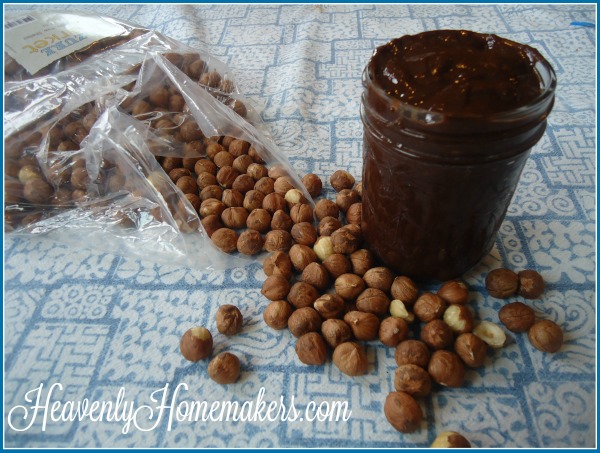
We finally finished them off, and now the boys are having Nutella withdrawals. I can’t stand to buy more, so I determined to figure out a healthier option that I can feel better about. Some of you might remember that I attempted Homemade Nutella a few years ago. That was tasty, though still had quite a bit of sugar. I had a terrible time actually finding Hazelnuts this go around – but part of my problem was that the price was throwing me off.
The good news is (now that I’ve attempted this recipe and learned a few tricks) – it takes only a few hazelnuts to make a batch of nutella. So my purchase will go a long way to providing a healthier nutella option for the fam.
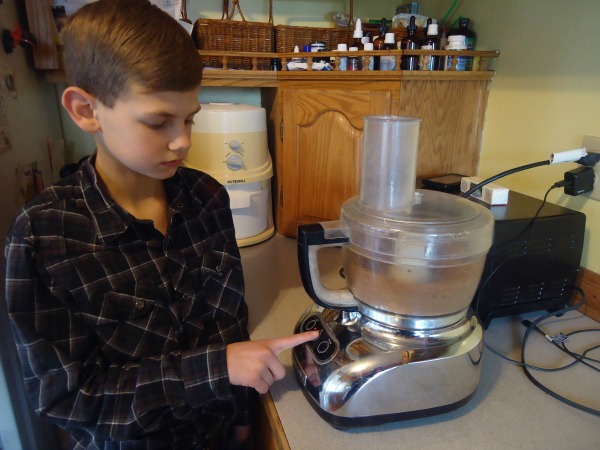
Malachi’s been my chef-in-training the past few weeks and was very excited to enjoy Nutella again. He joined me in putting together this recipe. Here he is pushing a button. (Cooking is so hard.)
I’m excited that this version of Homemade Nutella is lower in sugar than most. If you prefer, use expeller pressed coconut oil since it is flavorless and won’t effect the taste.
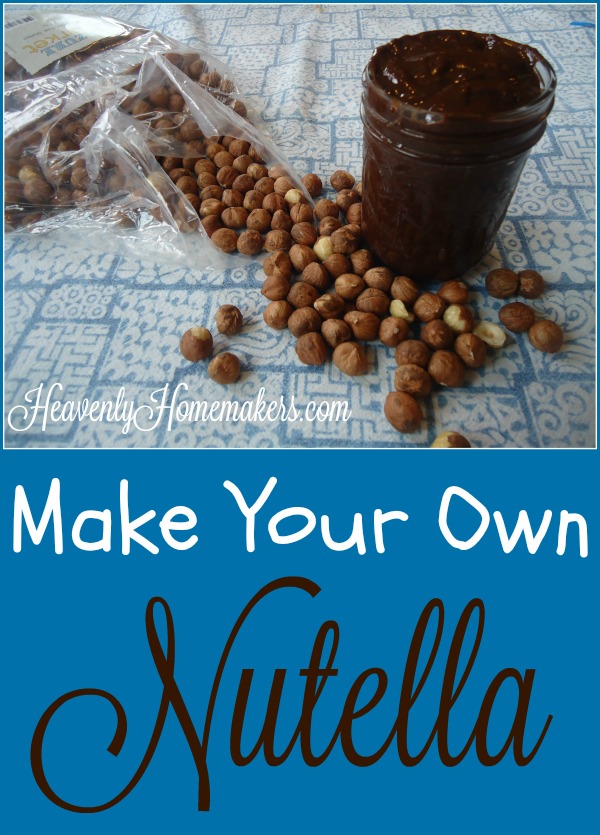
Make Your Own Nutella
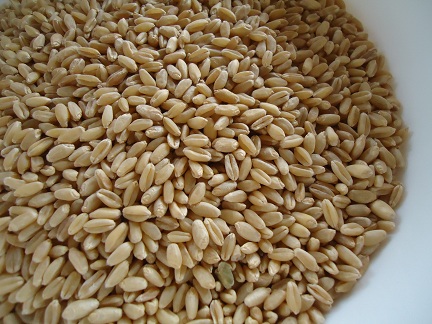
- ⅔ cup hazelnuts
- ¼ teaspoon sea salt
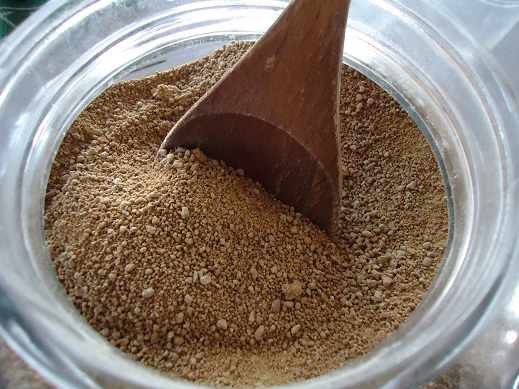
- ½ cup cocoa powder
- ½ cup melted coconut oil
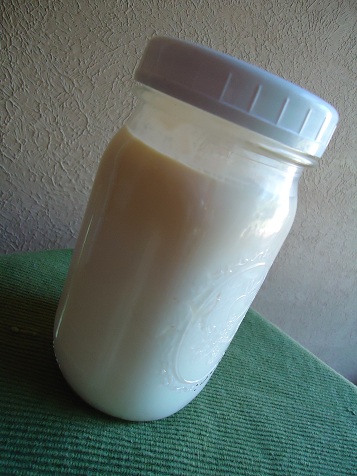
- ½-2/3 cup real maple syrup
- Lay the hazelnuts on a cookie sheet and toast them in a 350° oven for about 10 minutes.
- Remove skins if necessary.
- Whirl toasted hazelnuts in a food processor until smooth.
- Add remaining ingredients and blend until creamy.
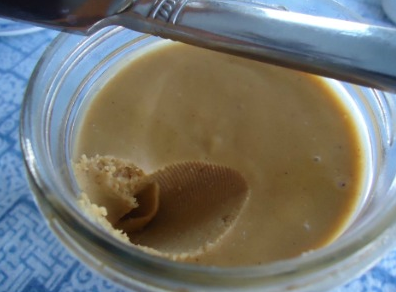
- Store in a half-pint jar for up to three weeks.
Have you tried making Nutella before?
It’s fun, easy, and yummy – and unlike Homemade Peanut Butter Captain Crunch – this one is worth the small time investment. :)