You know me…I love me some fudge. This is by far the easiest fudge I have ever made. And the healthiest.
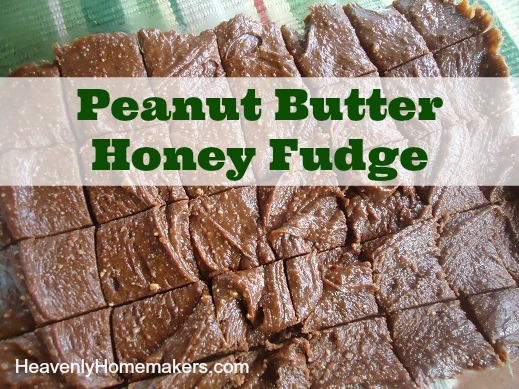
Peanut Butter Honey Fudge
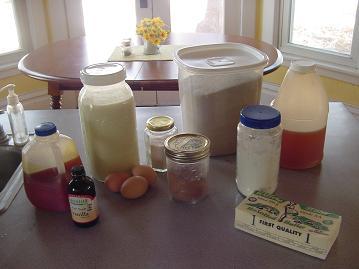
1 cup natural peanut butter (creamy or crunchy)
3/4 cup honey
1/2 cup milk chocolate chips
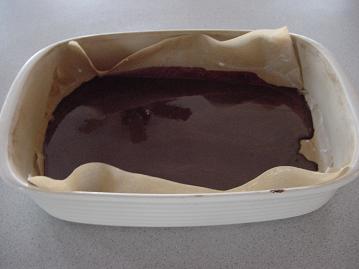
Combine all ingredients in a small saucepan. Cook and stir over low heat until the chocolate chips are melted and blended in (about 30 seconds).
Spread fudge into an 8×8 inch pan. Refrigerate until solid. Cut into 1 inch squares.
————————————
Now, you might be thinking…3/4 cup of honey?! That’s going to take up a lot of my honey! (Yes, Pooh Bear, you’re right.)
But you cut this fudge into little squares, and it really does go a long way. OOh, and it’s so simple and yummy! (So sorry all you peanut allergy friends out there!)
This is a super simple dessert to throw together real quickly to take somewhere…no baking involved. Hardly any time involved. Very little mess involved.
Oh, and you’ve gotta love a High Five Recipe with only THREE ingredients!! :)