The perfect formula for making homemade dill pickles…
Last summer I had two friends: one with too many cucumbers and one with too much dill. This worked out very well for my family, seeing as I had too many empty jars and too many hungry children to feed who really like pickles. (Not to worry. I also had more than two friends.)
So I took the cast-off cucumbers and dill, and I searched online for how to make pickles. Some recipes seemed complicated and some included weird ingredients – so in true Laura “can’t we just keep this simple” fashion, I played with a mixture of all the ideas I found to see if I could make the pickle process easy.
Not only is this easy…it is toooooo easy. We’re talking: wash cucumbers, slice cucumbers, stuff them into a jar with a few other ingredients, water bath for 5 minutes. That easy.
Easy as it was, I had to wonder: would the pickles taste good? Would they crunch like they were supposed to? It’s not like I had much money invested in them (thanks to my generous friends who supplied me with free cukes and dill), but I sure was hoping for a happy pickle experience. If successful, I knew this would be a wonderful food to be able to pull out of my pantry to quickly add to a meal.
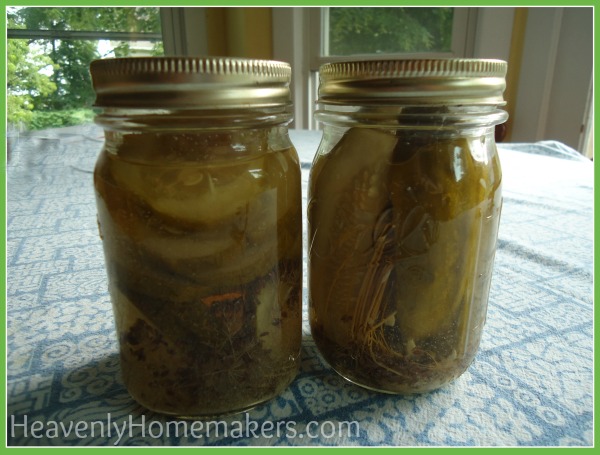
Bingo! My family loves these. And they crunch like they are supposed to. No soggy pickles here.
Here’s the key to keeping the crunch in your pickle: Do not over water bath them. We’re not trying to kill the cukes. Just boil the jars long enough to get the lids to seal – about 5 minutes.
Now about the dill. Hey, what’s the big dill? (I’ve always wanted to say that. My life is now complete.) But about the dill. If you’re not sure what I’m referring to in the recipe when I say “1 Dill Flower” I’m talking about this:
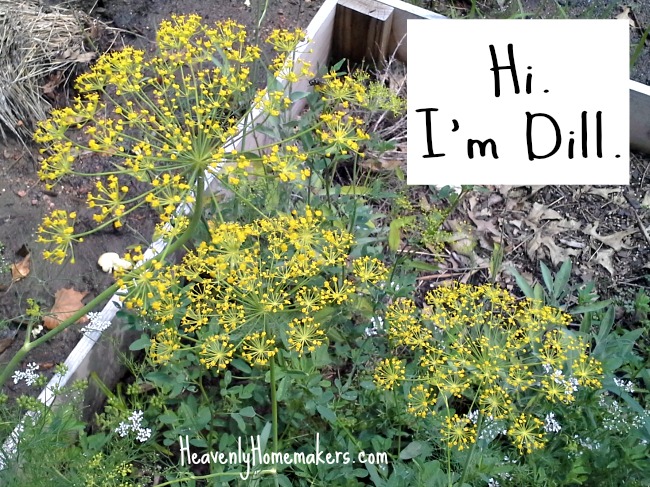
See how there are little tiny bunches of yellow plants all joined together into one giant – bigger than your hand – bunch of yellow plants? When I say “1 Dill Flower” I’m talking about the entire giant big huge bunch all attached to each other. I made this recipe up all by myself based on other recipes, so whose to say if I’m right? But my pickles turned out amazing, so I’m going to go with, “yep. I’m right.” Use an entire, big flower.
And now I want to read To Kill a Mockingbird for the 26th time. If you’ve read it, you know why. But seriously, who names their kid Dill? Or Scout for that matter. (Like for rill. What’s the dill? Okay now my life is complete.)
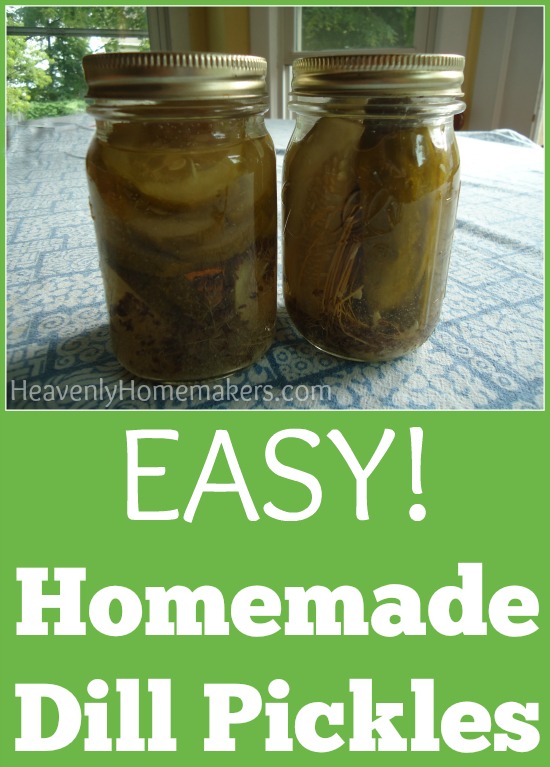
Easy Homemade Dill Pickles
- About 12 cucumbers
- Per jar:
- 1 Dill Flower (a full, big one)
- ½ teaspoon garlic powder or 1 minced clove of fresh garlic
- Liquid mixture for 6 pint jars:
- 2¼ cups white vinegar
- 2¼ cups water
- 3 Tablespoons sea salt
- Wash and sterilize 6 pint-sized jars.
- Place the following into the bottom of each prepared jar:
- Dill Flower (a full, big one) plus ½ teaspoon garlic powder or 1 minced clove of fresh garlic
- Wash 12-ish medium-sized cucumbers, then cut them into spears or slices. Pack them into each jar. (I averaged about 2 cucumbers per pint jar.)
- Stir the vinegar, water, and sea salt together on the stove over medium heat for 1-2 minutes or until the salt dissolves. (Do not boil the mixture.)
- Pour the hot liquids into each jar, immersing the cucumbers, allowing ½ inch of space at the top.
- Secure lids and rings, then place in boiling water bath for 5 minutes.
- Remove jars and be sure they seal properly.
This is, by far, the easiest canning recipe I’ve ever tried. How about you? Have you tried making pickles? Are you a To Kill a Mockingbird fan?
P.S. Here’s my Sweet Pickle Relish recipe if you still have too many cucumbers. :)