Wow I love me a good Creamy Orange Cooler!
Over the weekend when I was nursing a sinus infection, I found myself without an appetite. But, I knew I needed to keep some good foods going in so that my body would have something to work with to fight the infection.
Something made me think of a recipe I had tried years ago (like before Asa was even born), and suddenly it sounded SO GOOD. I got out my old recipe book, made several tweaks to the concoction and guzzled it down!!! If I hadn’t been sick and out of energy, I would have done a dance around my kitchen! Maybe I had been hungrier than I thought – or maybe this was just exactly what I needed. Either way, I made another batch the next day!

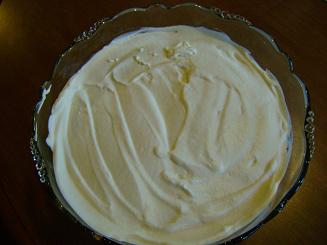
Creamy Orange Cooler
- Juice of 3 medium oranges
- 2 cups buttermilk
- 2 teaspoons real maple syrup (or more to taste)
- ½ teaspoon vanilla extract
- a handful of ice cubes (optional)
- Squeeze juice from the oranges and pour into a blender with remaining ingredients.
- Blend until smooth (or until ice is crushed if added).
This drink is so easy to whip up. The buttermilk mixed with the sweet citrus creates an amazingly tangy taste that is SO refreshing!
I also love that this is a new way to get down some cultured buttermilk! (Learn how easy it is to make your own buttermilk here.) I have a hard time drinking the raw, cultured buttermilk by itself, but in this mixture – I could just drink it straight from the blender!
And yes, I know dairy products aren’t great when you have a sinus infection…but I didn’t care. ;) I needed something that would go down easily and satisfy my insides. It did exactly that. (Plus I used raw milk, which doesn’t have the same ill effects on the sinuses as store-bought milk does.)
Looking for more healthy, satisfying recipes? Here is a list of all my healthy Bread and Breakfast Recipes.


 Place a nice spoonful of burrito mixture onto a tortilla.
 Fold in the ends.
 Fold up one side, and then the other.