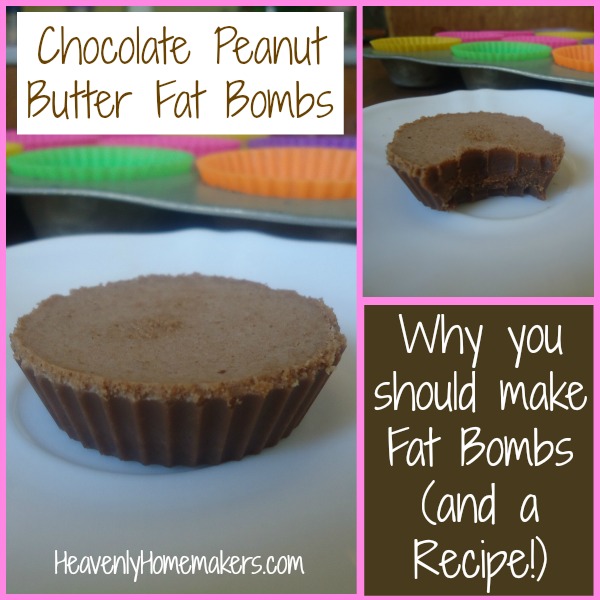
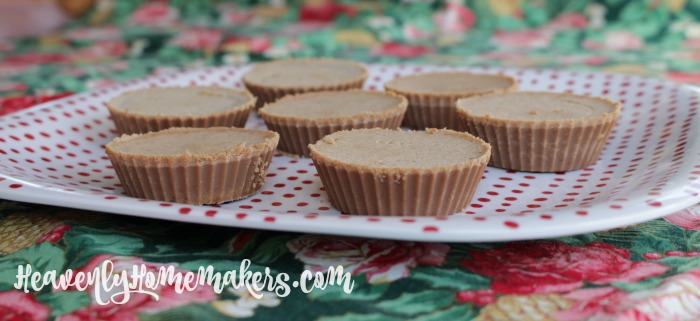
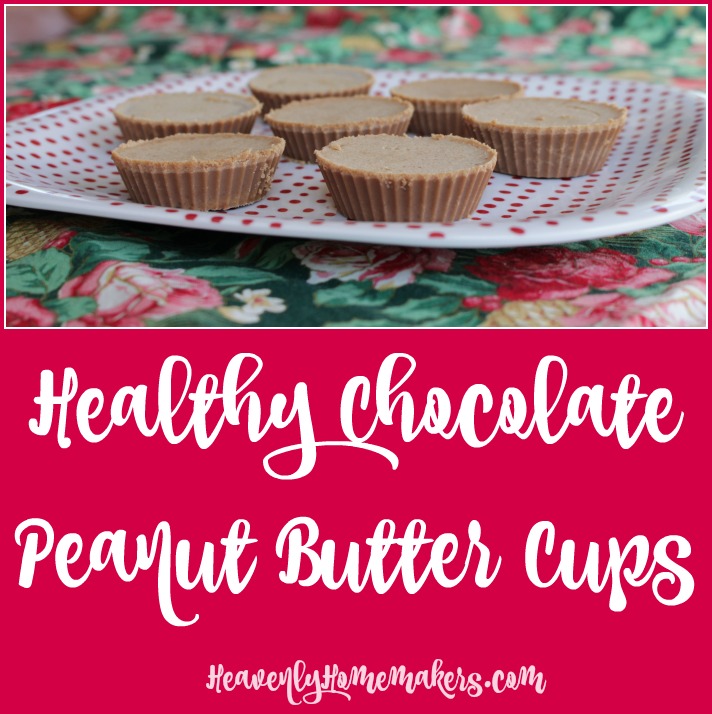
I have eaten at least three of these Chocolate Peanut Butter Cups every single day since September. Please, you must join me in delighting in this simple, and apparently necessary, pleasure of life.
Before I share more about this recipe, allow me to tell a story so that when you eat these in front of others, you will not make the same mistake I did.
See, it all started out back in September when I learned that I needed to add a significant amount of good fat to my diet if I wanted to improve my health, have more energy, and get rid of my brain fog. Seeing as I had no desire to lick coconut oil off a spoon or peel open a stick of butter like a banana, my quest to figure out how to easily eat all these good fats led me to discover these Chocolate Peanut Butter Fat Bombs.
They changed my life, and I’m not exaggerating. They are so very nourishing, made with loads of healthy fat and protein, and sweetened with stevia (stick with me though, even if you hate stevia). The fat bombs are delicious and I started feeling better immediately after I began eating several each day. Who knew? My body had been screaming for more nourishment from healthy fats!
Well, back to my story of what not to do.
We had company one weekend in October. I was eating a Fat Bomb while preparing breakfast. (Had to get my brain going, you know?) One of our guests walked in and asked, “Oh, what are you eating?” Suddenly I found myself in a quandary about how to answer. I could have simply said, “It is a healthy Peanut Butter Cup.” Right? Couldn’t I have just said that??
But no. I found myself launching into a very long narrative about my health journey during the past four years and how I’d been feeling awful during the past few months and couldn’t figure out what I could eat that wouldn’t make me feel awful. The very minute I started the story, I wanted to stop. I quickly realized that the kind ears listening to my “what are you eating” explanation were on extreme overload and most definitely confused. But I couldn’t stop because I’d already started and for the life of me, I couldn’t figure out how to wrap it up. So I kept going on and on. I even found myself using phrases like “adrenal fatigue” and “intense detox.”
The poor dear. Some people want to know more about natural doctors and bad bacteria lurking in the gut. But some people just want to know, “Hey, what are you eating?”
So you guys. Make these, eat them, enjoy them, and let them nourish you. But for the love of pleasant conversation, when an innocent person asks you what you’re eating just say, “It’s a healthy Chocolate Peanut Butter Cup.”
Now, it is Christmastime and treats are fun at Christmas. That’s why I’m re-sharing this recipe. But today I’m calling them Healthy Chocolate Peanut Butter Cups to ease the pain of anyone you might be having a conversation with over the holidays. You are so very welcome.
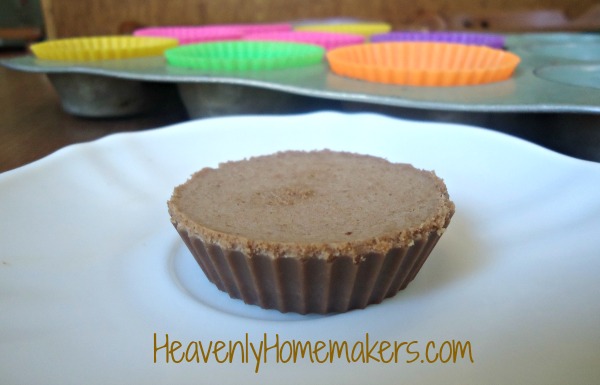
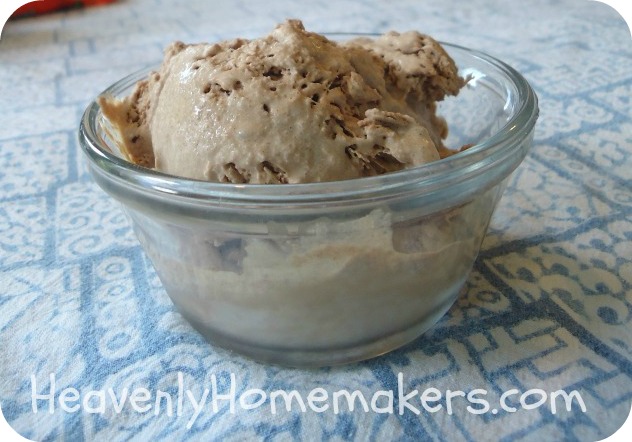
Healthy Chocolate Peanut Butter Cups
(Let’s all practice saying it together:
They say: What are you eating?
We say: “It’s a Healthy Chocolate Peanut Butter Cup.”
There now. Was that really so hard?)
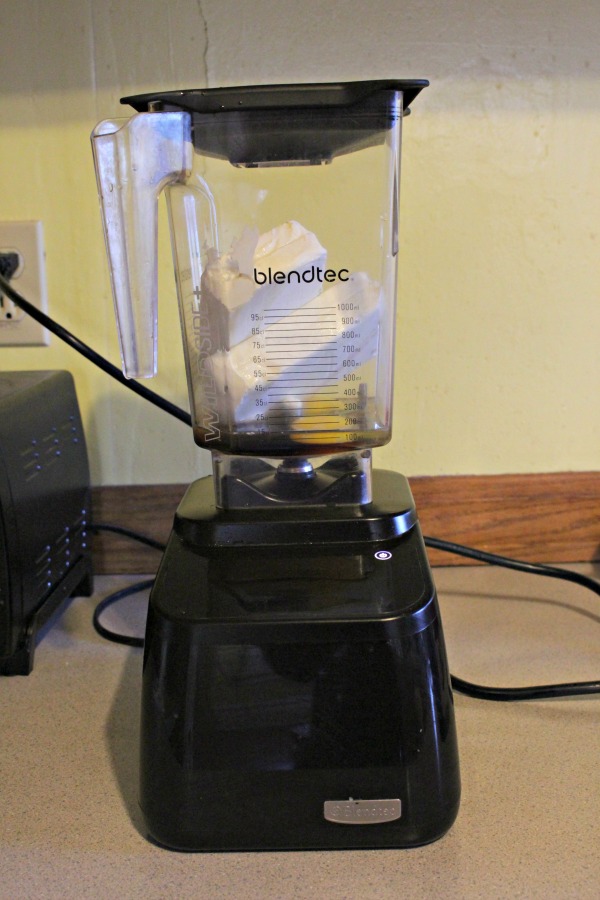
- ½ cup coconut oil (I use expeller pressed so the coconut flavor didn't overpower.)
- 1 heaping Tablespoon cocoa powder
- 4 Tablespoons butter
- ½ cup natural peanut butter
- Liquid stevia to taste (I use 1½ droppers full of NuNaturals Brand.) OR 2-3 Tablespoons of honey or maple syrup
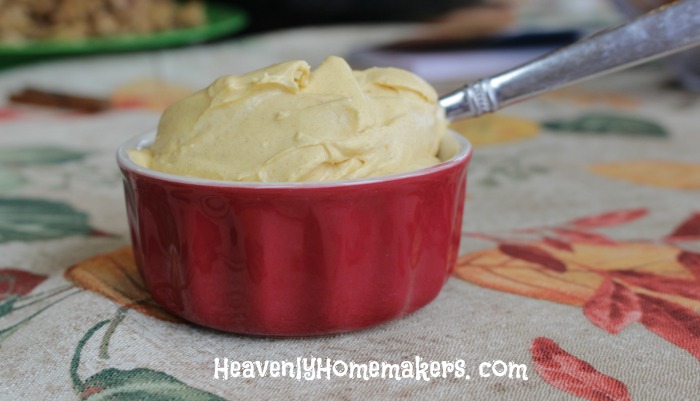
- In a small saucepan, heat and stir together coconut oil, cocoa powder, butter, and peanut butter.
- Once melted and mixed, remove from heat and stir in stevia.
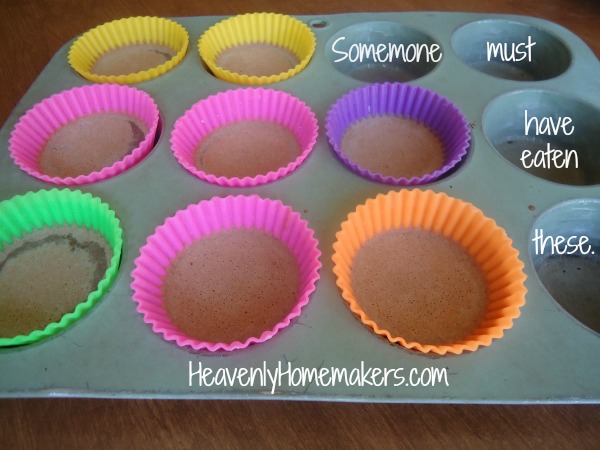
- Pour into 12 muffin lined muffin tins.
- Freeze for 20 minutes or refrigerate for 2 hours.
- Store in fridge and eat as needed.
By the way, these really taste best when they are right out of the fridge!
I love that these are completely free of sugar when made with stevia. But if you don’t like or don’t have stevia, you can use maple syrup or honey instead. These will still be wonderful for you and only lightly sweetened.
I use silicone muffin cups like these when I make these “Healthy Chocolate Peanut Butter Cups.” This makes it so very easy!
Ever found yourself in an uncomfortable conversation while trying to explain something “weird” that you’re eating? Fun times.