Cookie bites? Eh. We like ’em okay. ;)
Because we all like healthy snacks and we absolutely love easy recipes – let us take a moment to review the previous no-bake cookie bite recipes shared here:
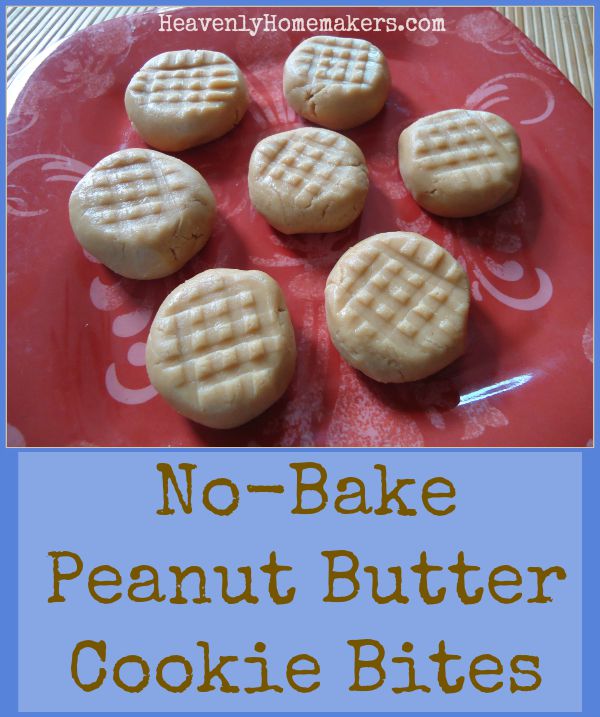
One idea turned into another, and now we have No-Bake Peanut Butter Cookie Bites to add to the list!
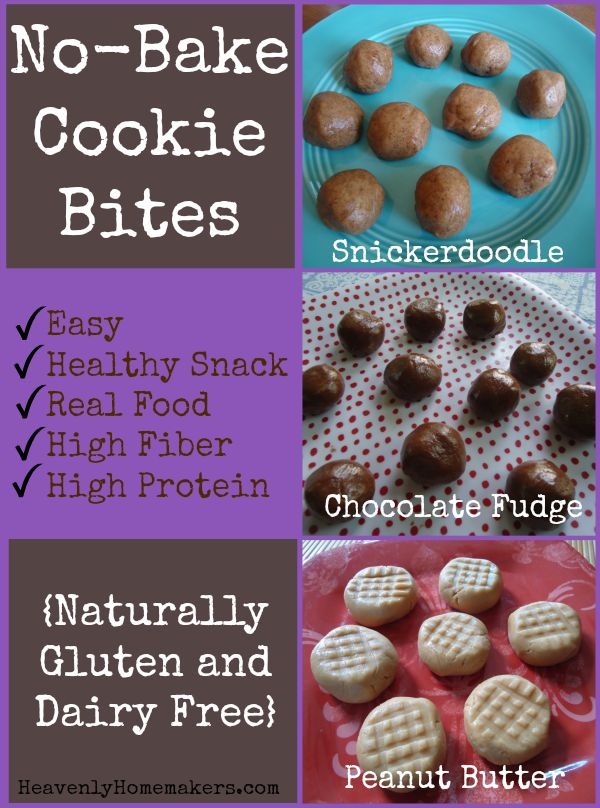
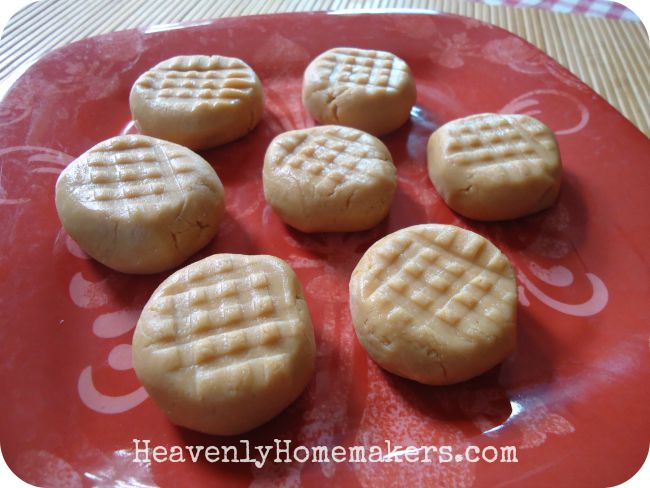
With a few ingredient tweaks, a Peanut Butter Cookie Bite came about. Of course, a peanut butter cookie bite must be gently pressed with a fork like the real deal, don’t you think? These taste so much like Peanut Butter Cookies, we couldn’t believe it. But instead of being an actual cookie full of sugar – they are a high protein, high fiber, low sugar snack. But hey, call it a cookie since it still tastes like one. Healthy treats are so exciting!
No-Bake Peanut Butter Cookie Bites
- 1 cup natural creamy peanut butter
- ¼ cup honey
- 1 teaspoon vanilla extract
- ½ cup coconut flour
- Mix the ingredients together in a bowl until well combined.
- Roll the mixture into teaspoon-sized (or whatever sized) balls.
- Press down gently, criss-cross, with a fork.
- Refrigerate before serving.
It really is that easy.
(Here are my homemade peanut butter instructions.)
Where to get Coconut Flour:
Many have asked about Coconut Flour. I order it from Tropical Traditions or Amazon. A little bit goes a long way, so don’t let the price-tag scare you. Coconut flour is naturally gluten free, high in fiber, and high in protein. I love it for its nutritional value!
Ways to enjoy these No-Bake Cookie Bites:
- Packed in a lunch
- As a snack/pick-me-up
- Before or after a work-out
- On the road during a trip
- In a box, on a train, with a fox, in a tree (thank you, Sam I Am) – Do you really need any more reasons to love these? Eat them any where for any reason!
Lovin’ these No-Bake Cookie Bites!
Give me more cookie flavor ideas to play with!! What would you like to see here?