This Fruit Pizza is so yummy – you’ll feel like you are eating something naughty. But in fact, because it is made with whole wheat, honey, and fruit, I believe you could serve it for breakfast. Since figuring out this recipe, I may have done that a time or two at our house. ;)
You will love how easy this is to make!
Fruit Pizza Crust
1 1/2 cups Whole Wheat Quick Mix
1/2 cup honey
1/2 teaspoon vanilla extract
1 egg
Mix ingredients together. Press (or pour) dough into an 8×8 inch baking dish. Bake in a 350° oven for 10-15 minutes or until it is slightly golden. Allow crust to cool.
Cream Cheese Layer
3 ounces cream cheese, softened
2 Tablespoons real maple syrup
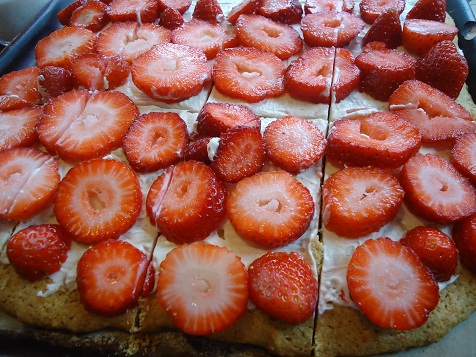
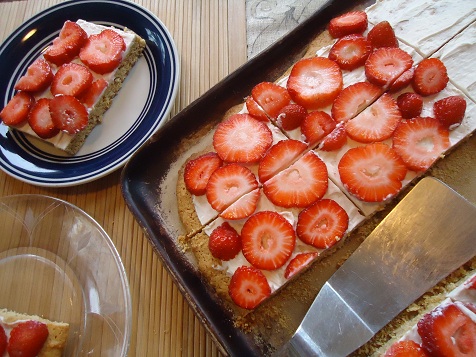
Mix well and spread over cooled crust. Top with fresh fruit. (Berries, bananas, and kiwi work best.)
Serves 4-6. I typically double this recipe for my family and spread the crust into my large baking stone.
I’d love to know – have you made the Whole Wheat Quick Mix yet?! More sneak peeks into our upcoming Oh, For Real book still to come!