I posted this recipe several years ago, but last month when I was cleaning out some old, irrelevant posts – I think I somehow deleted this one for Homemade Guacamole! Yikes. One should never delete their guacamole.

What I love about guacamole is that it is a super easy way for our family to add nourishment to the table. Everyone in our family loves this guac. They just think they’re eating chips with dip, and I’m like, “Yay, they’re eating another veggie!” Actually, avocados are a fruit aren’t they? Well, whatever. They are super nutritious.
Before I (re)share this recipe, I need to have a slightly weird conversation with you. Avocados are green and guacamole is usually green, but what happens when you mix green (avocados) and red (salsa) together? Wellllll….
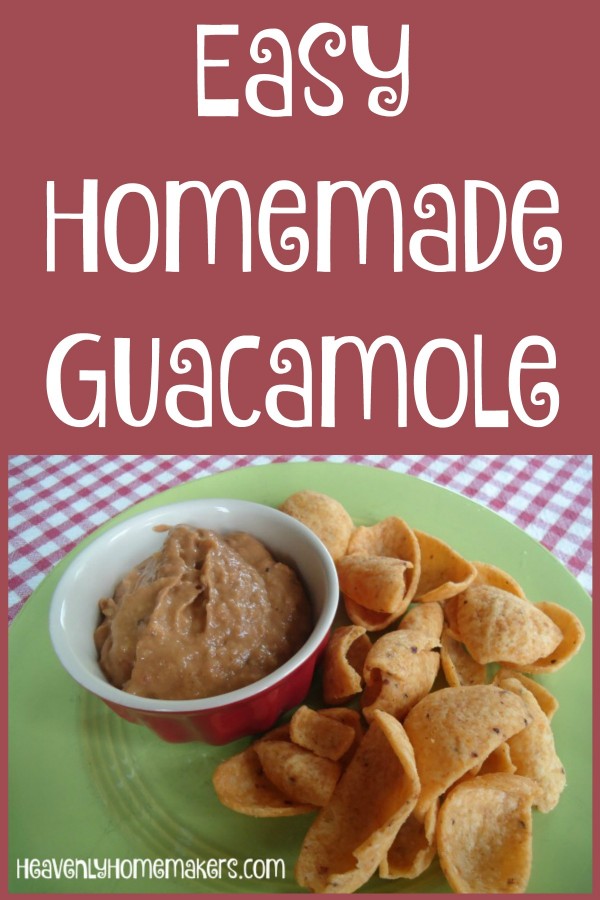
Let’s just say my guac ends up looking a little bit like…um, well, it’s brownish. Red and green make brown, and that’s what color your guac will be when you follow this recipe. There is no other way. So the end result of blending these fine ingredients together makes an ugly mixture in a bowl.
We are used to it and don’t even care. But when we serve it to company we have to have a “sorry this guacamole looks like baby poop, please try it anyway” conversation. Then we all enjoy snacking together. Hospitality is always fun at the Coppinger house.
Well now that we got that out of the way…
Easy Homemade Guacamole
- 4 ripe avocados
- 16-ounce jar of your favorite salsa
- 3-4 Tablespoons of lime juice
- Cut open the avocados, pull out the pit, and scoop the "meat" into a blender.
- Dump salsa and lime juice into the blender.
- Blend until smooth.
- So what if it's brown?
Do you see how easy this is? Dump in the ingredients, blend it up, scoop it out, eat it because you just can’t stop. After one bite, you will no longer care what color it is because the flavors are just so wonderful together.
Don’t sweat the exact measurements on this “recipe.” Add or subtract ingredients to taste. Use hot salsa, medium, or mild – your choice. It pretty much tastes great no matter how you blend it. It just looks ugly. Bless its heart.