Why? Why do we make it hard? And the most important question of all, who loves how the cranberry sauce from the store plops out of the can and remains forever in the shape of the can? How do they do that, anyway?
Don’t answer that. I already know. It’s made with gelatin. I could make my cranberry sauce with gelatin too, if I wanted. It might be kind of fun, actually. I could use a tin can to make a cranberry sauce mold and I could plop it out on Thanksgiving morning. It would bring back fun memories of my childhood, because that was one of my favorite holiday jobs. I could re-live that suction sound it made as the jellied variety of cranberry sauce came out of the can. That would be way, way, way better than my memories of the sound a can of biscuits makes when it opens. I can’t even handle thinking about that one. (I’m a canned biscuit big baby scaredy cat chicken.)
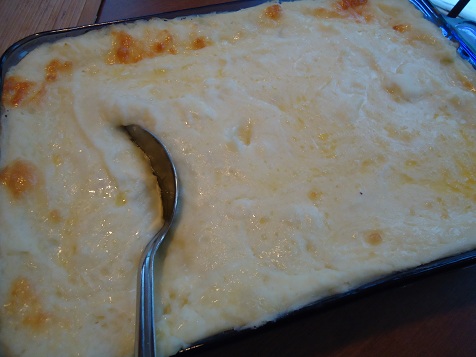
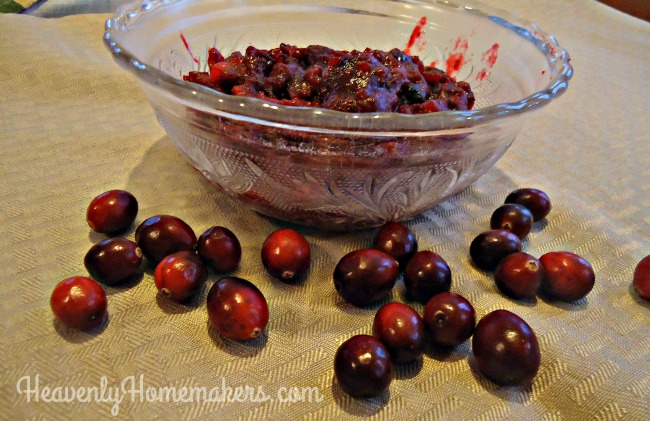
So homemade cranberry sauce. It is so easy. I’d never even made it before last week because I figured it might be hard. Really, Laura? You put cranberries and sugar in a pot and you cook it for a few minutes to create cranberry sauce. Well, I had no idea.
This recipe is a total no-brainer. It’s as easy as Stir-and-Pour Bread. In fact, this sauce tastes very good on top of a slice of that particular bread. I promise to continue to make all of our real food cooking as easy as possible.
Please note though that while this is easy and made with real food – this recipe is very full of sugar. I tried to cut down the sugar – you know – to prove like so many other recipes that all the sugar is ridiculous. Unfortunately, this dish mocked me to my face. (Literally, to my very puckered up face.) It was like, “I dare you to cut the sugar down and not make weird faces. Go ahead. Try it. Heh. Nice face.”
Fine. My face was unbecoming. Make this cranberry sauce of the low sugar variety at your own risk. Keep your camera handy. Your cranberry sauce face photos will be a delight for years to come.
Whatever your sugar content choice, I promise you will love how ridiculously easy this side dish is to make. I will be making mine a couple days before Thanksgiving so that I can simply pull it out of the fridge to serve. I got my fresh cranberries for 99¢ so I was very excited. You probably wanted to know that.
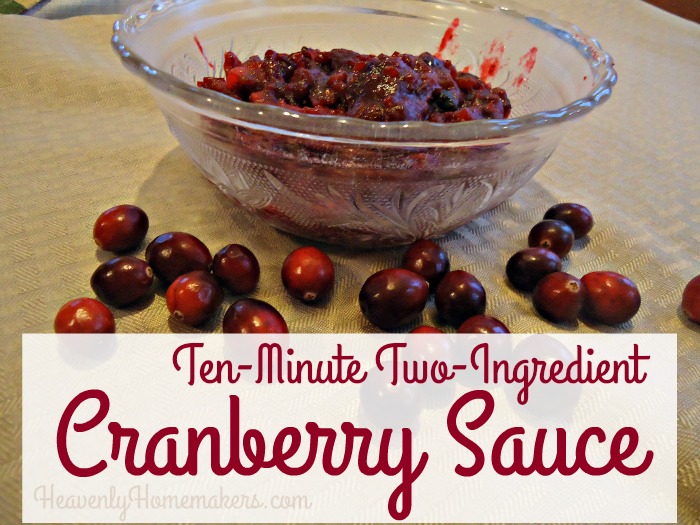
2-Ingredient Cranberry Sauce
- 1½ cups fresh cranberries (12 ounce bag)
- ⅓ to 1 cup sucanat or sugar
- Rinse cranberries.
- Combine cranberries and sucanat in a small sauce pan.
- Cook on medium heat, stirring occasionally, for 10-15 minutes. Your work here is done.
- Place cranberry sauce in a serving dish, cover, and refrigerate for at least two hours before serving.
Make this several days before serving if you wish. Yes! It is another make-ahead dish to save you time on Thanksgiving or Christmas (or some Friday in February). Add this recipe to your Getting Ahead for the Holidays Check-List.
Have you tried making Cranberry Sauce? Ever tried it low sugar? Whoa. Who loves the canned, jellied cranberry sauce suction plop? Ah, the memories.
~~~~~~~~~~~~~~~~~~~~~~~
While I’ve got you, I am pleased to announce the three Getting Ahead for the Holidays winners of the $25 Gift Certificates good toward any of our eCourses or downloadable items in theHeavenly Homemakers Shop!
- Jane J.: bnwalker@
- Shelby: sixforemans@
- Karen: kloumc21@
Winners, email me (laura at heavenlyhomemakers.com) and I’ll send you a certificate!