Many are enjoying our new Simple Meals plans, but as we all know:
Man shall not live on dinner alone. Sometimes he needs a snack.
Every once in a while, I hear a mom say, “Oh snacks? My kids don’t eat snacks. They just eat big meals.”
I have no idea what to do with that. No snacks? Just big meals? I definitely know that could work for some, but this is not the case for my family. We eat big meals and we still need snacks.
You know it’s not just my kids that need snacks. I’m the mom and I need snacks frequently. I don’t think there’s anything wrong with snacking, though I do believe snacks should be just as nourishing as a meal – not just empty calories to fill a hole.
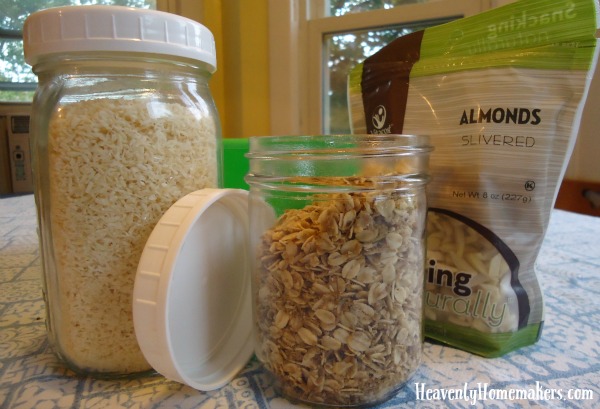
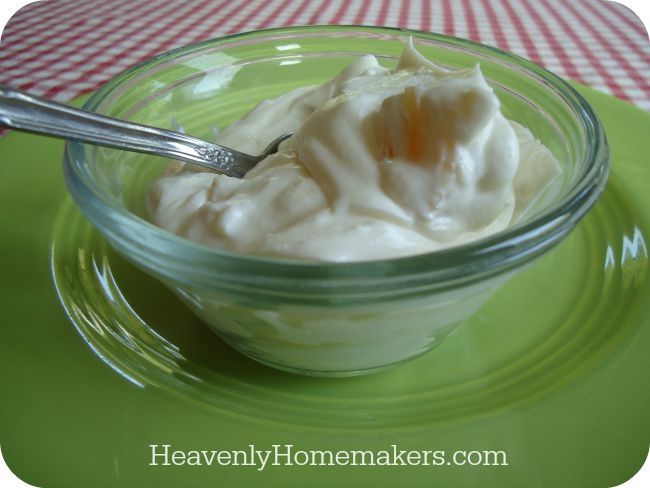
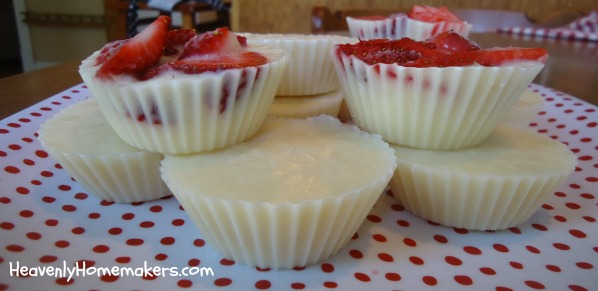
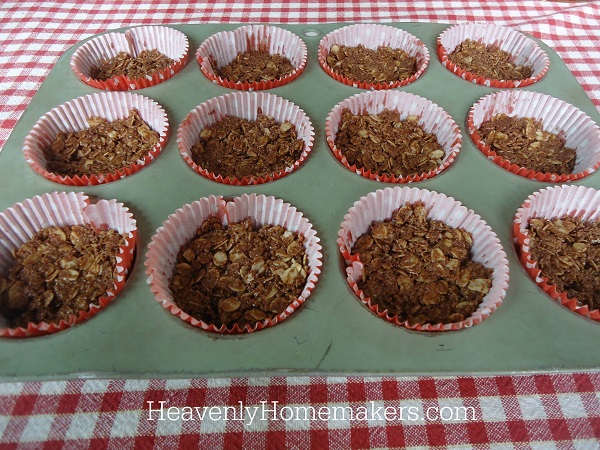
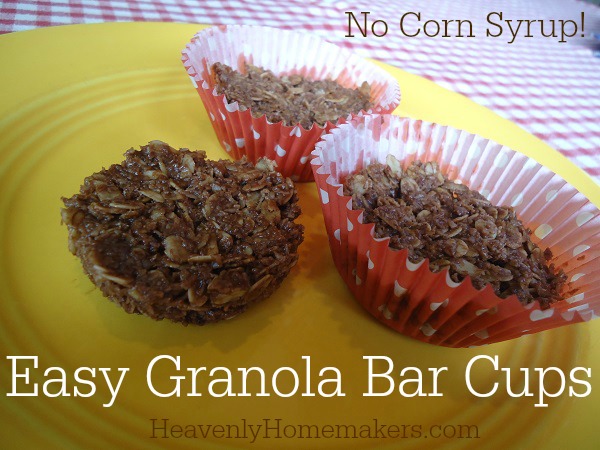
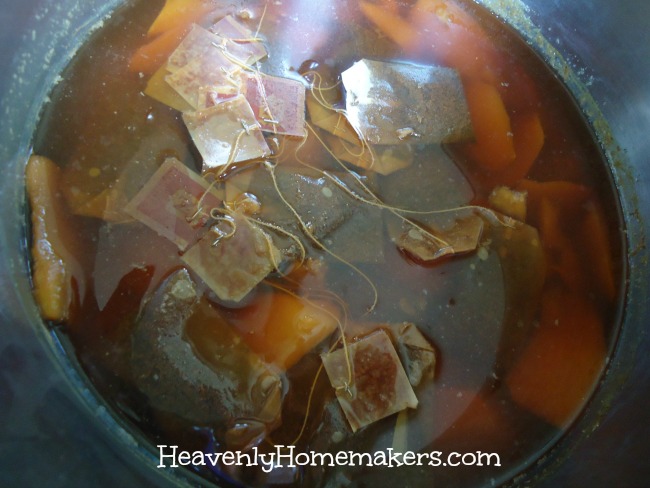
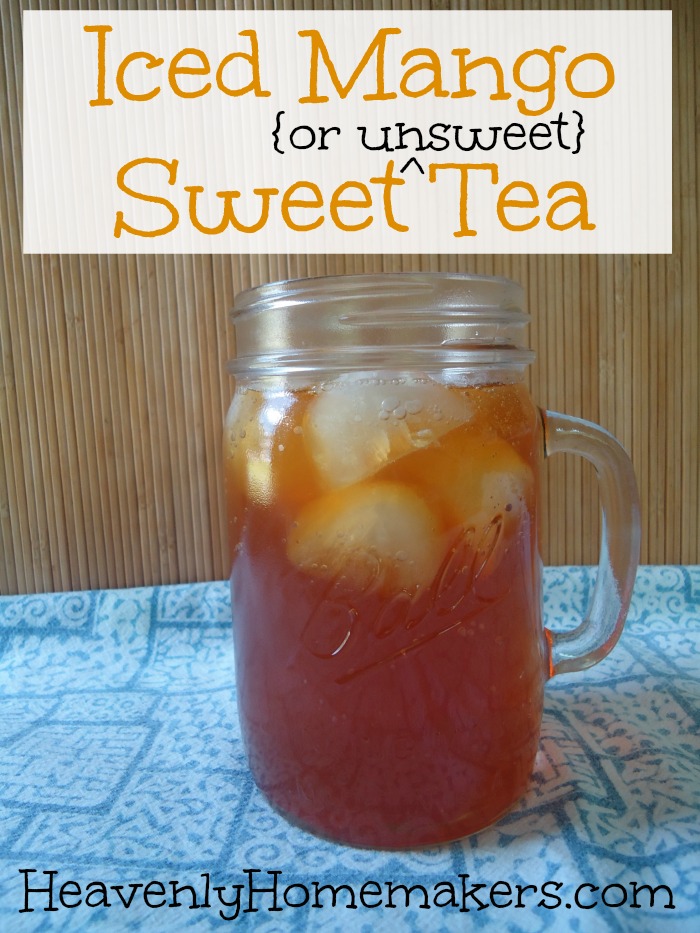
My current favorite nourishing snack:
These are amazing for energy and brain function. I like brain function.
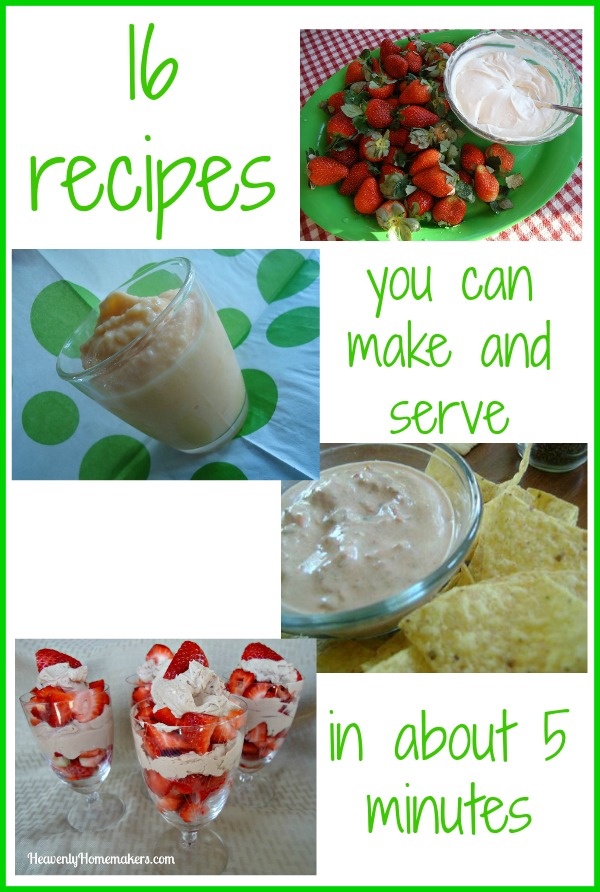
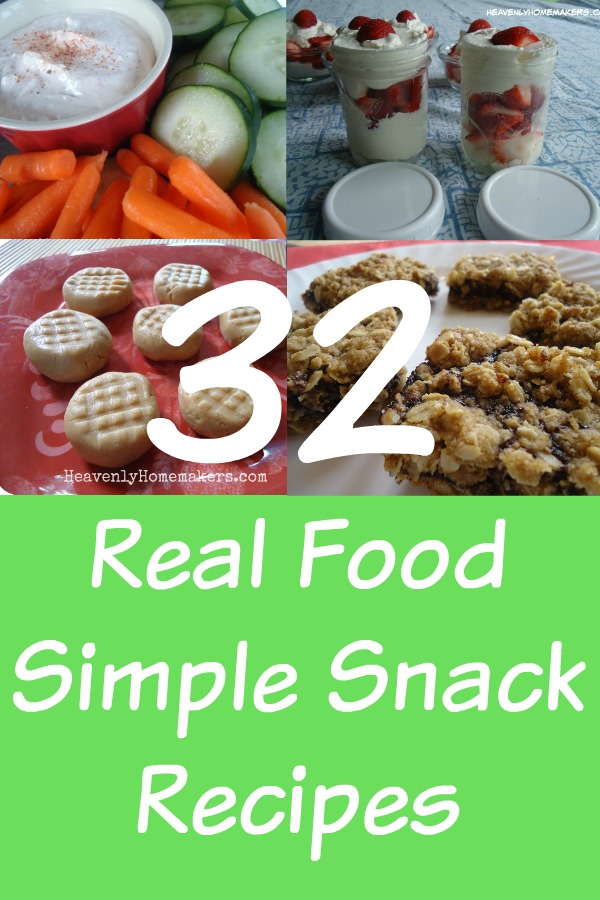
Today let’s talk about Simple Snacking options. I’ve made it my goal to provide incredibly simple recipe options for all Simple Meals plans. So in keeping with the theme of simple recipes, here is a list of my easiest snack recipes that will keep your family fed but will not keep you in the kitchen very long!
Simple Snacks Recipes
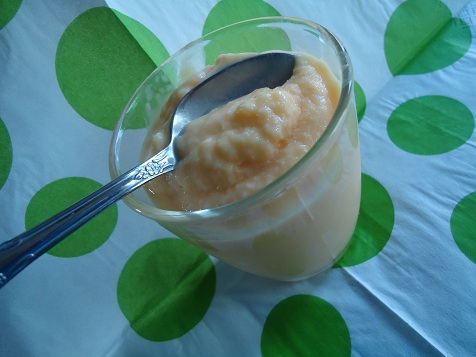
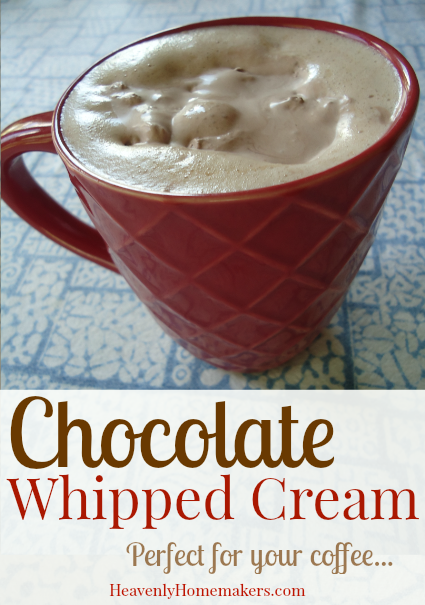
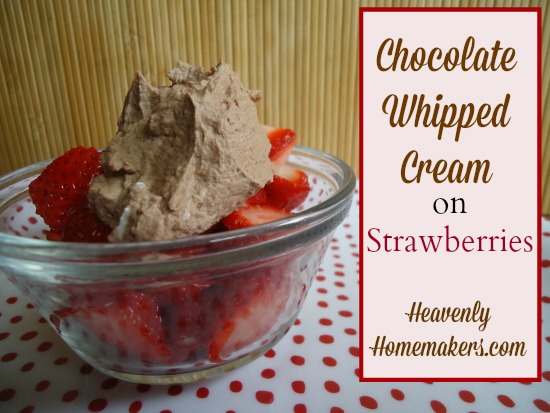
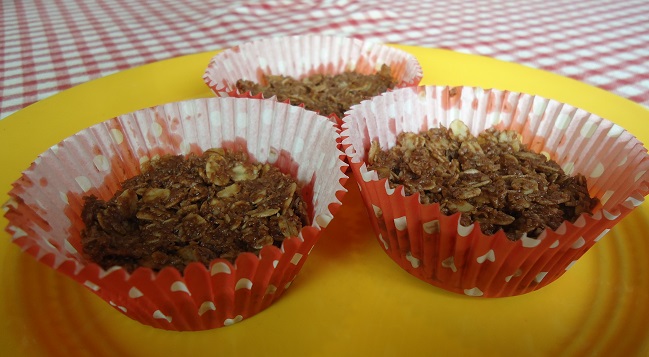
- Chewy Granola Bars
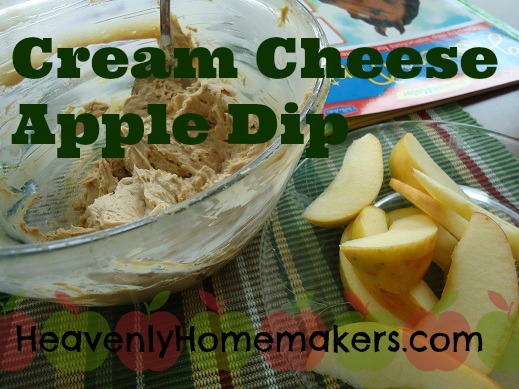
- Cinnamon Apple Toast
- Coconut Fudge Bars
- Cranberry Nut Trail Mix
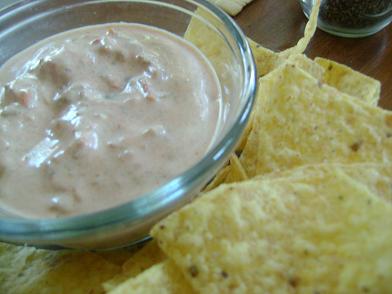
- Cream Cheese Salsa Dip
- Crispy Cheese Crackers
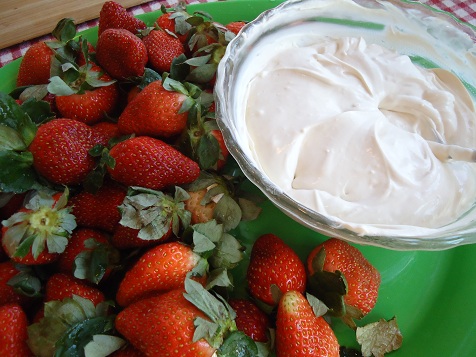
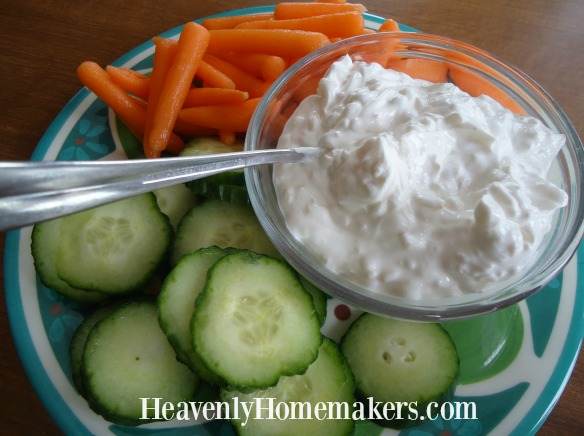
- Easy Veggie Dip
- Fat Bombs (Chocolate-Peanut Butter)
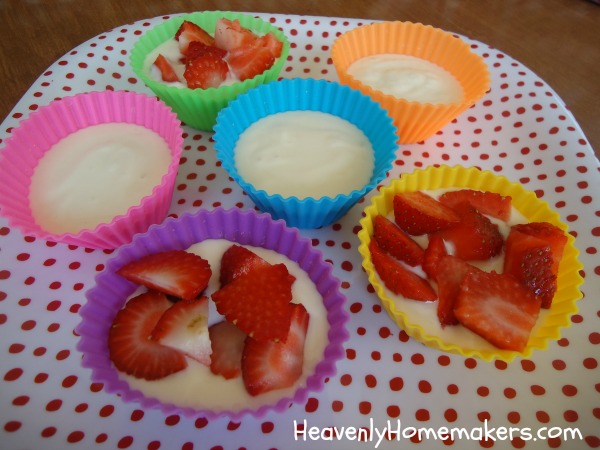
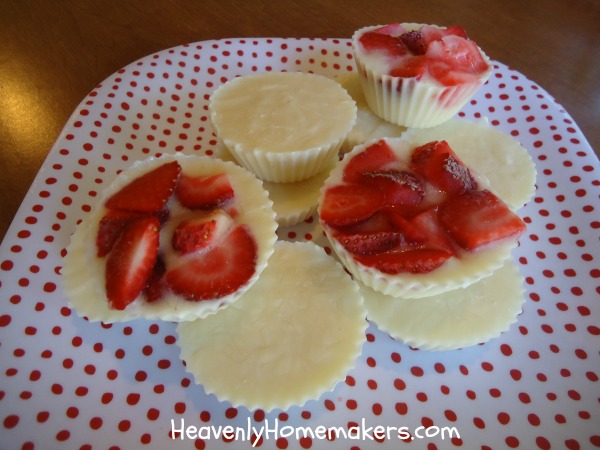
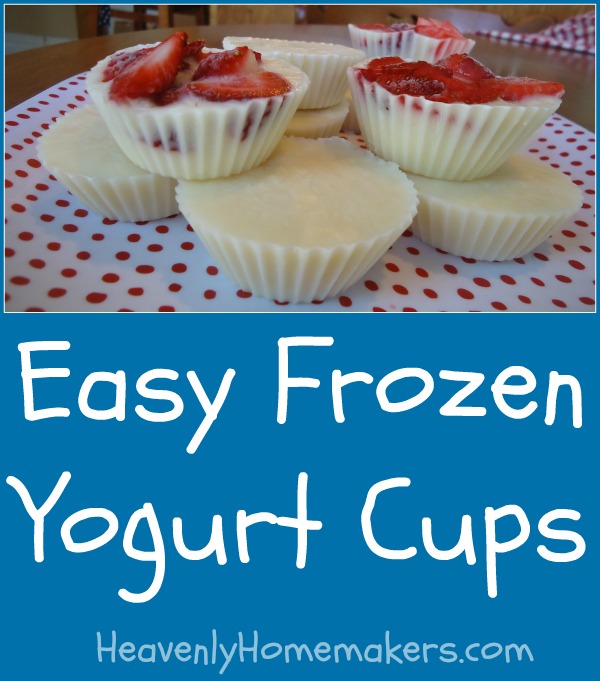
- Frozen Yogurt Cups
- Honey Peanut Bars
- Mudballs
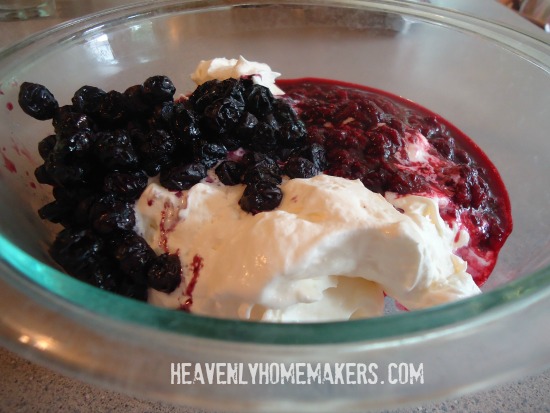
- Nectarine Cream Cups
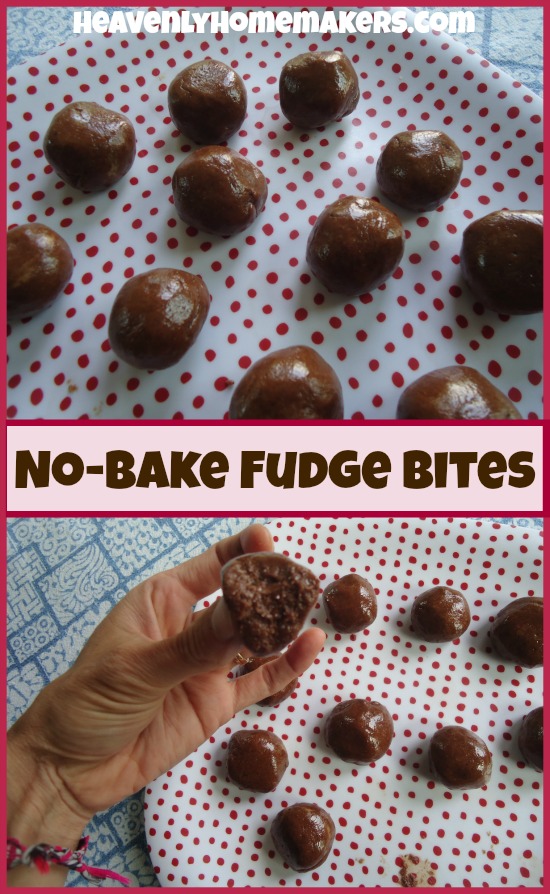
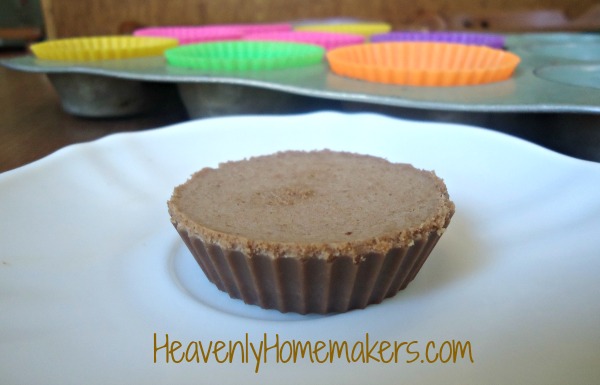
- No-Bake Chocolate Fudge Bites
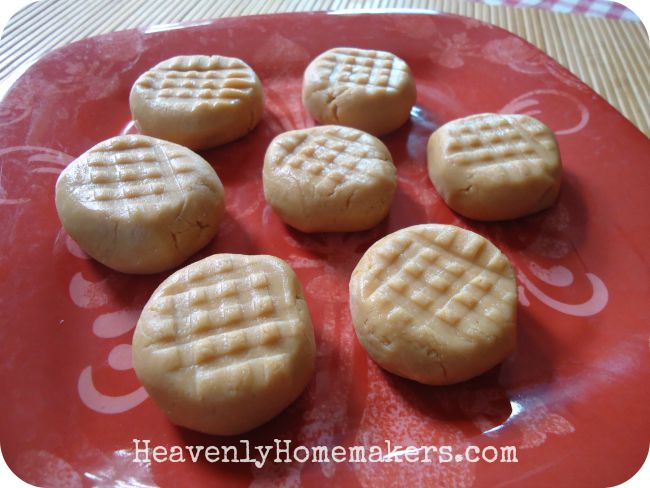
- No-Bake Peanut Butter Cookie Bites
- No-Bake Snickerdoodle Bites
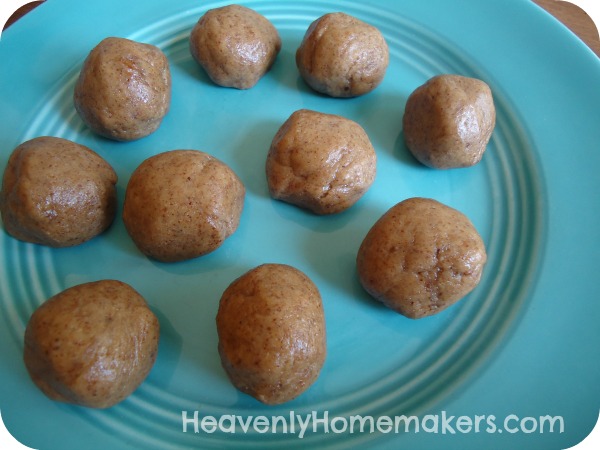
- Peanut Butter Raisin Balls
- Peanut Butter Snack Bars
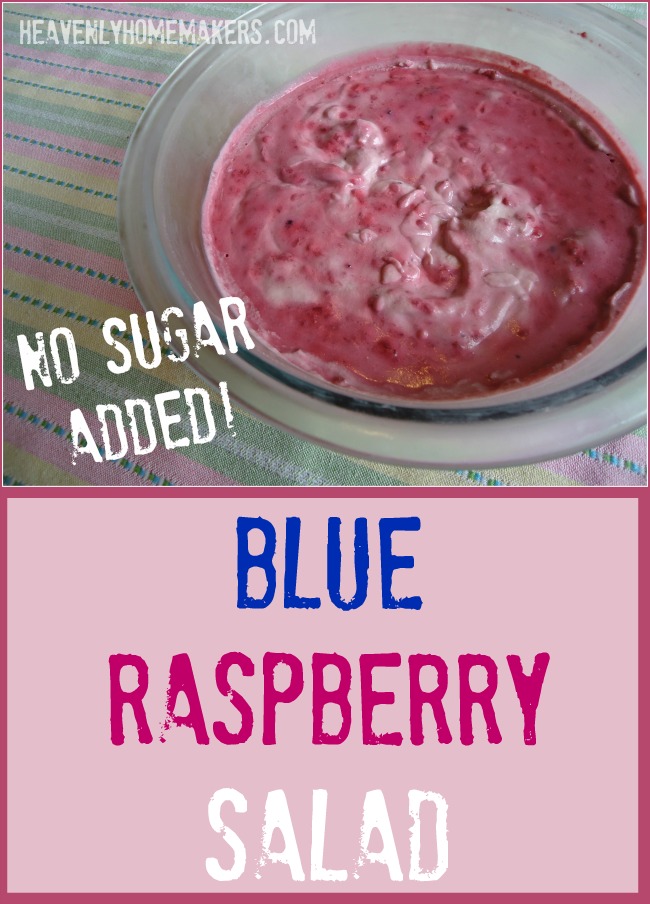
- Pineapple Fluff Salad
- Ranch Cheese Ball
- Ranch Potato Wedges
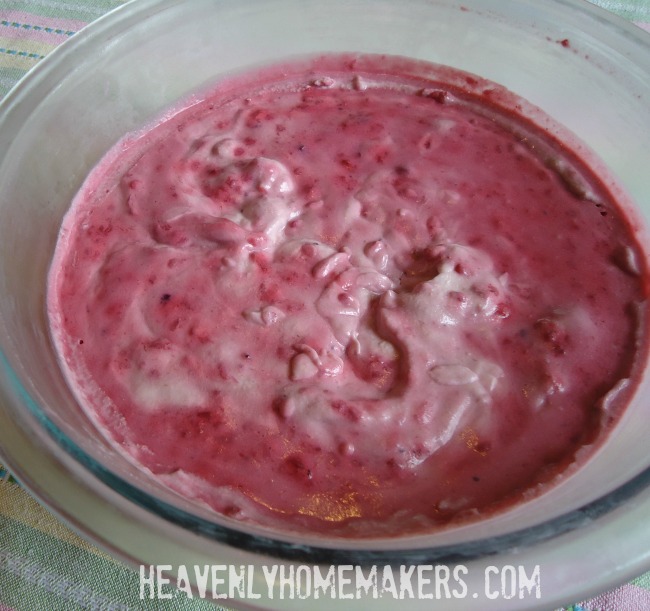
- Raspberry Lemon Cream Cups
- Raspberry Oatmeal Bars
- Shortbread
- Spicy Avocado Dip
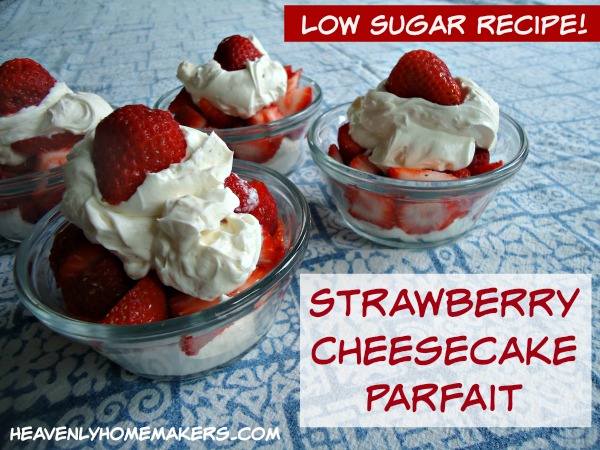
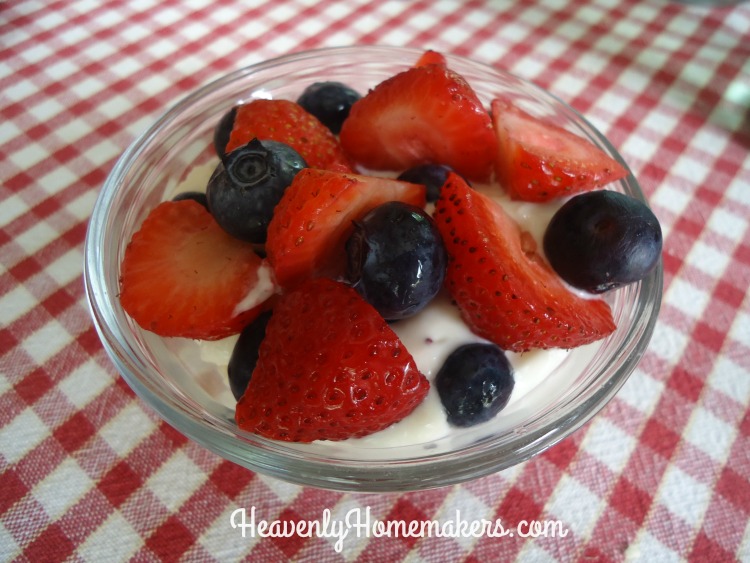
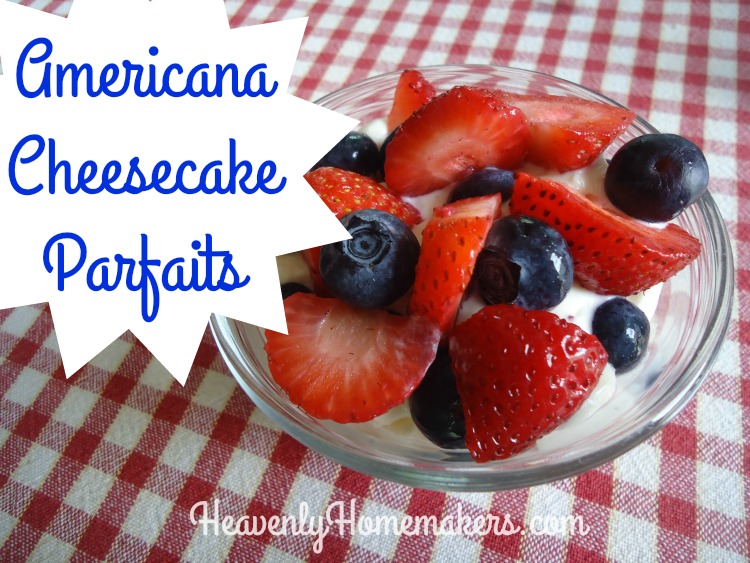
- Strawberry Cheesecake Parfait – Low Sugar!
- Strawberry Milkshake
- Strawberry Peach Slushie
- Strawberry Yogurt Fruit Dip
- Super Simple Chip Dip
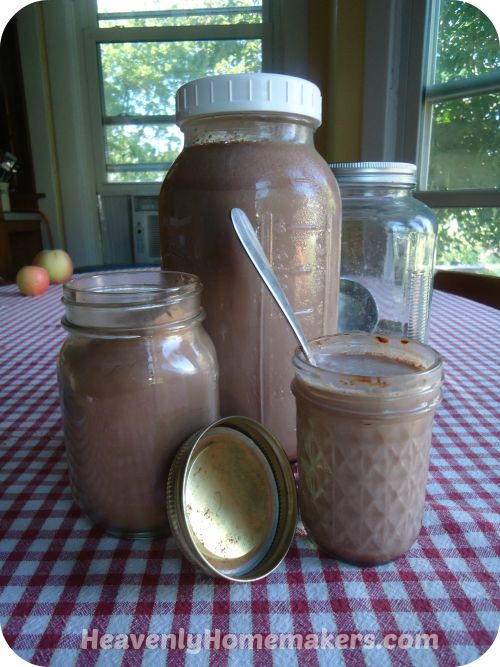
- Warm Chocolate Soother
- Warm Vanilla Soother
- Whole Wheat Crackers
- Whole Wheat Graham Crackers
That list contains 32 real food, Simple Snack Recipes that you can feel good about feeding your family!
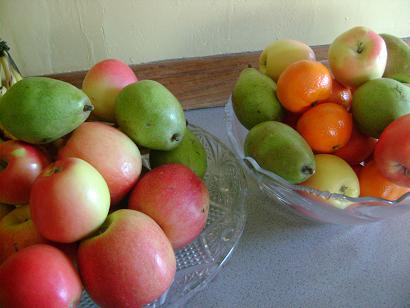
Don’t forget the obvious – good ol’ fruits and veggies!
The more you get to know me, the more you’ll find that I think healthy eating is important. But I think family time is more important. As I said recently in an email:
I want to be with my husband and kids more than I’m with my pots and pans.
I love to cook. I love playing with recipes and making great food for people to eat. But I love my family more, and stress in the kitchen makes me fight being a grumpy wife/mom/friend.
That’s why I’m sharing all these Simple Snacks today. That’s most definitely why I created Simple Meals. I want to make life in the kitchen simple for everyone so family time can be a higher priority.
So, look through the snack list above, and spend a few minutes making one or two. And check this out!
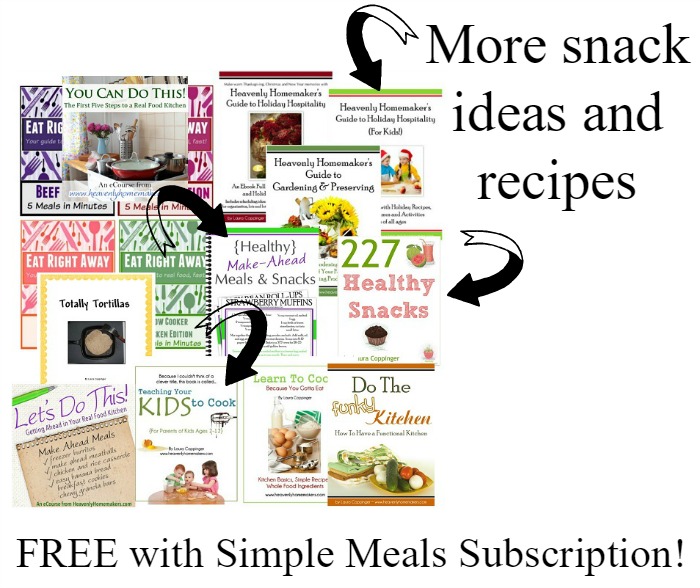

You get $56 worth of free eBooks with your Simple Meals subscription, and those freebies include a bunch more snack ideas and recipes.
Go Join Simple Meals!!
Share with me. Can your family stay full between meals or do you often need to provide snacks to keep everyone going?
P.S. Sometimes I get out fresh spinach and eat it as a snack straight out of the container. My 16-year old loves to tease me about my weird spinach snacking habit. I don’t even have a come back. It is weird and I admit it.
Related Posts: