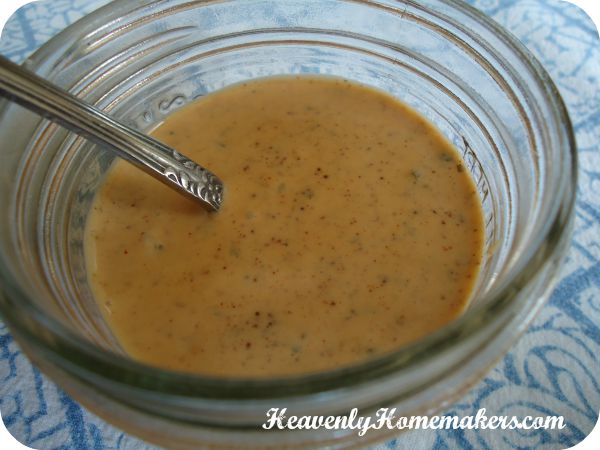
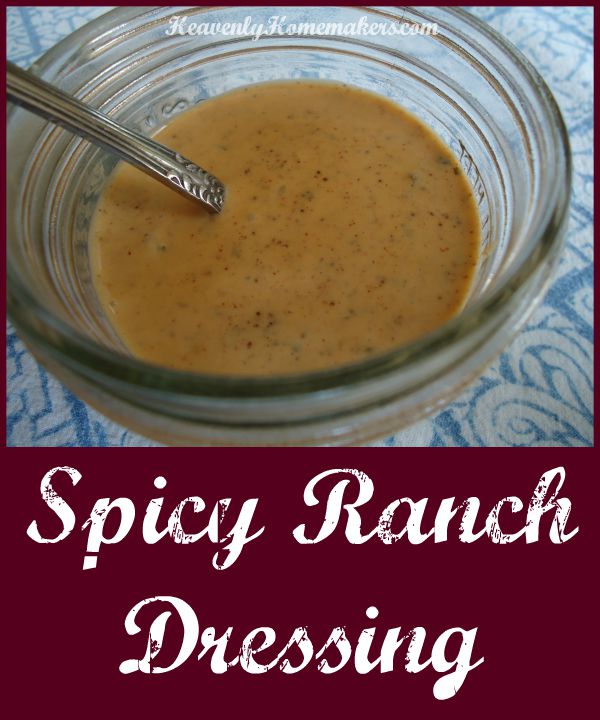
I just met something wonderful called Spicy Ranch Dressing.
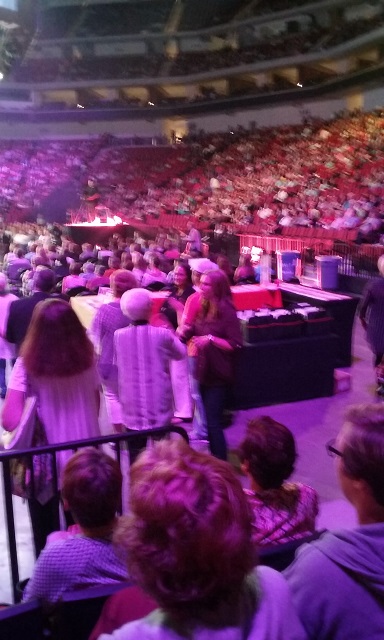
Remember when I went to the Women of Faith conference with my girlfriends and got super silly? It may have been in part because of the meal we ate across the street from the arena before the event. Yes. I blame it on the specialty pizza. It was that good.
Who knew you could put thin slices of red potato on a pizza and turn out something amazing? The pizza had some sort of red-ish sauce drizzled all over it, and that very sauce is what made that pizza taste so good. Well, that and the bacon. Everything is better with bacon.
Of course I came home determined to replicate the sauce. Every potato needs that sauce, whether it’s on a pizza or not. So I looked it up on the restaurant website. It described the pizza blah, blah, blah “with spicy ranch dressing.” Bingo.
So I played. The result is too easy. Make this and forever drizzle it over your baked potatoes, your chicken, and sure – even your pizza.
Spicy Ranch Dressing
- 1 cup homemade ranch dressing (because it is good for you and delicious)
- 1-3 Tablespoons of your favorite hot sauce like Tabasco, Cholula, or Sriracha
- 1 teaspoon chili powder
- 1 teaspoon cumin
- Mix together, and enjoy.
See how easy that was? You’ll need my homemade ranch dressing recipe.
Want it to be spicier? Add more hot sauce, chili powder, or cumin. Want it to be less hot? Cut down the hot sauce, chili powder, or cumin. Really, it isn’t difficult.
Later this week, I will share a fun new Baked Potato Casserole I came up with to use with this Spicy Ranch Dressing. You will love how simple it is. And yep, there’s bacon on it. (And all the husbands everywhere said, “Yes. Keep reading that one lady’s blog – the one who gives you recipes that use bacon.”)
Give me more ideas besides potatoes, chicken, and pizza for this dressing. Think it would taste good on a salad? (Yes.) Ooh, maybe with Sweet Potato Fries. Oh my goodness, yes. What else??


![gratituesday[2]](https://www.heavenlyhomemakers.com/wp-content/uploads/2014/01/gratituesday2.png)


