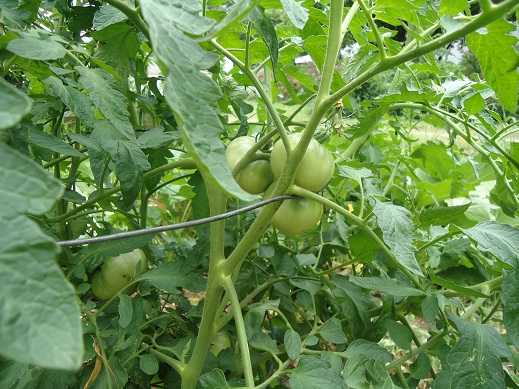
Read the one about our garden and our cat, at which time I wasn’t sure we really had a cat. And now an update:
Actually, how about I just show you what happened last Sunday after Matt fed the cat some milk on Friday night, and then I fed the cat some chicken and tuna from our fridge on Saturday morning…
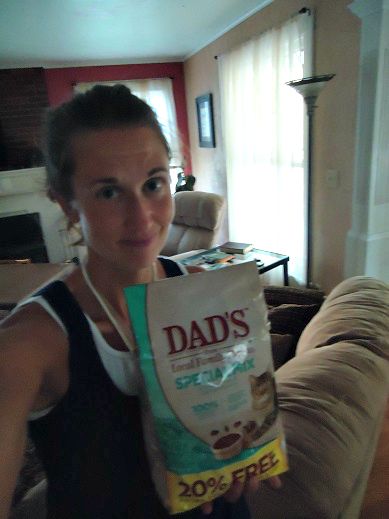
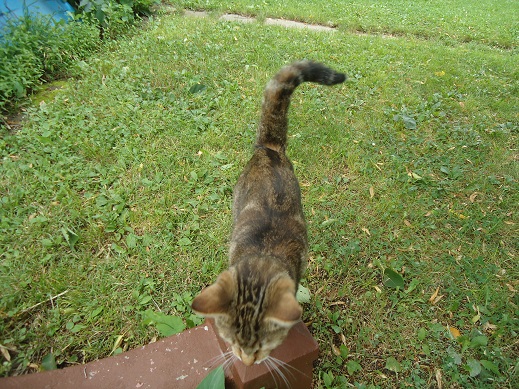
Who is that lady and why is she holding that?
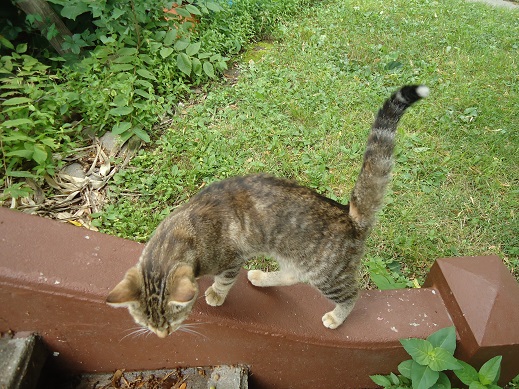
You know what they say about feeding stray cats and how they don’t leave your property once they’re fed? That is indeed a fact. I would add to that fact that not only does the cat stay on the property but within five minutes of consuming the first meal, said cat becomes convinced that your property is not your property at all but her property. Napping in the sunshine on the porch (which now obviously belongs to the cat, and here you thought it was yours all this time) becomes the cat’s favorite thing to do (aside from eating, of course), because even though you pay the mortgage, you certainly only do it so that the cat can have a porch.
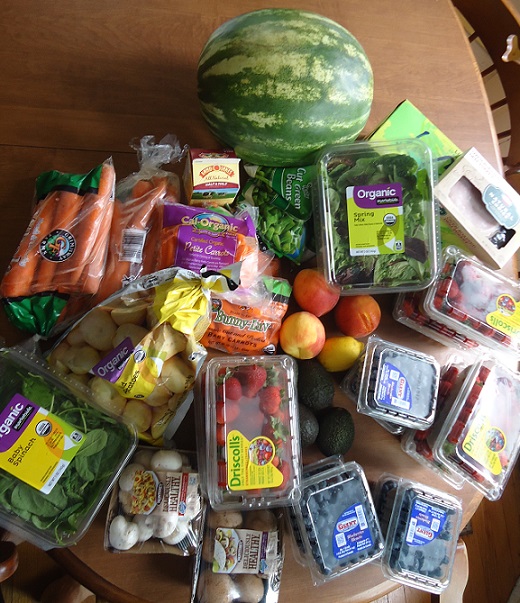
So anyway, the bag of food. After one and a half days, I stopped liking the idea of spending a lot of money per pound on organic, free range chicken and humanely caught tuna only to serve it to a cat (who is supposed to be taking care of our bunny issues). I am so, so nice…but I’m just not that nice. This means that Malachi and I found ourselves on a walk to the dollar store Sunday to see what we could find in the way of decent cat food at a decent price. All the way there, Malachi chatted on and on about Wiggams (owner of our porch) and how excited he was to finally have a pet and please don’t ask any more neighbors about her because we don’t want any of them to actually recognize and take the cat away because that would just be so sad.
Would you look at that.
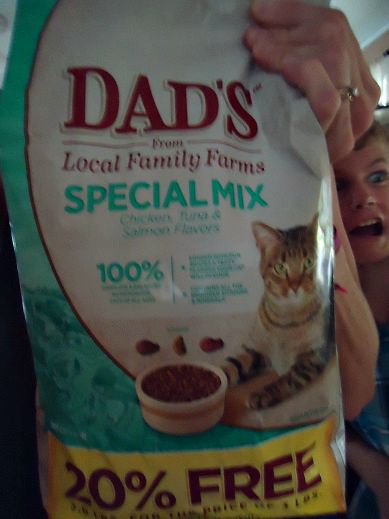
There is a 10-year old photo bomber with a crazy face.
I have no idea where he gets his personality.
Two things about this cat food, as shown in the above picture. First, it comes from “Local Family Farms” which is an obvious good choice because the word “local” always means good and wholesome things, right? Never mind the ingredient list the size of my hand. I just can’t go there with cat food. I’ll pretend the word “local” here doesn’t actually mean “some faraway factory you’ve never heard of.”
Second, you wouldn’t believe how amazed Wiggams was when she saw that the food was in the shape of tiny fish and miniature chicken legs. This is the only reason she ate the food. In fact, Wiggams was so thrilled that she snapped a selfie with the food and posted it to both Instagram and Pinterest in hopes of this novel idea going viral. The shape of a cat’s food matters more than anything, perhaps even more than owning a porch.
Our three older boys were able to meet Wiggams on Saturday when they came home from camp. All combined, they had about four words to say about her, most of which included “hmm” and “well.” I think that means they like her.
So welcome to the family, Wiggams. We think you’re pretty neat. If it’s okay with you, sometimes we will walk across your porch to get to your van (the shady spot underneath appears to be her second favorite spot) when we need to go somewhere. Thank you for understanding.


![gratituesday[2]](https://www.heavenlyhomemakers.com/wp-content/uploads/2014/01/gratituesday2.png)

 Home from camp!