Need a great breakfast recipe that doesn’t call for eggs?! Introducing: Angela’s Egg-Free Banana Chocolate Chip Breakfast Cookies. Yep, I give all the credit to Angela.

Way back in October, you might remember that I shared that a long time reader, Angela, was visiting her sister nearby so she came by and spent the morning with our family. It was wonderful to meet her, get to know about her family, and to be prayed over by her.

Well, the day she came, she handed us a fun bag of goodies and one of the gifts included her Homemade Breakfast Cookies. I ate one then and there, and loved it. She was kind enough to later send me the recipe, and guess what happened next!?!?
I tucked it away and forgot about it.
Boo. I blame the holidays and freezing temps.
Anyway, this week, Angela emailed to highlight the fact that this recipe doesn’t include eggs. What with eggs costing $500/dozen (I slightly but barely exaggerate) – I perked right up! Ah yes, let’s dig that recipe out!
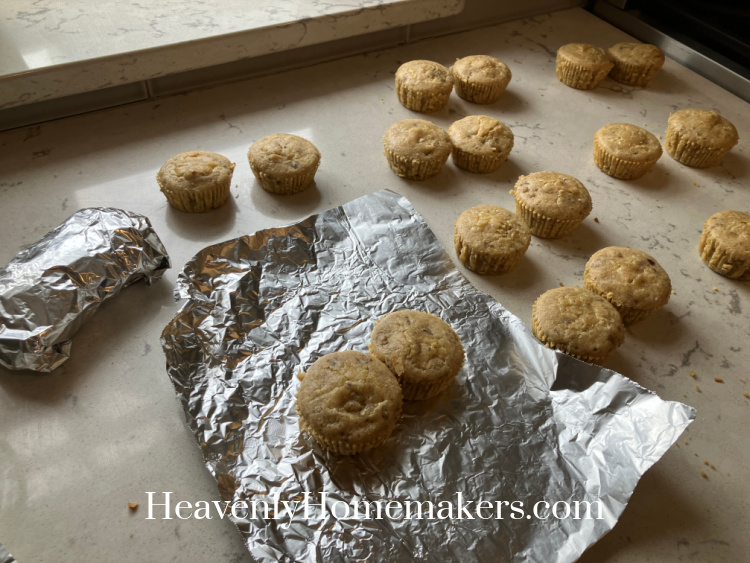
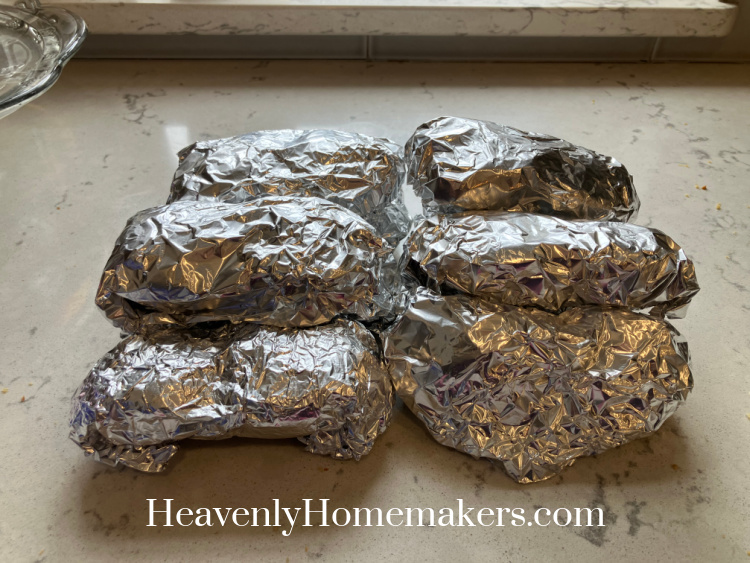
I had all the ingredients on hand. So right then and there, I thawed some bananas and made a double batch of these cookies. Then I poured a cup of coffee and ate two of them during Auggie’s nap. And then I sat down to write this so that you, too, can enjoy these amazing cookies.

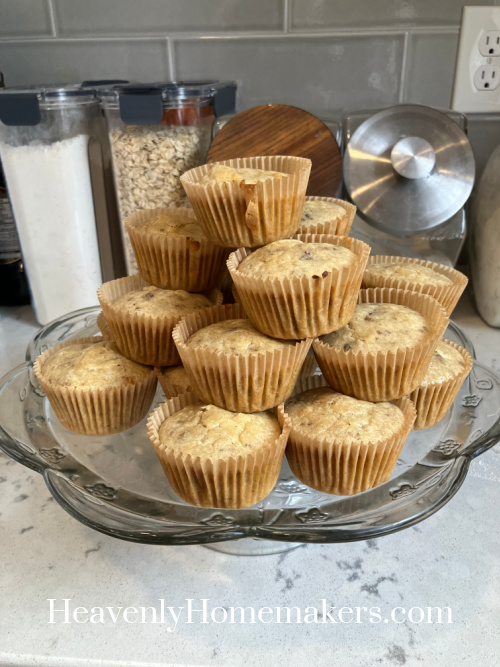
Angela’s Egg-Free Banana Chocolate Chip Breakfast Cookies include wonderful, wholesome ingredients all while tasting so, so, so delicious. And the fact that the recipe doesn’t call for eggs is a huge perk as we might all be trying to ration our eggs right now (or if you regularly bake for anyone with an egg allergy).

Angela’s Egg-Free Banana Chocolate Chip Breakfast Cookies
- 1 cup mashed overripe bananas (2-3 bananas)
- ¼ cup melted coconut oil
- ¼ cup pure maple syrup (or honey)
- ¾ cup peanut or almond butter
- ½ teaspoon sea salt
- ½ teaspoon ground cinnamon
- 2½ cups whole rolled oats
- ½ cup chocolate chips
- Mix together bananas, oil, syrup, and nut butter.
- Add in salt, cinnamon, and oats and stir well.
- Fold in chocolate chips.
- Scoop dough onto parchment paper-lined cookie sheets.
- Bake in a 325 degree oven for 15-20 minutes or until cookies are lightly browned on the edges.
- Remove from oven and flatten each cookie slightly with a spatula.

What a great recipe to add to our collection of breakfast options!