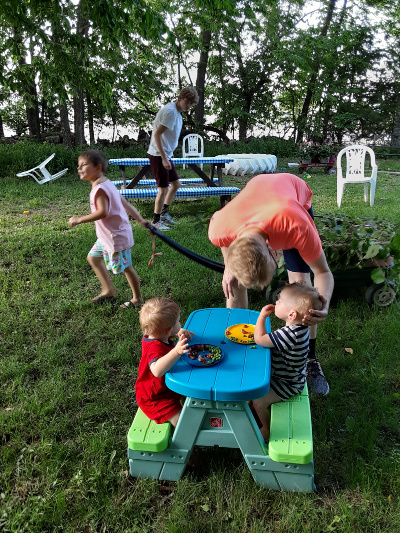
Looking for some creative ways to spend time with your family this summer? Here are some ideas for Family Summertime Activities that we shared last year. We’ll be pulling these out again this year to do all over again!

It’s easy to have big ideas at the beginning of the summer to think that you’ll do ALL THE THINGS with your family before school starts up again. It’s ok to come up with lots of ideas but don’t feel bad if you don’t get to all of them!
We hope that the ideas we’re sharing here are unique and doable for you. Just choose what seems to be the best for you and your family.
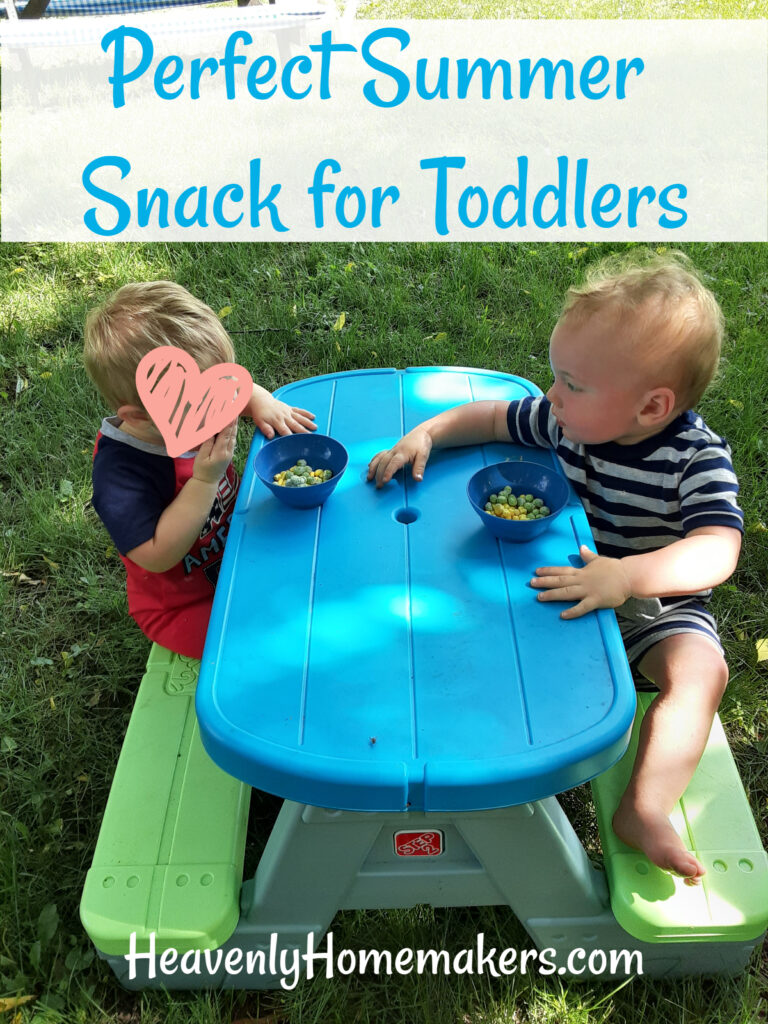
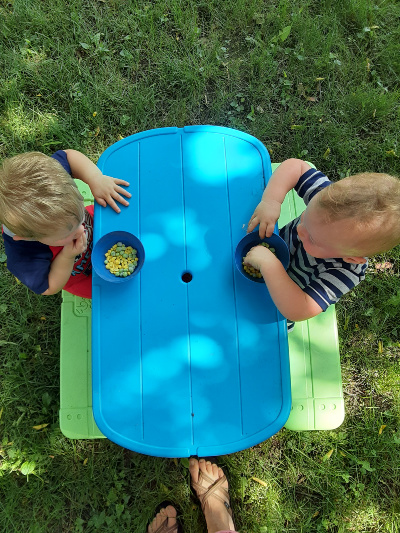
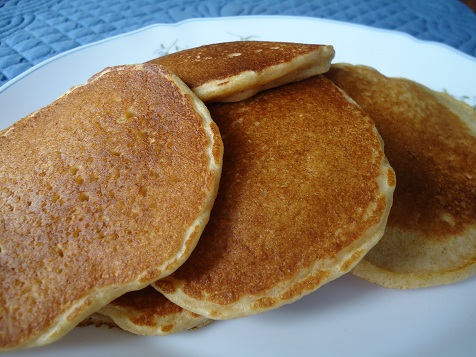
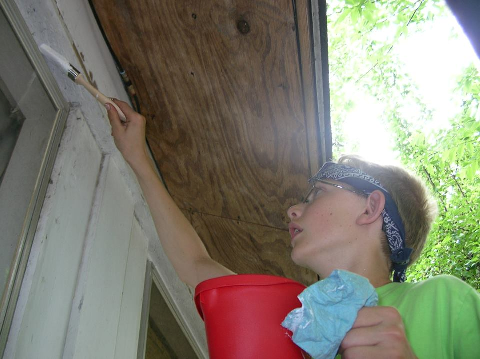
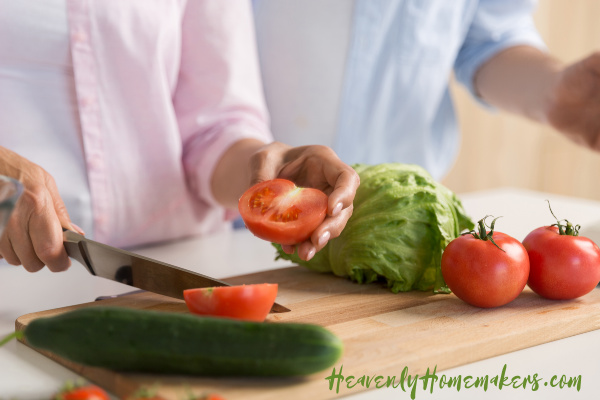
Obviously, anything food related is always a hit! So you’ll see that many of these ideas have to do with food. What can we say?
Also – I can’t say this loudly enough: SERVE OTHERS TOGETHER!!!
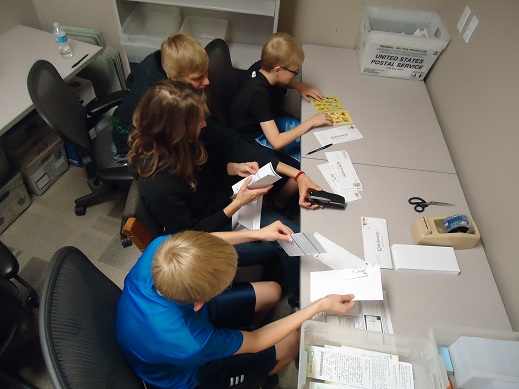
Do not make summertime or anytime all about you. Ask God to help you find ways to serve others. The opportunities are endless and God will most definitely show you who needs your help when your heart is open for service.
Our family has made so many wonderful memories together serving others. Not because every act of service has been easy or fun. But because serving together has taught us more about who God is. And looking back on that as a family is always glorious.
So whatever your plans this summer, put “Serve Together Often!” at the top of your list. Pray as a family about this and watch God work!


.jpg "Ultimate Homemaking Bundle 2020")


.png "Ultimate Homemaking Bundle 2020")