Feeling inspired to clean out your house? Great! But we’re here to encourage you to declutter with purpose. Instead of simply getting rid of “stuff” from our homes, we’re going to focus on ways we can bless others. Let’s Clean Out with Love! Join our brand new 30-day challenge!
There are declutter challenges and printables all over the internet right now. After all, most of us have had a marvelous holiday season are we’re ready to settle down and get our homes organized!
I’m right there with you – and it was my search for helpful decluttering lists that inspired this Clean Out with Love Challenge.

I would imagine that most of us have in mind to donate the unused items we’re clearing out of our homes. But I want to encourage us to take it a step further. There are two main things to focus on as we clean out our homes:
- Ask God to help us know who should be the recipients of our donated items.
- Let God help us focus our hearts on generosity instead of allowing ourselves to struggle over what we should part with.

It’s too easy to slip into the wrong mindset. Instead of cleaning out our homes with love, we can struggle to hold on to stuff that doesn’t really matter, unsure if we’re ready to part with it. Or on the flip side, we can grab broken games with missing pieces and put them into our donation boxes.
Instead, we want to start getting very excited about how many items we can pull from our homes that will truly be a blessing to those who have a need!
Declutter with Purpose!
Sorry to contradict Marie Kondo just a tad bit – but I’m going to venture to say that as you’re cleaning out your home – even if the item DOES bring you joy, it still may be something you should choose to part with. Why? Because it can bring someone else joy instead! Someone who has less than you and a bigger need for useful household items.
This challenged is wrapped in prayer.
As we clean and declutter, we’re going to pray over our homes and pray for the recipients of our donations. We’re going to ask God to help us know what stays and what goes. And we’re going to ask Him to show us people or organizations who need all of our donated items. (I shared within the packet who our family plans to donate to. I’m pretty excited!)
Pray, pray, pray! This is so much bigger than simply cleaning out clutter. This is about letting God’s light and love flow into our homes and out of our donation boxes and beyond. The power of prayer is amazing!
Let’s do this!
While we’ve put this together as a 30-day challenge, the Clean Out with Love packet can be used in whatever ways God leads you. You’re likely to get on a roll and complete the entire challenge in just a week. Or maybe you and your family can spend a few days here and a few days there this month decluttering and getting organized.
Get your Clean Out With Love eBook here:

-
Clean Out With Love
$6.00Feeling inspired to clean out your house? Great! But we’re here to encourage you to declutter with purpose. Instead of simply getting rid of “stuff” from our homes, we’re going to focus on ways we can bless others. Let’s Clean Out with Love! Join our 30-day challenge with a purpose!
Let this simple and practical eBook walk you through cleaning out every extra item in your home with the purpose of both giving you breathing space and providing for others who have needs for their homes and families. Pray as you work, get your family involved, focus on scripture (gorgeous printables included!), and be intentional about letting your excess become someone else's treasure as they are provided with needed items for their families!Maximum quantity exceededMinimum purchase amount of 0 is required


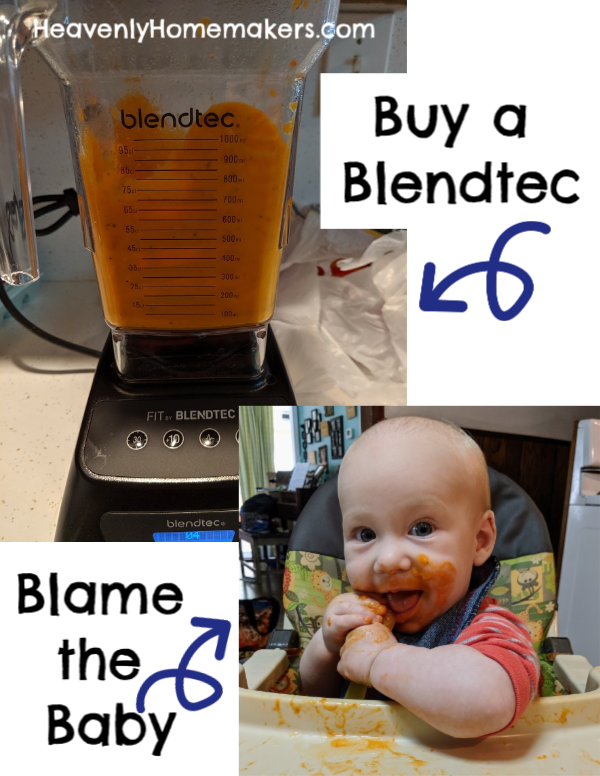


 Here’s Laura, nagging about the Blendtec.