With all these zucchini experiments you might think that I don’t have any more huge zucchini in my kitchen any more. Oh but you’d be wrong. There’s still a big huge one on my countertop waiting to be played with. I’ve still got a Zucchini Brownie recipe coming for you…and in case you missed them…here are more zucchini recipes you might be interested in: Chocolate Chip Zucchini Cookies and Bars; Cheeseburger Zucchini Boats; Whole Wheat and Honey Zucchini Bread and Muffins.
This cake was maybe my favorite of all the experiments. It was really, really good (and by was, I mean that every last piece is gone). Of course I happen to think cream cheese frosting makes everything good!

Whole Wheat Zucchini Cake
2 cups whole wheat flour
1 1/2 cups sucanat or rapadura
1 teaspoon baking powder
1 teaspoon baking soda
1/2 teaspoon cinnamon
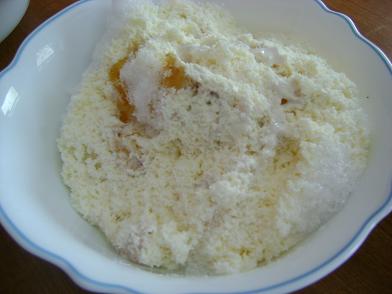
2 cups shredded zucchini
2 eggs
1/2 cup butter, melted
Stir together dry ingredients. Mix in zucchini, eggs and butter. Pour batter into a buttered 9×13 inch baking dish. Bake at 350 degrees for 30-35 minutes or until a toothpick inserted in the middle of the cake comes out clean.
Allow cake to cool completely. Frost with Cream Cheese Frosting. Below are two recipe choices:
Sorta-Naughty (But at Least the Sugar is Unbleached) Cream Cheese Frosting
1/2 cup melted butter
8 oz. cream cheese, softened
1 t. vanilla
4 1/2 cups organic/unbleached powdered sugar
Cream butter and cream cheese together. Add vanilla. Beat powdered sugar in gradually until you reach the right consistency.
Not-So-Naughty (But Still Really Good) Cream Cheese Frosting
1/2 cup heavy whipping cream
3 ounces cream cheese
1 t. vanilla
4 T. honey
Whip cream until soft peaks form. In a separate bowl, stir cream cheese, vanilla and honey together until smooth. Gently fold in whipped cream.
Either frosting recipe is really good…the latter one is just a bit more natural and healthy.
If you like carrot cake…we all kinda thought this cake tasted a lot like carrot cake. Mmmm!
(If you don’t like carrot cake, then this cake tasted nothing like carrot cake.) You should totally try it. ;)
—————————————————-
This post is linked to Frugal Fridays.


