Heavenly Homemakers

Encouraging women in homemaking, healthy eating and parenting

  • Home
    • About
    • FAQs
  • Recipes
    • Bread and Breakfast
    • Condiments
    • Dairy
    • Main Dishes
    • Side Dishes and Snacks
    • Desserts
    • Gluten Free
    • Instant Pot
    • Crock Pot
    • Heavenly Homemaker’s Weekly Menus
  • Homemaking
    • Real Food Sources
  • Store
  • Contact
    • Advertise
    • Disclosure
    • Privacy Policy
  • Simple Meals
  • Club Members!

Free Printables That Make Great Gifts

November 17, 2015 by Laura 1 Comment

This post may contain affiliate links. For more information, please see our disclosure policy.

Before we get to the printables, I thought I’d give you a little insight into family life around here our place.

Soccer season ended just in time for basketball season to begin. I feel like I’ve finally come up for air since school started this fall. Breathing is so very nice.

Asa (our 18-year old) is as busy as ever juggling his freshman year of college. He’s rocking it, working very hard in his classes (and on his social life too). Sleep is optional for him. ;)

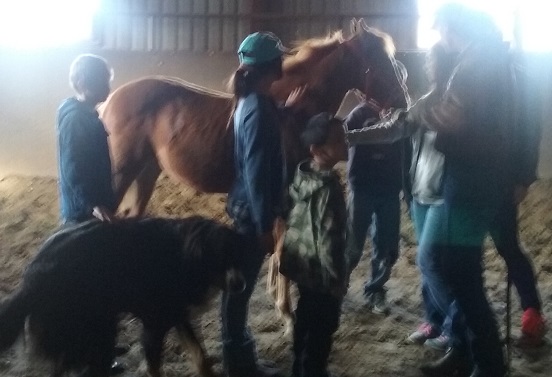
Justus (our 15-year old) is taking one college class on campus – Basic Speech – which has been great for him. This is a kid who does not get the least bit nervous giving speeches in front of traditional college students. Dual credit classes are so nice. Elias (our 13-year old) was super sick for 4 weeks and is finally just about back to normal. Ugh, that was awful. I’ve never been so thankful to see my kid eat. Malachi (our 10-year old) has had the opportunity to attend a fantastic horse class as well as participate in some wonderful science days with our local homeschool group.

horses1

science day

So Wiggams. You remember Wiggams? That darling cat has been so high maintenance the past few weeks, bless her little cat heart. You can read here to catch up on all the mama-baby-drama if you dare. Not wanting to risk going through that again, we took her in to be spayed last week. It is a relief to have this taken care of. When we went to pick her up the next day, they said that she appears to have a bladder infection. Ugh, not this too! The poor thing.

wiggams

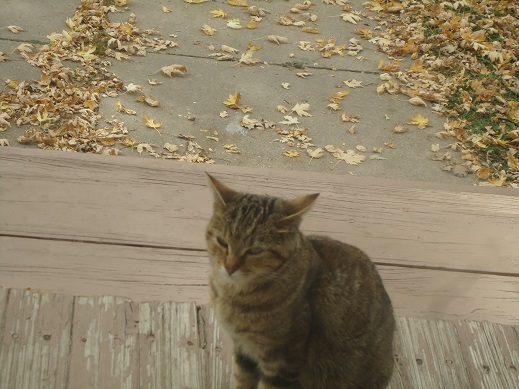
Since she is an outdoor cat they kept her (at our local Adopt-a-Pet facility) so she can heal properly before she comes home. Poor Malachi misses his daily Wiggams play time. We go visit her when we can sneak in a trip (in my spare time).

We’ve been talking an awful lot about holiday food around here. Well, obviously. Food is where it’s at. There is so much to love about food. Slowly but surely I am making our Thanksgiving food and putting it into the freezer. Check out all of the Getting Ahead for the Holidays info here. Here’s what I’ve checked off my list so far:

  • Make-Ahead Turkey
  • Stuffing Muffins
  • Cheesy Mashed Potatoes
  • Oh Good Gravy
  • Green Bean Casserole
  • How to Make Frozen Pies
  • Simple Whipped Sweet Potatoes
  • How to make Whipped Cream
  • Whole Wheat Stir-and-Pour Dinner Rolls
  • 2-Ingredient Cranberry Sauce

If feels great to have so many of those big jobs crossed off my list already. Shoot, I’m running out of Pyrex dishes – if you can possibly imagine. It’s a good problem to have, as long as we don’t need to make a casserole between now and next Thursday.

Fb.banner (1)

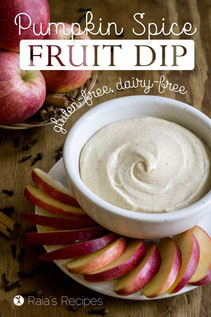
I’m excited to be participating in a fun online Thanksgiving Recipe Swap this year! It’s a “progressive dinner” so each day this week, more recipes will be added. Start today by finding some yummy appetizer recipes. The first one I’m going to try is the Pumpkin Spice Fruit Dip. Wow, that looks good.

fruit dip

Go check out all the appetizer recipes and see what’s coming up later this week. This is going to be awesome! I love free resources like this!

So now let’s look at the fun printables, want to?

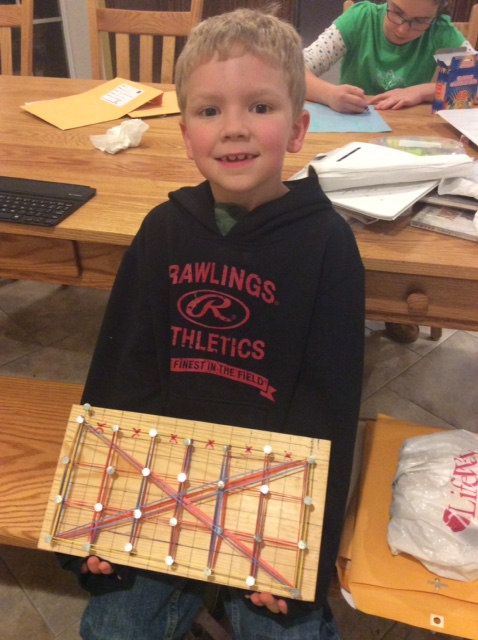
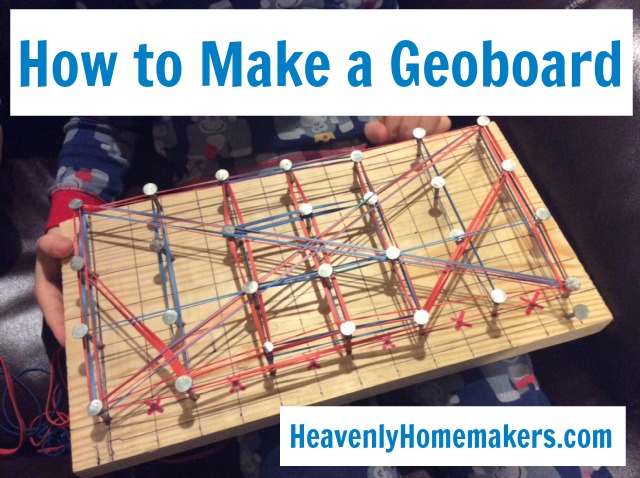
I’m hoping that next week we can take a bit of a Thanksgiving break from most of our school work. We’ll still need to do math lessons, but overall, I hope to play a lot of board games and work on some fun Christmas projects.

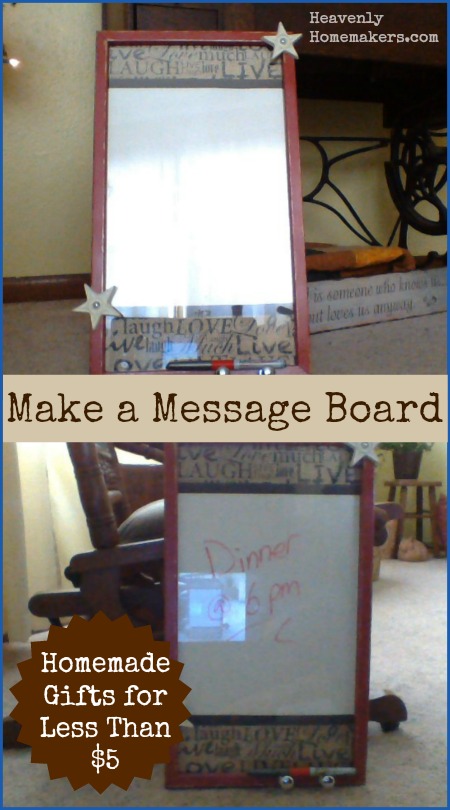
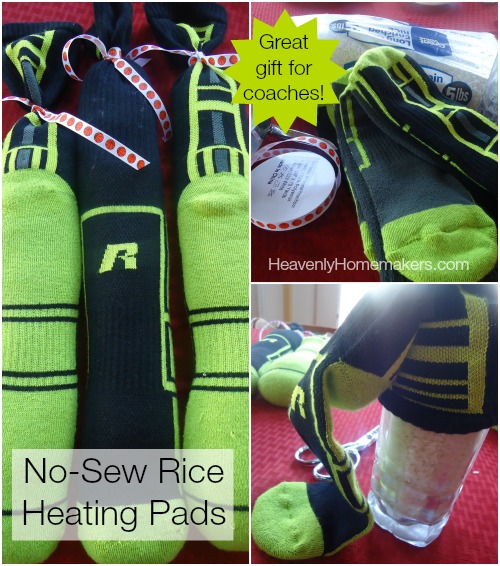
All of the following printables are free. I thought you might enjoy looking through them to see what you might want to use as inexpensive gifts this Christmas. For just the cost of paper and ink, you can put together some nice packages!

This first one says “Summer Blessings” but I hereby declare that they can be used in the fall and winter too. Print them onto cardstock, cut them, grab some envelopes, and tie them up with a ribbon.

Summer Blessings Printables

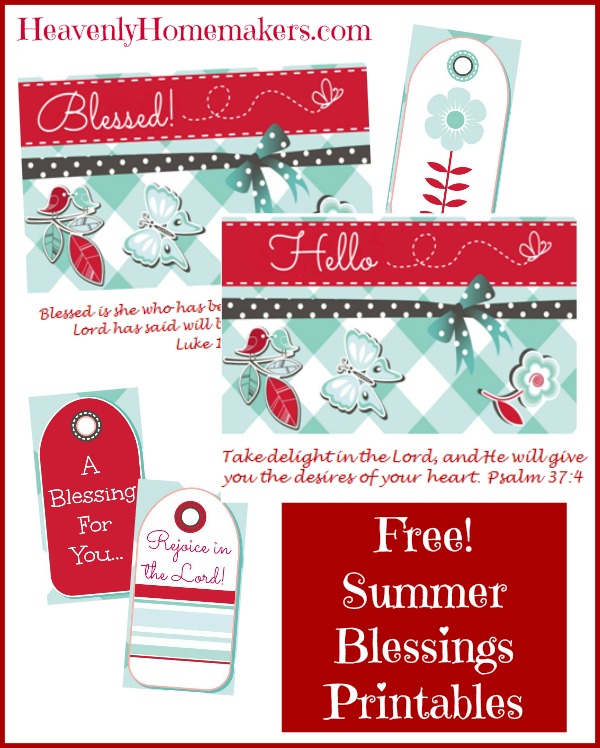
Blessings Card Printables

Galatians 6:9 is one of my favorite Bible verses. This can be printed and framed for a sweet gift of encouragement.

Galatians69color

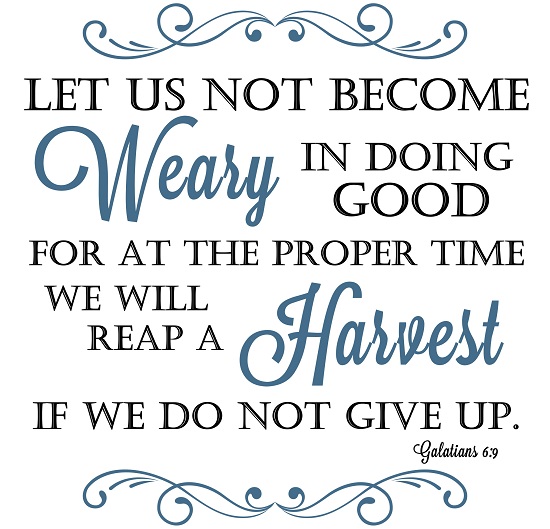
Galatians 6:9 Printable

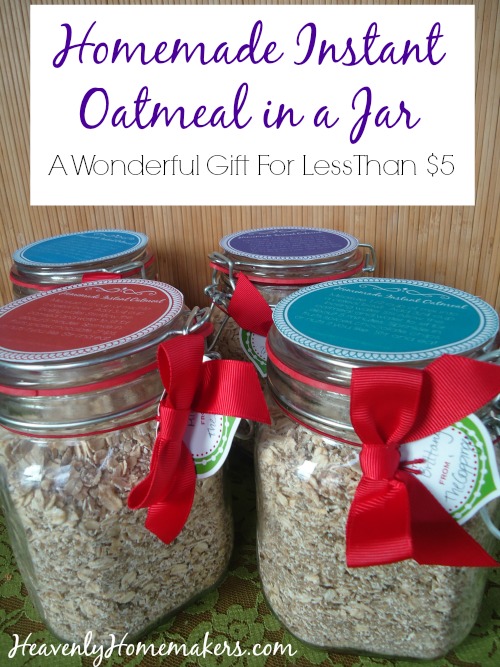
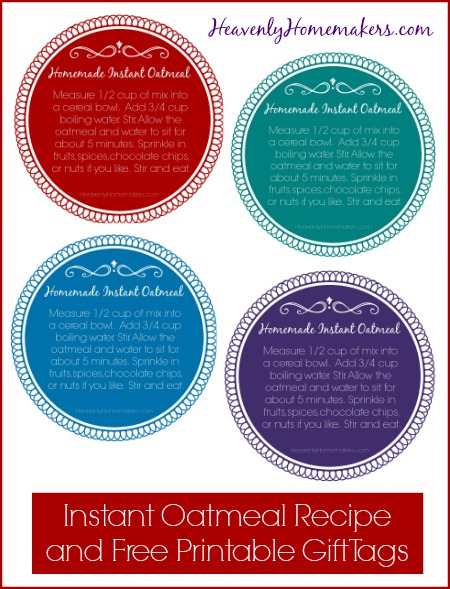
Of course, we have to talk about giving gifts of food. Here are some fun printable labels to go with food gifts that are fitting for this time of year:

Pumpkin and Apple Stickers

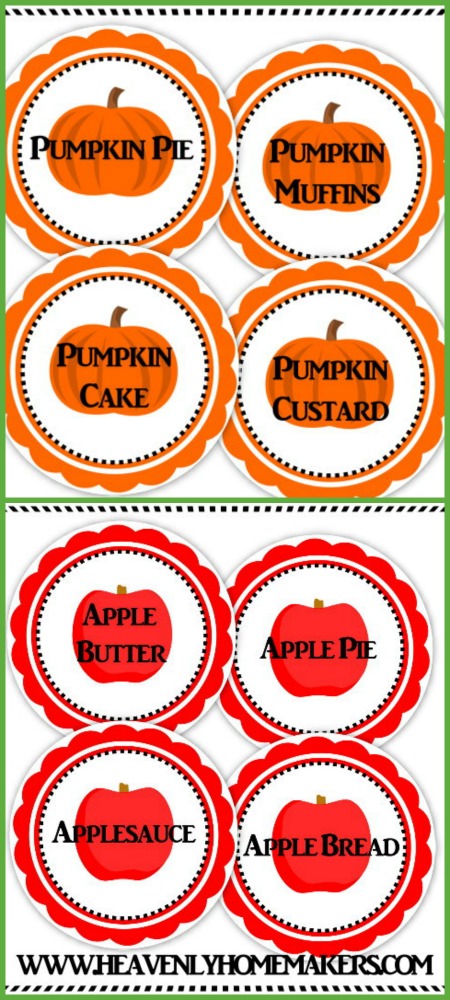
Pumpkin and Apple Treat Labels

It’s fun to put together a basket of apples with a jar of homemade caramel dip…

CaramelSauceTag-prev

caramel_dip_with_apples

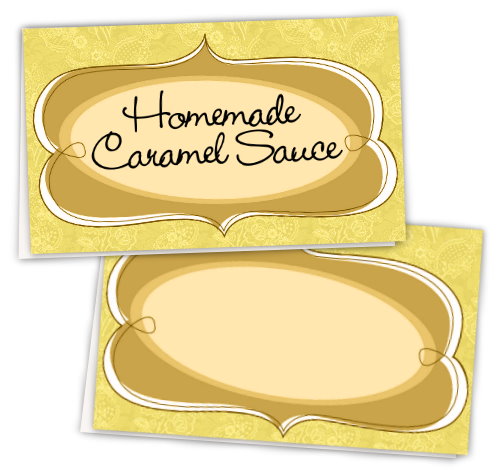
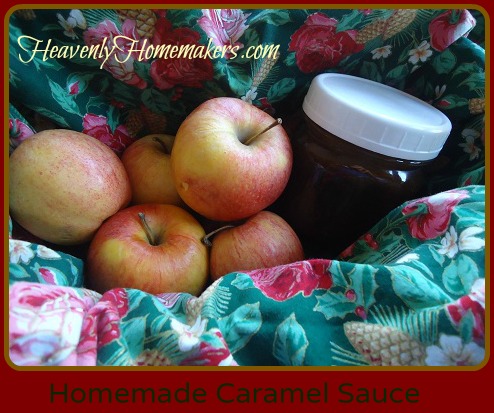
Caramel Apple Treat Labels and Recipe

Below are sticker printables that can be used to label any treats you put into jars!

HHM-Chevron-Labels-printable-preview1

Canning Jar Labels

You can print gift tags to attach to any of your gifts…

Christmas Gift Tags HHM

Christmas Gift Tags 2 HHM

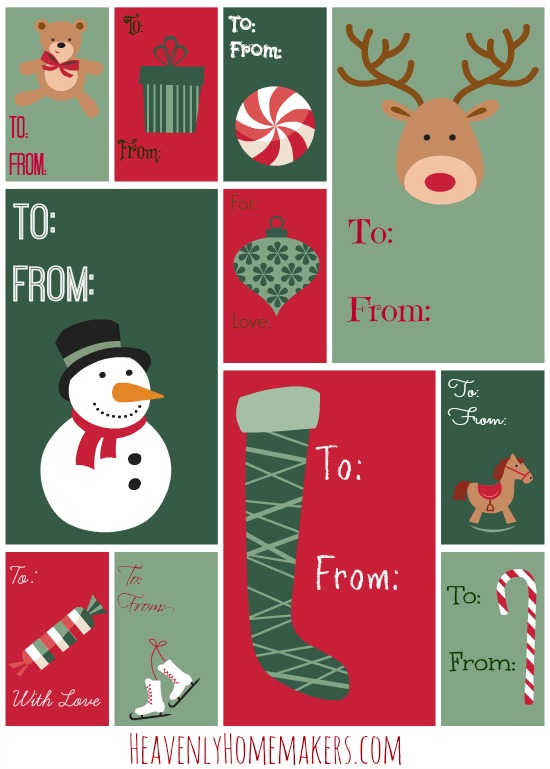
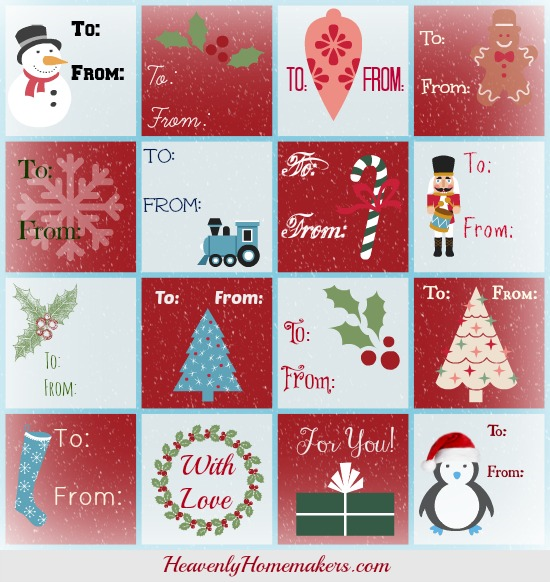
Christmas Gift Tag Printables

…Or fun Christmas cards.

Free Printable Christmas Cards

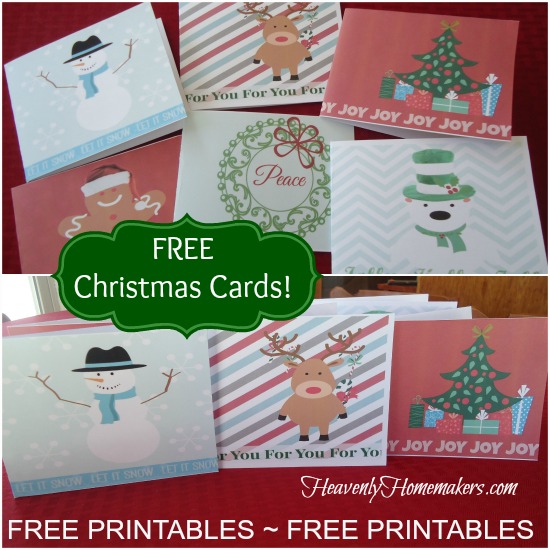
Christmas Card Printables

Our family made these wrapped candy bars last year to give to some of our youth workers at church and adopted college students. They were a hit!
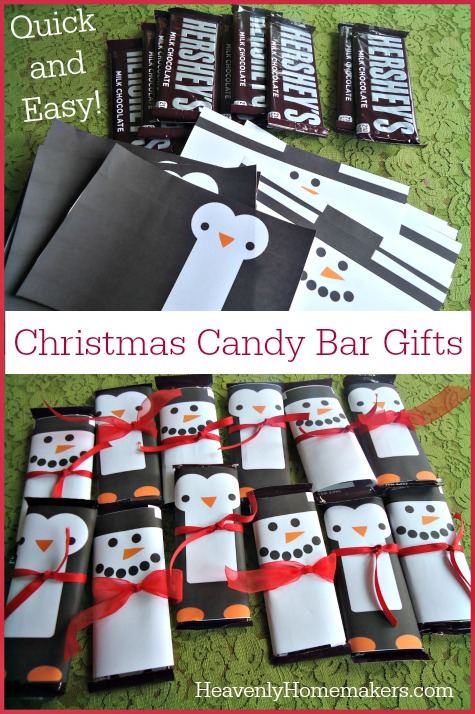
Christmas Candy Bar Gifts

Candy Bar Labels

I have more fun (and inexpensive) gift ideas up my sleeve that I’ll share during the next few weeks!

How are your holiday preparations coming?

Heavenly Homemaker's Club Members: Access your homepage and all your fantastic resources here! Not a member yet? Please join us!

Free Summer Blessings Printables ~ Use These Free Printables to Be a Blessing!

June 19, 2015 by Laura Leave a Comment

This post may contain affiliate links. For more information, please see our disclosure policy.

What can you and your family do to be a blessing to someone during the next few days? I encourage you to pray with your family about this. Can you take someone some food? Visit a neighbor? How can you be a light and bless someone? To bless your efforts (blessings all around, right?!) – we’ve made some fun Summer Blessings printables for you. They are free. Help yourself! Print as many as you like.

Summer Blessings Printables

Download the Summer Blessings Printable
Cards and Gift Tags Here!

Suggestions for ways to use these Summer Blessings Printables:

  • Print a set of 6 or 8 of the Blessed and Hello note cards. Tie them up with a ribbon and give them as a gift. Be sure to include envelopes! (Like these.)
  • Print a few Blessed and Hello note cards. Spend some time writing encouraging notes in the cards to give or send.
  • Bake something yummy, package it up and attach one of the cards or gift tags. (Here are some baked good recipes to pick from.)

Since it’s summertime and you might not want to turn on the oven, how about some No-Bake treats you can make to share?

  • Mudballs
  • No-Bake Chocolate Fudge Bites
  • No-Bake Peanut Butter Cookie Bites
  • No-Bake Snickerdoodle Bites
  • Homemade Tootsie Rolls

Other summer friendly ideas include:

  • A basket of fresh fruit with a jar of Homemade Fruit Dip
  • A plate of fresh cut veggies with Easy Veggie Dip

What else? Leave a comment to share ideas of ways we can use these fun new printables!

Heavenly Homemaker's Club Members: Access your homepage and all your fantastic resources here! Not a member yet? Please join us!

Adorable Snowman Pails ~ Homemade Gifts for Less Than $5

December 17, 2014 by Laura Leave a Comment

This post may contain affiliate links. For more information, please see our disclosure policy.

Homemade Gifts for Less Than $5

Here’s a fun idea Karen sent in. All it takes is someone with a vision – then a simple pail becomes a snowman. Love it!

Good afternoon Laura,

While I am not particularly crafty, one of my daughters is very gifted. She took one look at these metal buckets and saw snowmen! The little ones come three in a package in the party supply section of our local Dollar Store (3 for $1). The bigger one was on a clearance rack at Joann Fabrics for $2. We simply cut shapes from some felt scraps we already had and used the hot glue gun to attach. We thought about adding more decorations but decided on the simple look. Just fill with treats, nuts, or granola for gifting. With the huge success of Frozen and the snowman character Olaf, these have been a big hit with kids!

Blessings, Karen

Snowman Pails - Less Than $5

This ends our Homemade Gifts for Less Than $5 series. I have had so much fun creating gifts and learning from you. THANK YOU all for making this series so successful and enjoyable. Now be watching for what’s coming up next here at Heavenly Homemakers – a special healthy living invitation and our annual Holiday Brunch. I can’t wait to share these delicious recipes with you!

Heavenly Homemaker's Club Members: Access your homepage and all your fantastic resources here! Not a member yet? Please join us!

Make Sensory Bottles for Infants and Toddlers ~ Homemade Gifts for Less Than $5

December 14, 2014 by Laura 1 Comment

This post may contain affiliate links. For more information, please see our disclosure policy.

Where was this idea when my boys were babies? Lacie sent in these instructions and pictures. What a fun gift!

Homemade Sensory Bottles for Infants and Toddlers

Sensory Bottles are a cheap, easy gift for infants and toddlers. I purchased Voss waters because they look so cool! They are a bit pricey but since I can reuse the bottles I’m ok with it. ( I was able to find them cheapest on sale at Walgreens locally for $1.25 each.)

Drink the water. Then remove the labels and wash. Decide what you want your bottle to be. Obviously for $5 you can’t do a whole color set, but you could do 3 or 4.

I used only items I had on hand for the color ones. Some  Items I used:  Marker lids, pompoms, q-tips, crayons, colored pencils, buttons, pennies, scraps of paper or fabric, yarn, or ribbon, legos, small plastic animals, straws, plastic utensils, foam shapes, shoe strings, chalk, marbles, anything!

For the Christmas ones I did purchase things to put inside. The red and green rice one is easily made by mixing a capful of rubbing alcohol with a small amount of food coloring and putting it on rice. Mix together (wear rubber gloves or you will have colored hands). Lay out on paper towels in a thin layer stirring occasionally until it dries out. Then put it in the sensory bottle. The colored tinsel can be purchased at a dollar store.

You could do an eye spy one for any age, even older child by putting rice in the bottle with various small items (many of the ones listed above would work) and include a “To Find” List naming all the items you have included). The recipient can turn the bottle to move the rice around and find all the included objects.

You could do different sounds by placing small items that would make different sounds in each one (buttons in one, jingle bells in one, rocks in one, etc.).

The lids CAN be hot glued on to prevent spillage and a choking hazard. I have found that if I tighten them as tight as I can, I can barely get the lids off myself and have yet to see a little one even try to take them off.

This is not an original idea. My inspiration came from pinterest.

~~~~~~~~~~~~~~~~~~~~~~~~~~~~~~~~

Thank you, Lacie! Everyone be sure to check out all the other Homemade Gifts for Less Than $5 Ideas shared so far. I hope you are all enjoying this series as much as I am. So many wonderful ideas!

Heavenly Homemaker's Club Members: Access your homepage and all your fantastic resources here! Not a member yet? Please join us!

Non-Toxic Bubble Bath for Pennies ~ Homemade Gifts for Less Than $5

December 14, 2014 by Laura Leave a Comment

This post may contain affiliate links. For more information, please see our disclosure policy.

Don’t miss this gem! This recipe stirs together in just a few seconds and costs only pennies. Get the recipe and instructions here.

Homemade Bubble Bath for Pennies

Heavenly Homemaker's Club Members: Access your homepage and all your fantastic resources here! Not a member yet? Please join us!

Quick and Easy Christmas Candy Bar Gifts ~ Homemade Gifts for Less Than $5

December 13, 2014 by Laura 3 Comments

This post may contain affiliate links. For more information, please see our disclosure policy.

In just a few minutes, a simple Hershey bar can become a penguin or a snowman – thank you Pinterest! Look how adorable these are:

Christmas Candy Bar Gifts

I found the free printables for these candy bar wrappers here. You’ll find other wrappers there beyond snowmen and penguins – those two were just my favorites. :)  We’re giving these bars as small “thank you” gifts for youth workers at church.

See, I really can do craft projects when they are as easy as this. :)

Heavenly Homemaker's Club Members: Access your homepage and all your fantastic resources here! Not a member yet? Please join us!

Homemade Instant Oatmeal in a Jar With Printable Gift Tags ~ A Great Gift For Less Than $5

December 12, 2014 by Laura 5 Comments

This post may contain affiliate links. For more information, please see our disclosure policy.

oatmeal gift

What’s more exciting than receiving a sock full of dry rice for Christmas? Getting a jar full of oatmeal, of course.

I wish you could have seen my 12 year old’s face when I told him we were going to make Instant Oatmeal as gifts for our church ministry staff. After all, in a land full of chocolate, candy canes, and marshmallow snowmen – why in the world would we want to give someone instant oatmeal? I reminded my son that our minister has had heart surgery and would likely not appreciate a gift of sugar covered corn syrup. I told him that our office administrator loves to eat healthy food, and that the others on staff would surely appreciate a convenient, warm breakfast.

I also reminded him how delicious this Instant Oatmeal is and assured him that it would look adorable in the jars I’d gotten on clearance after Christmas last year. I lost him after the word adorable. Ahhhh, boys. It’s okay though. He still helped me, and even if he doesn’t get why oatmeal in a jar is a great gift idea, I hold to the belief that our office staff will be thrilled. It comes in a jar, after all. What’s not to love?

Homemade Instant Oatmeal in a Jar Gift Idea

If you haven’t made this Instant Oatmeal for your own family yet, I highly recommend that you get right on it. You’ll especially find it helpful this holiday season as you may be just a little bit busy with extra jobs like stuffing rice into socks, pounding nails into boards, and frosting homemade mint oreo cookies. Not only is this a very convenient and quick breakfast, it’ll warm you right up.

Find our Instant Oatmeal Recipe here.

Skip the individual bags and instead fill up gift jars with Instant Oatmeal Mix. Download and print these fun gift tags, then attach them to the jar so your recipient will know how to make their oatmeal.

Instant Oatmeal Recipe and Free Printable Gift Tags

Download Our Free Printable Instant Oatmeal Gift Tags

I may be in the running for the “Most Practical Gift Giver Award.” Who’s with me?

Heavenly Homemaker's Club Members: Access your homepage and all your fantastic resources here! Not a member yet? Please join us!

Make a Message Board ~ Homemade Gifts For Less Than $5

December 11, 2014 by Laura 1 Comment

This post may contain affiliate links. For more information, please see our disclosure policy.

Here’s another great idea sent in by Vickie. Be sure to check out her beautiful Pinecone Décor craft, too!

I love this Message Board idea for so many reasons. With my kids being so involved in so many activities, having a board like this to keep track of all the comings and goings (and backings and forthings) would be a great help! Look how adorable and useful…

Make a Message Board

Here are Vickie’s instructions:

This was made using an old picture frame and cost me about $3.

  • picture frame (salvaged old frame with glass still intact and in good condition)
  • craft paper (on sale for 25 cents each)
  • knobs (found in my drawer of junk, but can be bought at any salvage shop for cheap)
  • dry-erase marker ($2)
  • glue stick or double sided tape and crazy glue or hot glue
  • fine sandpaper
  • optional – fun findings
  • optional – paint (left-over paint was used for base and then sealed with clear spray paint)

Carefully remove the glass from the frame and set aside. If you want to paint the frame, scrub it clean and sand lightly. Apply paint and let dry. If desired, scuff it with fine sandpaper and then seal with clear spray paint. Cut craft paper to fit frames backing, making any desired pattern. Make sure to use one large piece of white or cream paper in the center. Adhere paper to frame back using glue stick or double sided tape. Reassemble the frame with it’s back. Optional, decorate with fun findings. Attach knobs with crazy glue or hot glue and let dry. The marker will rest on the knobs.

The glass must be in good condition without scratches or chips. Good smooth glass will allow you to use this as a message board, erasing and re-writing for years. Bonus – if you decided to change your look, all you have to do is open up the frame and change the paper that is inside.

Check out all of our Homemade Gifts for Less Than $5 posts. :)

 
Heavenly Homemaker's Club Members: Access your homepage and all your fantastic resources here! Not a member yet? Please join us!

No-Sew Rice Heating/Ice Pads ~ A Great Gift for Men, Coaches, or Anyone for Less Than $5

December 10, 2014 by Laura 20 Comments

This post may contain affiliate links. For more information, please see our disclosure policy.

No Sew Rice Heating and Cooling Pads

I came home from the store with socks, rice, and ribbon. Here are the questions I heard from my boys when they saw the supplies for this project:

  • Are those socks for me? (No, they are for a gift for your basketball coaches.)
  • You bought our coaches socks? (Yes, but it’s for a craft project.)
  • Why did you buy such a huge bag of white rice? (To put in the socks for your coaches.)
  • You’re putting rice in socks for our coaches. Why would you do that?

I have no idea why none of this made sense to my boys. It is so self-explanatory.

I quickly had to explain that we weren’t going to cook the rice before putting it into the socks. Still, I don’t believe the idea made sense until they saw the finished product, and even then, I think they thought it would have made more sense to just make our coaches a plate of cookies. I’ll admit, this is kind of a silly idea. But it’s a useful gift, so hopefully they’ll like it at least a little bit. :)

If you, like my boys, have never heard of this lovely Rice Heating Pad idea, allow me to share one of the easiest gift projects on the planet. There are many ideas for these out there, many of which include fabric, a sewing machine, and a pattern. This one though? It only involves socks. The clean kind. New is preferred.

No-Sew Rice Heating Pads

What You’ll Need

  • White Rice (raw, non-instant)
  • Essential Oil (optional)
  • Socks
  • 3/8″ Ribbon
  • Scissors
  • Tall Drinking Glass

How To Make No-Sew Rice Heating Pads

Fill the glass with dry rice. Add 1-3 drops of essential oil if you like (peppermint is a great choice). Fit the opening of the sock over the top of the glass filled with rice, as shown in the picture above, then turn the cup over to fill the sock with rice. Continue this until the sock is full, leaving 2-3 inches of empty sock at the top. (The rice in the drinking glass idea was the best way I figured out to fill the socks since using three hands was not an option that day.)

Tie a ribbon (grosgrain works best) securely at the top. If you want to be very sure the sock won’t open and spill, feel free to use a needle and thread to close the sock with a few stitches before tying the ribbon. We could just call that version “Barely-Sew” Rice Heating Pads.

Because I used large men’s socks, 5 pounds of rice only filled three heating pads. I have no idea what I will do with the odd sock. Maybe I’ll just add it to my laundry and let my dryer eat it. Or perhaps I should buy more rice and make more cool gifts.

How To Use Your Rice Heating Pad

If you have/use a microwave, you can heat this up for 1 1/2-2 minutes, then put it around your neck to keep warm or use it to relieve pain from sore muscles. Don’t want to use a microwave? Place your heating pad in a baking dish in a 300° oven for 10-15 minutes.

If you prefer ice to heat, store the rice pad in the freezer for cold therapy. Then you can call this your Rice Heating Cold Pad, which makes no sense but is fun to say.

Rice Bag Gift Tag Instructions

Download a page of Rice Bag Gift Tags

Since I’m making these for our boys’ basketball coaches, I bought socks in our team colors and basketball ribbon. Here’s football, soccer, more soccer, volleyball, softball, and baseball. You could also look for ribbon with your recipient’s favorite sport’s team.

Or, skip the sport idea altogether and pick fun socks and ribbon that fits any person on your list. From Hello Kitty to Duck Dynasty, I’m pretty sure you could tailor make these heating/cooling pads for just about anyone.

I figured this gift costs just a little over $2 each. Not too shabby!

Ever used a Rice Heating/Cooling Pad?

This post contains affiliate links.

Heavenly Homemaker's Club Members: Access your homepage and all your fantastic resources here! Not a member yet? Please join us!

How To Make Geoboards ~ Homemade Gifts for Less Than $5

December 8, 2014 by Laura 1 Comment

This post may contain affiliate links. For more information, please see our disclosure policy.

Cantina sent in this idea, along with instructions and pictures. This is a great homemade gift for kids!

geoboard 1

Our middle child loves to build and he is great with a hammer. With a little help he is making geo-boards this year.

We had a scrap piece of lumber that he spray painted (picture above is the first one we did and it wasn’t painted). Then we use graph paper to hammer in nails in 2 inch squares. Don’t nail them all the way down. Then with colored rubber bands you can make all kind of fun shapes. My children have had the best time with this board and Elijah is now making a few for Christmas presents. The nails cost $1.97 per pack and the rubber bands were $.97 a pack. Since we had the scrap lumber and spray paint these will cost us under $5 per board.

How to Make a Geoboard

Thank you, Cantina! I think I will put my 12 year old on this project. What a fun idea!

Heavenly Homemaker's Club Members: Access your homepage and all your fantastic resources here! Not a member yet? Please join us!
« Previous Page
Next Page »

Join Our Community!

 Facebook Twitter E-mail Instagram Pinterest

Popular Posts

~ Will All of the Real Moms Please Stand Up?
~ Easy! Stir-and-Pour Whole Wheat Bread
~ How to Make Gatorade
~ 31 Real Food Breakfast Ideas
~ Dear Teenage Girls...
~ When Mom Takes a Step Back
~ The Inexpensive Health Insurance We Love!
~ Let's Talk Real Food Grocery Budgets

Check out our latest posts!

  • Big Family Food and Fun: May 10-16, 2026
  • Big Family Food and Fun: May 3-9, 2026
  • Help Your Kids Become Independent in the Kitchen!
  • Big Family Food and Fun: April 26-May 2, 2026
  • Big Family Food and Fun: April 19-25, 2026
Home  ~  Simple Meals  ~  Club Membership  ~  Shop  ~  Privacy Policy  ~  Disclosure  ~ Contact

Copyright © 2026 · Beautiful Pro Theme on Genesis Framework · WordPress · Log in