Heavenly Homemakers

Encouraging women in homemaking, healthy eating and parenting

  • Home
    • About
    • FAQs
  • Recipes
    • Bread and Breakfast
    • Condiments
    • Dairy
    • Main Dishes
    • Side Dishes and Snacks
    • Desserts
    • Gluten Free
    • Instant Pot
    • Crock Pot
    • Heavenly Homemaker’s Weekly Menus
  • Homemaking
    • Real Food Sources
  • Store
  • Contact
    • Advertise
    • Disclosure
    • Privacy Policy
  • Simple Meals
  • Club Members!

Easy No-Knead Whole Wheat Cinnamon Rolls For the Freezer ~ With Honey’d Orange Glaze!

September 13, 2015 by Laura 13 Comments

This post may contain affiliate links. For more information, please see our disclosure policy.

No-knead breads are THE WAY to go.

Cinnamon Roll with Orange Glaze

I’m not sure that my dearly missed, hard working grandma would be too pleased with me about this – but I’ve decided that kneading bread dough just isn’t my favorite thing. I mean, I’ll do it if I have to. But I’d rather stir ingredients, smile at the pile of dough (you know, for encouragement), then walk away.

This is how I found myself experimenting with my Whole Wheat Cinnamon Roll recipe. I had all the ingredients mixed together, but then I was like, “Really? Do I really have to knead this now? That just sounds soooo hard and time consuming.” (Really, Grandma. I know you lived through the Great Depression and fed nine children three meals a day from scratch with food that you grew or raised on your farm, that you worked from sun-up to sun-down in your teeny-tiny kitchen, and the only time you rested was to watch Judge Wapner after you turned 80. But do try to understand what I’m up against here.)

I figured that at the very worst, I’d have little hard cinnamon roll hockey pucks we could dunk in milk. So I did it. I walked away from my dough without kneading it.

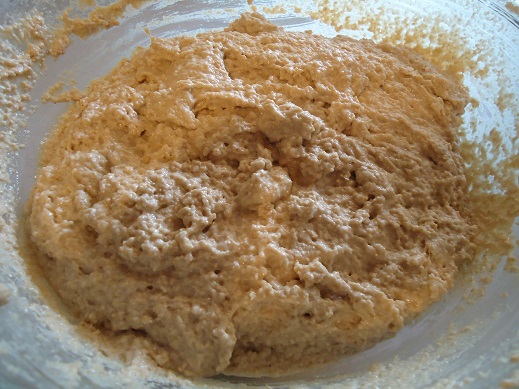
It looked like this when I covered it up:
cin rolls 10

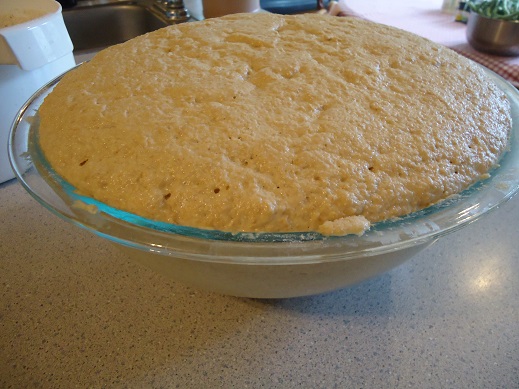
An hour later, it looked like this:

cin rolls2

Did it work, or did it work? 

Thus, my Whole Wheat Cinnamon Roll recipe is being turned into a No-Knead Whole Wheat Cinnamon Roll recipe because our lives are too full from all the hard work it takes to think about Grandma scrubbing all of the manure-crusted clothes on a wash-board.

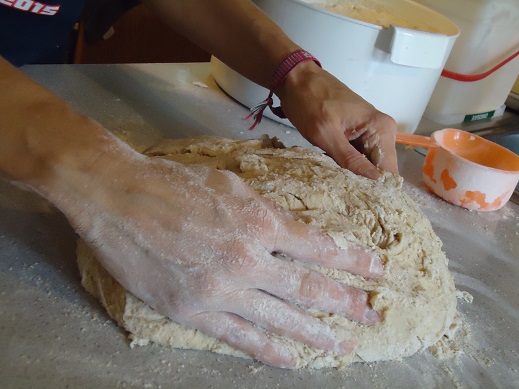
What you see here is absolutely not a picture of me kneading the dough. It is simply me working a little flour into the dough after it rose so that I could roll it out without it sticking to the countertop.
cin rolls3

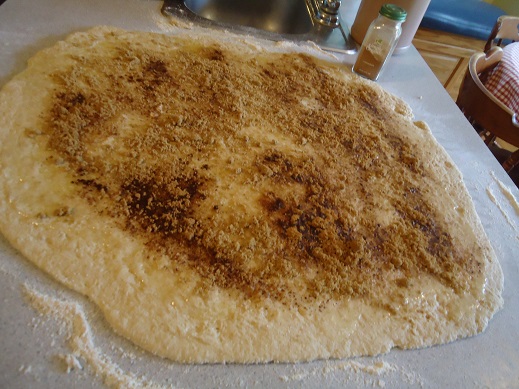
After I rolled it out, I spread melted butter over it and sprinkled a little sucanat and cinnamon over it.
cin rolls4

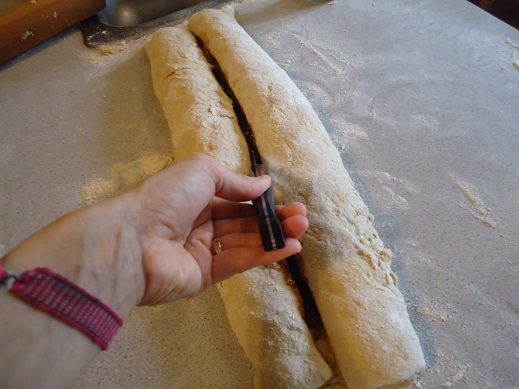
Then (like a boss) I rolled both ends until they met in the middle and separated the rolled dough with a knife. (Start on the outside, top and bottom, and roll them into the middle.)

cin rolls5

cin rolls6

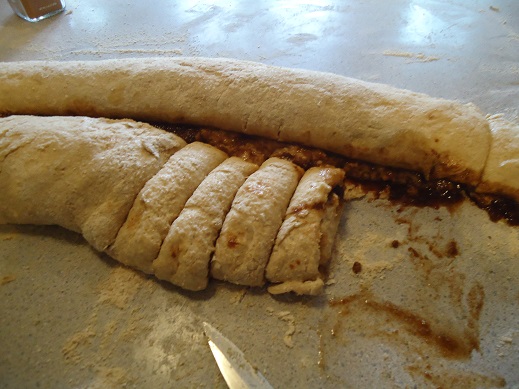
I then proceeded to cut individual rolls, making a huge mess in the process.
cin rolls7

My rolls went on a pan in a most unattractive way because I leave perfectionism up to the perfectionists. Do not poke fun. They can’t help how they look.

cin rolls8

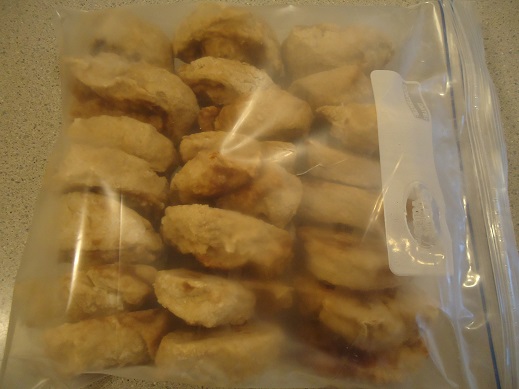
I froze the dough rolls on the pan, then transferred the frozen rolls to a freezer bag for another day. I will use them when I am busy not having to pluck a chicken for our dinner.
cin rolls9

No-Knead Whole Wheat Cinnamon Rolls – for the freezer (or for directly into the oven)

Easy No-Knead Whole Wheat Cinnamon Rolls For the Freezer ~ With Honey'd Orange Glaze!
 
Save Print
Author: Laura
Serves: 15-18
Ingredients
  • 1 cup warm (but not hot!) water
  • 2 Tablespoons yeast (active dry)
  • 2 teaspoons honey
  • 2½ cups milk
  • ½ cup butter
  • ½ cup honey
  • 4 teaspoons sea salt
  • 7-8 cups whole wheat flour (I use freshly ground hard white wheat)
Instructions
  1. In a large bowl, mush the yeast and 2 teaspoons honey together with the warm water and set aside. It will begin to form bubbles soon.
  2. In the meantime, stir together milk, butter, ½ cup honey, and sea salt on the stove until the butter has melted and the mixture has reached 120°.
  3. If the temp exceeds this, allow it to cool before moving on.
  4. Pour the milk mixture into the bubbly yeast mixture and stir.
  5. Mix in flour, two cups at a time until a nice dough has formed.
  6. Do not knead. (There is no need.)
  7. Cover the dough and allow it to rise for at least one hour, or until you remember that you were making rolls.
  8. Prepare the innards:
  9. Ingredients for the “innards” of your cinnamon rolls: ½ cup melted butter, ½ cup sucanat or brown sugar, and ½ Tablespoon ground cinnamon
  10. On a well-floured surface, roll the dough to about ¼ inch thickness.
  11. Spread melted butter over the rolled dough.
  12. Sprinkle with sucanat, then cinnamon.
  13. Roll up the dough from the outsides of the "dough circle" as pictured above.
  14. Cut apart the two rolled lengths, then cut the dough into ½ inch thick rolls.
  15. Place the rolls side-by-side on a baking pan.
  16. Allow them to rest/rise for about 20 minutes, then bake the rolls in a 350° oven for about 25 minutes or until they are golden brown.
  17. Glaze and serve!
3.4.3177

Honey’d Orange GlazeYum

2 teaspoons orange juice concentrate
1/4 cup heavy cream
2 Tablespoons honey

Whisk ingredients together on the stove until smooth. Drizzle over baked cinnamon rolls.

To Freeze and Bake:

Place the prepared rolls about a 1/2 inch apart on a baking sheet. Freeze for about two hours, then transfer them to a freezer bag. Store in the freezer for up to two months.

To bake, place the desired number of frozen rolls on a baking pan. Cover and refrigerate overnight. (In the winter, I leave them on the countertop overnight.) Place the rolls into a cold oven, then turn the oven on to 350°. Bake as directed above, adding a few minutes of additional time as needed.

Easy No-Knead Whole Wheat Cinnamon Rolls for the Freezer with Honey'd Orange Glaze

These are deliciously easy, and mostly low in sugar! They kind of resemble those frozen orange rolls you can buy in the freezer section – except that these have a little bit of nutritional value and not nearly as much sugar, so we can all rejoice.

Are you a perfectionist? Did my frozen roll picture cause you to cringe? I’m just a “get the job done and move on” kind of girl…which basically means that I am a mess when I cook.

Heavenly Homemaker's Club Members: Access your homepage and all your fantastic resources here! Not a member yet? Please join us!

Easy (Make-Ahead) Baked Potato and Bacon Casserole

September 9, 2015 by Laura 15 Comments

This post may contain affiliate links. For more information, please see our disclosure policy.

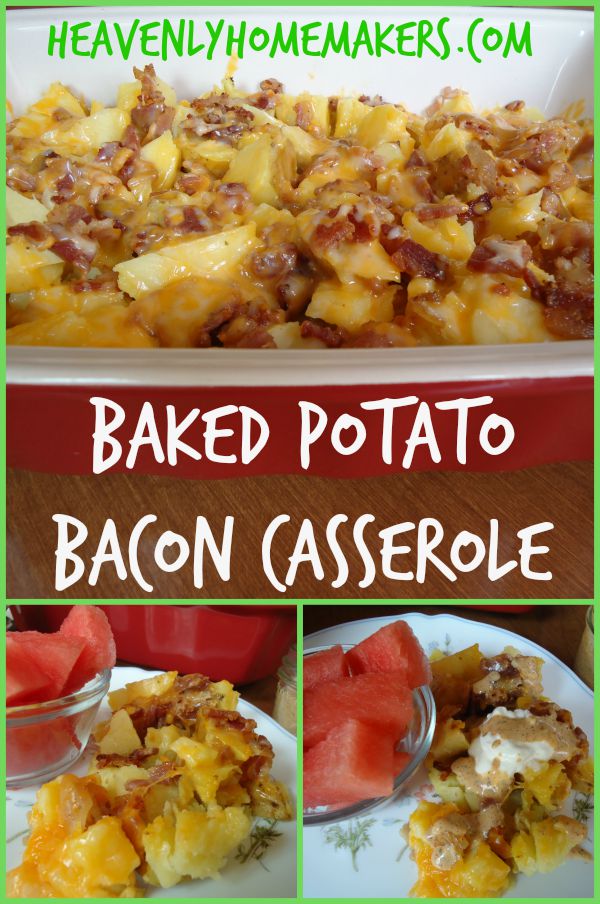
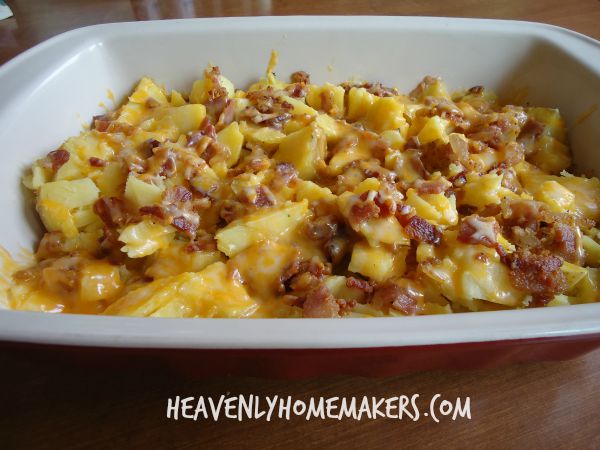
It’s a Potato and Bacon Casserole. Life is good.

Bacon Baked Potato Casserole

This is so easy we can hardly call it a recipe. I’m pretty sure my family will be having this every other week for the rest of our lives for the following reasons:

  1. Bacon. Of course. And also, cheese.
  2. We can slather it with Spicy Ranch Dressing, which tastes so good I believe I shall become addicted to it.
  3. I can make several of these casseroles at once and freeze them for later, making this easy meal even easier.

This “casserole” is basically baked potatoes cut up in a dish with bacon and cheese all over it. I’m sorry that I can’t make it more complicated for all of you who would rather spend many more minutes sauteing, braising, and broiling. This time, you’ll have to get your steeping and zesting fix elsewhere.

Everyone else: I lovingly suggest that you go scrub some potatoes. You’re having this for dinner tonight.

Baked Potato and Bacon CasseroleYum

Easy (Make-Ahead) Baked Potato and Bacon Casserole
 
Save Print
8 medium-sized potatoes (any variety) 1 pound bacon 2 cups shredded cheddar or colby jack cheese Sour cream, chives, and/or Spicy Ranch Dressing for topping
Author: Laura
Ingredients
  • 8 medium-sized potatoes (any variety)
  • 1 pound bacon
  • 2 cups shredded cheddar or colby jack cheese
  • Sour cream, chives, and/or Spicy Ranch Dressing for topping
Instructions
  1. Scrub and bake potatoes by putting them into a covered dish in a 350° oven for 1½ hours.
  2. In the meantime, cut bacon into bite-sized pieces and cook thoroughly on the stove-top.
  3. Cut baked potatoes into chunks, spreading them out into a 9x13" baking dish.
  4. Sprinkle cooked bacon over the potatoes.
  5. Top with shredded cheese.
  6. Bake in a 350° oven for about 10 minutes or until the cheese has melted.
3.4.3177

Offer sour cream, chives, and/or Spicy Ranch Dressing to complete this main course. Serve with a salad and another fruit or veggie. It is too easy. Makes 6-8 servings.

Baked Potato Bacon Casserole

To Freeze This Dish: 

Make it as directed above. Allow it to cool completely. Cover and label. Put it in the freezer.

To Reheat and Serve This Dish:

This is my favorite trick. Get the casserole out of the freezer. Cover the frozen dish with foil (somebody needs to invent a 9×13 glass cover for my pyrex dishes). Put the frozen casserole into a COLD oven. Turn the oven on to 250° allowing it to heat up along with the casserole. After one hour, turn the oven up to 350° and bake for one more hour or until the casserole is thawed, heated through, and looks like wonderful cheesy deliciousness.

Let us all add this recipe to our “Reasons to Make Extra Baked Potatoes When We’re Making Baked Potatoes Anyway” list.

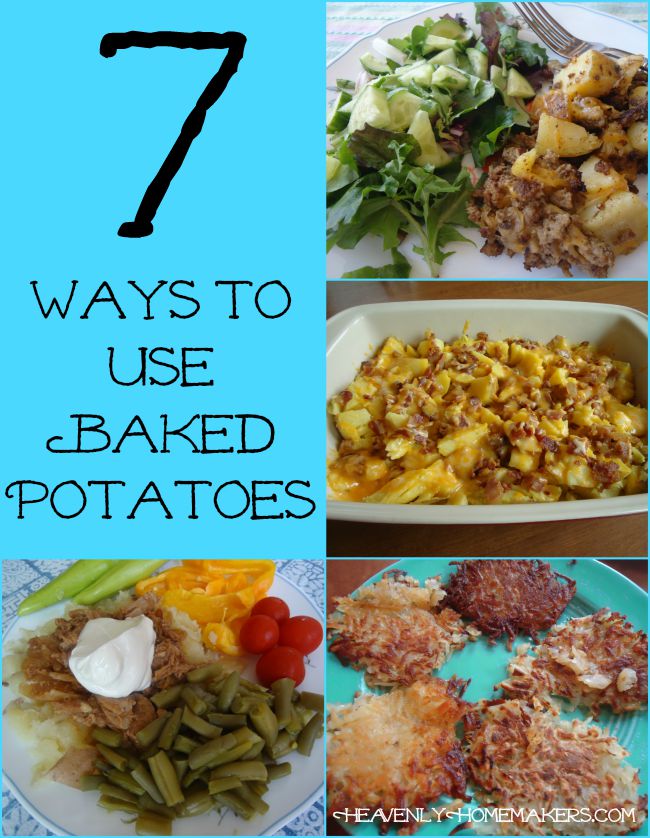
7 Ways to Use Baked Potatoes

Switch out the bacon in this casserole for other cooked meats. Switch out the regular potatoes for sweet potatoes. Just whatever you do, try it with the Spicy Ranch Dressing. Ah-mazing.

Heavenly Homemaker's Club Members: Access your homepage and all your fantastic resources here! Not a member yet? Please join us!

Busy Morning Breakfasts That Can Be Made Ahead of Time

September 2, 2015 by Laura 11 Comments

This post may contain affiliate links. For more information, please see our disclosure policy.

I am so messed up on breakfasts right now. Our second son started taking a college class on MWF and he has to be on campus at 8:00. Color me late to this “get your kids out the door for school on time” game, but well, that’s exactly what I am. We work from home and we’ve home-schooled forever, so getting out the door to church with combed hair on Sundays has been our only morning schedule struggle. On school days, we usually eat while beginning our Bible time and school time in our jammies a few minutes after we wake the kids. Now, if you can possibly imagine, I must actually be dressed and have breakfast on the table by 7:20.

Yes, I’m sure most of you can possibly imagine, and many of you are thinking, “Really, girl? 7:20 am is practically mid-afternoon at our house.” God bless all of you early morning head-out-the-door-to-work-and-school friends. I have some recipes to share with you. We shall all eat well together…at whatever time each of us considers to be early.

Busy Morning Breakfasts That Can Be Made Ahead of Time

Yum

Busy Morning Breakfasts That Can Be Made Ahead of Time

My goal this week was to prep breakfast foods and put them into the freezer so that I’ll be perfectly organized and never have to think again. Scratch that. My goal this week is simply to prep some breakfast foods and put them in the freezer. I’ll never be perfectly organized and in typical mom-life fashion, I found myself having to think straight and answer difficult questions like “are my soccer socks clean?” just a few minutes ago.

Here are my favorite breakfast foods to put into the freezer. They save time, money, and brain – my favorite things to save.

1. Hashbrowns and Hashbrown Patties

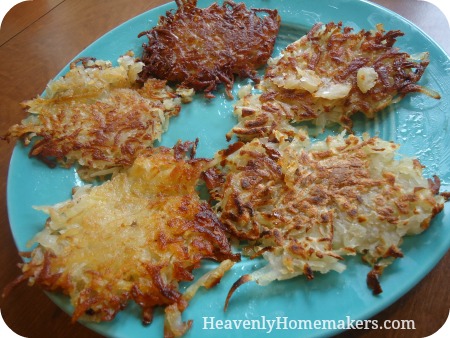
I’ll be baking a few pounds of potatoes this week to shred and put into the freezer. Fry up some eggs with these, serve with fruit – done. Everyone loves these and thinks you’re wonderful when you make these. It is fun when everyone thinks you’re wonderful.

Homemade Hashbrown Patties

2. Muffin Batter

You knew I would say this one. I can’t help it. Making and freezing muffin batter saves so much time. Not to mention dirty dishes. Deliver me from dirty dishes.

frozen_muffins_3

3. Cooked Turkey Sausage and Prepared Biscuits

I can make biscuits and gravy sooooo fast when I do this. My family is always amazed. Let’s just let them keep thinking that I am incredible to pull this off. Add the above mentioned Hashbrowns to this meal and you can picture my kids breaking into a lively Mom is Our Favorite Person in the Whole World dance (not really).

Freezer Biscuit Tutorial

4. Oatmeal Cups

You wouldn’t think that this would save time, but it truly does. At least it saves brain. That’s worth a whole lot.

frozen oatmeal3

5. Giant Breakfast Cookies

Best thing to pull out of the freezer for breakfast…ever.

breakfast_cookies

6. Pancake Muffins

Yep. My newest favorite. I cannot get over how easy these are.

Easy Pancake Muffins

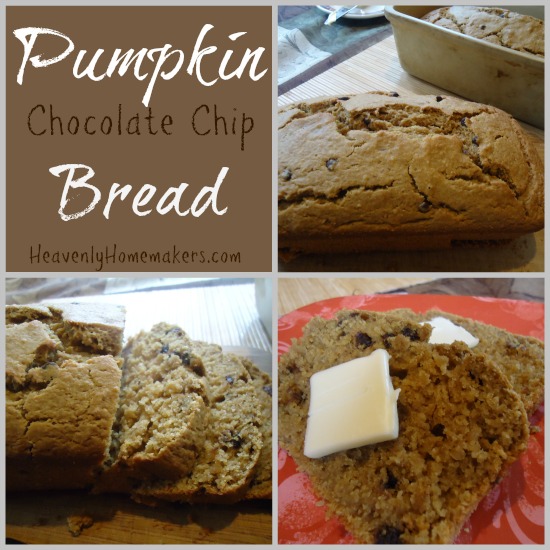
7. Quick Breads

Find our favorite quick bread recipes here. I usually double or triple a batch. If I allow them to cool completely, then wrap them well before freezing them, quick breads thaw and serve well. It is so very nice to pull a prepared loaf or two out of the freezer to go with breakfast in the morning.

Pumpkin Chocolate Chip Bread

If you freeze nothing else to save yourself time, brain, and money (while also eating healthy, because you are just that awesome) – make and freeze some of these breakfast foods. It will make your morning routine so much easier. Pick the recipe that looks the easiest to you – then go for it!

What are your favorite breakfast foods to prep ahead? Have any new ideas for me? What time to you eat breakfast at your house?

Heavenly Homemaker's Club Members: Access your homepage and all your fantastic resources here! Not a member yet? Please join us!

Easy Pancake Muffins – Great for the Freezer!

September 1, 2015 by Laura 24 Comments

This post may contain affiliate links. For more information, please see our disclosure policy.

Pancake Muffins? Seriously?! Why did I not think of this before?

Easy Pancake Muffins

I think I heard this idea from one of you brilliant minds a few dozen weeks or possibly even years ago. If it was you, thank you. My apologies for taking so long to try it. It’s just that...change is hard, you know? I’m so used to pouring pancake batter on a griddle, so scooping it into a muffin cup was just such a hard, hard adjustment for me.

Not really. I just never got around to trying it. Sheesh.

The thing about the traditional pancake is how long one has to stand at the griddle flipping the cakes. Yum, and all that. But it is time consuming if you must move make mountains of pancakes to fill up your people. With the muffin idea, you can scoop the very same pancake batter into muffin cups, slide them into the oven, and be on your way. And {please hold your applause} you can make extras of these and put them into your freezer, then pull them out and rewarm them without even having to think or stir or dirty up a bowl.

I may never stand at a griddle again. {standing ovation}

I no longer know how to cook in small quantities, as is evidenced by the following large-sized ingredient list. Forgive me, cut the recipe in half, or simply put your leftovers in a freezer bag and then into the freezer for a no-brainer breakfast of the future.

Pancake Muffins Yum

Easy Pancake Muffins - Great for the Freezer!
 
Save Print
Author: Laura
Serves: 24
Ingredients
  • 3 cups whole wheat flour (I use freshly ground white wheat - hard or soft)
  • 1 teaspoon baking powder
  • ½ teaspoon sea salt
  • ½ cup melted butter
  • 3 eggs
  • 2½ cups milk
Instructions
  1. Whisk all ingredients together until smooth-ish.
  2. Scoop into prepared muffin cups (buttered, paper-lined, whatever you choose).
  3. Drop in berries or chocolate chips if you wish.
  4. Bake in a 350° oven for 15-20 minutes or until muffins are golden brown.
3.4.3177

Easy Pancake Muffins - Great for the Freezer

You’d think I would have done this earlier since I’ve been making Sausage Pancake Muffins for so long.

If you want to make these a “to-go” muffin, simply add about 1/4 cup of real maple syrup to the batter before scooping and baking. Then you can skip the necessary “dip them in syrup while holding your chin over the table” step.

Ever tried this idea? Were you the one who told me about it? Love you.

Heavenly Homemaker's Club Members: Access your homepage and all your fantastic resources here! Not a member yet? Please join us!

How Does Prepping 5 Meals in 20 Minutes Sound?

August 17, 2015 by Laura 3 Comments

This post may contain affiliate links. For more information, please see our disclosure policy.

You might remember how a couple of weeks ago I made 7 Chicken Slow Cooker Meals in 30 Minutes. Well, the next day I made 5 Beef Slow Cooker Meals in just 20 minutes. It is too fun.

This is the easiest, fastest, most fun freezer cooking I’ve ever done. Plus, these freezer meals keep saving my neck on busy days. I just pull a bag out of the freezer and throw the contents into the crock pot. I add some veggies to the table in the evening, and we are set.

Here are a few pictures of my 5 beef meals in 20 minutes prep. They aren’t pretty, but at least it’s better than looking at pictures of mannequins in my office. (Ain’t that the truth.)

5 Meals in 20 Minutes

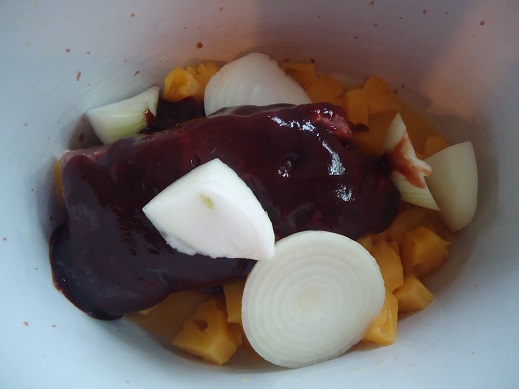
First I took my printed copy of Eat Right Away: Slow Cooker Beef Edition and put the ingredients for the Hawaiian Beef and Rice directly into the crock pot. That would be for dinner that day – you know, since I was so busy spending another 17 minutes making 4 more meals. Obviously, I was exhausted after that and couldn’t possibly think about cooking our evening meal.

slow cooker beef 1

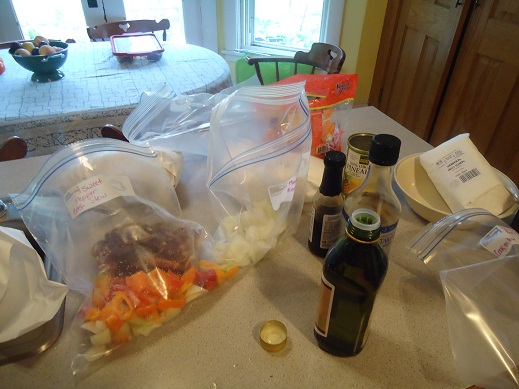
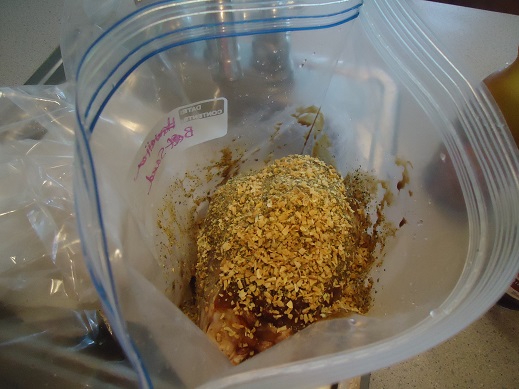
Next, I labeled freezer bags and started filling them with ingredients for the other four packet recipes.

slow cooker beef 2

This process is so fascinating to witness. Lookie at the meat with Onion Soup Mix and other ingredients splashed into a bag. Ooh. Aah.

slow cooker beef 3

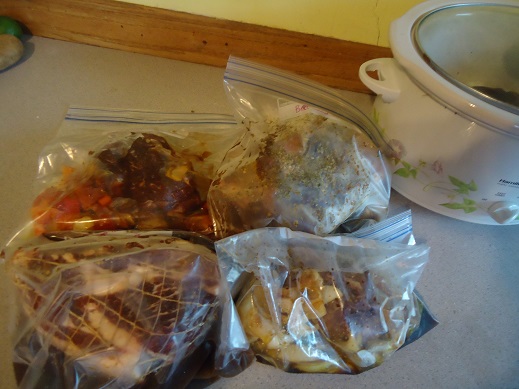
A grand total of 20 minutes later, dinner was in the crock pot and four other meals were ready for the freezer.

slow cooker beef 4

Read about our Eat Right Away Packets here.

We’ve got four packets (a total of 20 recipes!) all organized and ready for you to work with! I cannot tell you how great these are to work with. Actually, I guess I did just tell you. Go get your packets. They’ll save you time and money!

Heavenly Homemaker's Club Members: Access your homepage and all your fantastic resources here! Not a member yet? Please join us!

Frozen Oatmeal Cups – for a Quick, Hearty Breakfast

August 2, 2015 by Laura 17 Comments

This post may contain affiliate links. For more information, please see our disclosure policy.

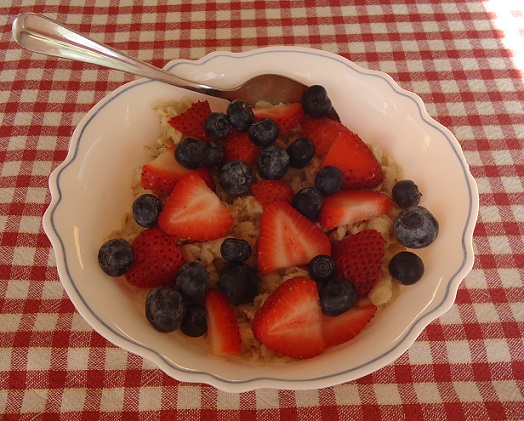
Seriously, Frozen Oatmeal Cups. Check this out.

frozen oatmeal8

Yum

Making oatmeal has got to be the most difficult thing to do ever. It’s definitely the most tedious breakfast food there is – requiring time, energy, thought, and absolute sweat-dripping labor over a stove for five entire minutes (because oatmeal won’t cook properly unless someone is staring at it in expectation). Life is hard. We should probably settle for pop-tarts. It’s the only way.

Don’t worry, friends. I’ve found a way to avoid performing this grueling task (and eating pop-tarts) in the mornings – and I’m here to share. I think we can all agree that the more we can avoid the challenge of putting water in a pot to boil, the better. Gather ’round, everyone. This tip will shave at least 1.4 minutes off your morning meal prep, so listen closely. Every 1.4 minutes counts.

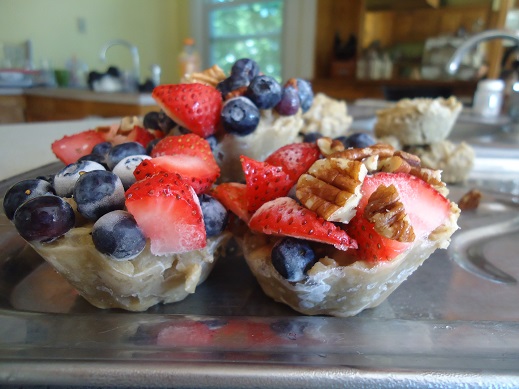
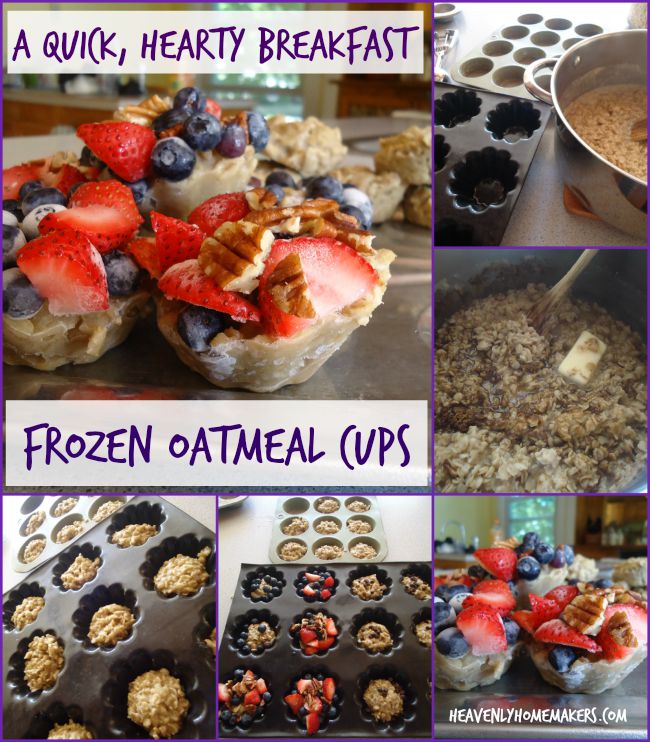
Here’s what you need to do: You need to cook up a double or triple batch of oatmeal (you can do it, we’re all in this together, persevere, I believe in you). Once the oatmeal is done, go ahead and feed some to your family. Here’s where it gets good: After your meal, freeze the leftovers in muffin cups, topped with whatever delicious toppings your family likes. Like this:

frozen oatmeal3

The result is easy-to-store cups of frozen oatmeal which are ready to pull out and re-heat at any given time – preferably on those mornings. You know the ones I’m talking about.

But seriously, in all seriousness, because I am always serious – this really is a lovely way to help your children help themselves on a busy morning, and it really does save a tiny bit of time because the cooking of the oatmeal has already been done.

Now, if you get a little bit burned out on oatmeal and you’re still struggling with the urge to buy a pre-made breakfast in a box that promises to save you time – I suggest you consider the possibility of frying an egg. If I can do it, you can do it. There are also apples – a brand new innovative idea for breakfast that I’ve heard are great to grab-and-go. Who knew?

Frozen Oatmeal Cups - a quick, hearty breakfast

The Specifics of Making Approximately 24 Frozen Oatmeal Cups

  1. Boil 6 cups of water.
  2. Stir in 3 cups of whole oats.
  3. Turn the heat down to simmer the oats/water for about 5 minutes, stirring occasionally.
  4. Remove from heat once the water has been absorbed and the oats are soft.
  5. Stir in 1-3 Tablespoons of butter and 1-4 Tablespoons of sweetener like honey or sucanat as desired.
  6. Scoop prepared oatmeal into muffin tins (no need to grease the tins).
  7. Top oatmeal cups with any variety of fruit, nuts, chocolate chips, etc.
  8. Place filled muffin pans in the freezer for 2-3 hours or until oatmeal is frozen solid.
  9. Pull frozen oatmeal out of the freezer and allow it to sit on the counter-top for about 10 minutes.
  10. Use a fork or spoon to gently pop the frozen oatmeal cups out of the tins.
  11. Place the frozen cups into a labeled freezer bag. Store in the freezer for up to three months.
  12. Re-heat by placing frozen oatmeal cup(s) in a small saucepan on medium heat until thawed and warm.

I love this idea (for so many reasons, as explained earlier) – but also because this allows for a variety of sizes of appetites. Little ones may just need one cup to fill them, whereas my sons would likely each pull out 2-4 to rewarm.

So now, go therefore and make yourself some frozen oatmeal cups. Your breakfast – and really, your entire life – is obviously going to be changed for the better because of this tip. Enjoy your extra 1.4 minutes of morning time. You are very, very welcome.

What do you think of this idea? I like the brainlessness of it. I like that the cooking is done so all that needs to be done is rewarm and serve. I love that my kids can do this themselves. Not every freezer meal is about saving time – sometimes it’s just about the comfort of having prepped food on hand for ease!

P.S. We also really love making Homemade Instant Oatmeal to have on hand.

Kudos to Cupcakes and Kale Chips where I first saw this fun idea!

Heavenly Homemaker's Club Members: Access your homepage and all your fantastic resources here! Not a member yet? Please join us!

The First Thing I Did When I Got Home From Camp – Plus What I’ll Be Up to This Week

July 25, 2015 by Laura 2 Comments

This post may contain affiliate links. For more information, please see our disclosure policy.

I bet you can guess. What’s the first thing I did the moment I got out of the van after being at camp for two weeks?

Okay fine. I went potty. But after that? Well, yes I started a load of laundry. But then??? Well I filled a glass of water to make sure I was hydrated.

But none of those count. What’s the really first thing I did after being away from my kitchen for two weeks?

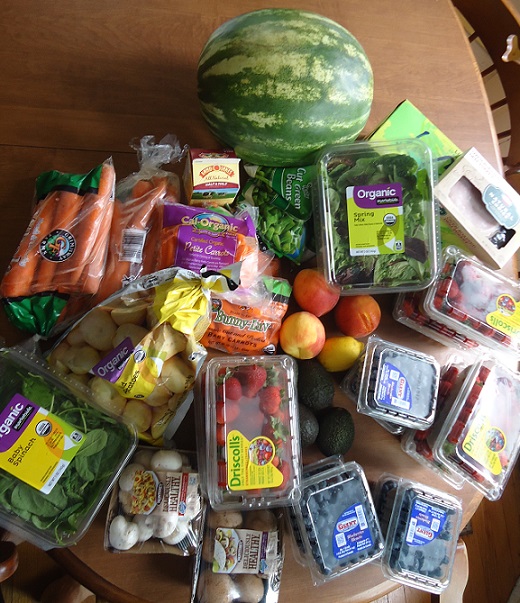
groceries725Home from camp!

Ahhhhh, yes. I made a big price-matching list and headed to the store. The fridge was all but empty, we’re craving more fresh produce, and I’ve missed cooking. I loved the break (especially from the dishes!) – but I am so excited about being back in my kitchen!

I must admit that our three teenage boys are still at camp for another week and a half which means that I might have over-purchased just a wee bit. All you see in the picture up there? That’s just for Matt, Malachi (age 10), and me. We’re that hungry for freggies. I couldn’t hold back.

Case in point: Matt washed one of the containers of blueberries as soon as I gave him permission (aka, as soon as I got a picture taken – it’s a food blogger thing). I snagged a few of the berries as I scrubbed refrigerator shelves and put away groceries. A few minutes later, Matt appeared with the blueberry container and a grin. The blueberries were almost completely gone. The guy ate an entire pint (minus the 17 little berries I ate) in about 5 minutes. We’re craving this stuff, I tell ya.

Cravings aside, I would not have gotten 6 pounds of strawberries and 6 pints of blueberries for just the three of us – but I was able to price match them for just $1.00 each. Who can pass up filling the cart when they’re only a buck?? If we can’t finish them before they go bad, we’ll just freeze them for muffins and smoothies. It’s too easy.

So here’s what I’m thinking. I’m thinking that while I still just have one boy at home and therefore don’t need to prep large meals – I’m going to do some freezer cooking this week. My list is too long, which means I won’t likely get around to all of this since I have so much other work to catch up on after being away for two weeks. But here’s my crazy-lady list nonetheless:

1. Defrost the freezer.

We’re getting a quarter of grass-fed beef this week, so that along with putting prepped food in the freezer means I need to get rid of the terrible ice build up I’ve been ignoring for way too long.

2. Make a few batches of Strawberry and Blueberry Cream Muffins – freezing the batter to bake fresh later. (Read more about this wonderful freezer tip here.)

3. Work through my Eat Right Away Beef and Chicken Slow Cooker Editions to get easy meals in the freezer ready for upcoming school/soccer/busy days.

4. Make Whole Wheat Pizza Crusts for the freezer so the boys can quickly make their own pizzas on busy days.

5. Make and freeze Chicken Fried Steak Strips with the beef we’re picking up from the butcher.

6. Stop making this list before I become overwhelmed.

There are too many great freezer cooking ideas. I made myself stop adding to the list so I don’t overwhelm myself. I’ll take pictures of my progress throughout the week and share an update with you soon!

What are you going to be doing this week?

Heavenly Homemaker's Club Members: Access your homepage and all your fantastic resources here! Not a member yet? Please join us!

35 Minutes ~ 6 Winner Winner Chicken Dinners

June 17, 2015 by Laura 11 Comments

This post may contain affiliate links. For more information, please see our disclosure policy.

Hows that for a dumb title? Well, you too will feel like saying silly things and maybe even doing the chicken dance after you spend such a short amount of time creating so many delicious meals for your family. Plus, I just had a great cup of coffee so my typing fingers are under the influence of caffeine.

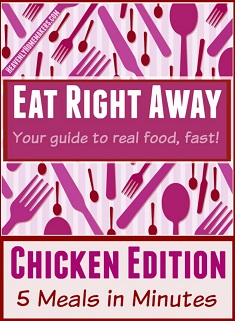
Last week – using ugly meat pictures – I showed you how I used my Eat Right Away: Beef Edition packet to make 6 Beef Meals in only 45 minutes. I promised you that I would do the same with the Chicken Edition. So here I am. But this time – I’m excited to report that it only took 35 minutes of work time to crank out 6 meals. We have big eaters at our house, so the only way I was able to turn 8 pounds of meat into only 6 meals for us is that I’ll be adding several fruit/veggie sides along with potatoes, tortillas, rice, or pasta to stretch that chicken. If your family is smaller than mine – you could do the same amount of work and end up with more than 6 meals!

Eat Right Away Chicken Edition 22

I’m really, really excited about this. One of my biggest goals here is to emphasize that it really doesn’t have to be difficult or time consuming to feed your family healthy, real food meals. Here is the run-down of my 35 minute date with 8 pounds of chicken.

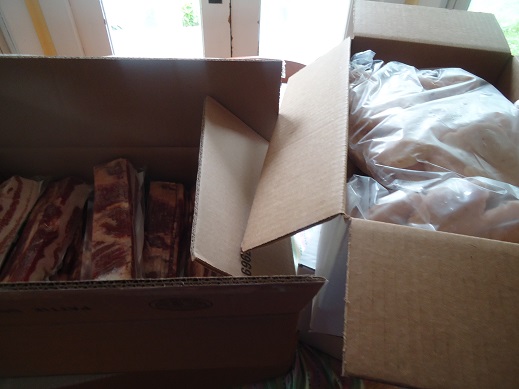
On Friday, I picked up my Bountiful Basket meat order (the first one to come to our town!). I got 24 pounds of nitrite-free bacon and 24 pounds of nicely raised boneless/skinless chicken. I put 8 pounds of chicken in the fridge to thaw.

erwchicken1

On Saturday, I got to work making four out of five of the recipes included in the Chicken Edition packet. (I didn’t make the Teriyaki Chicken and Veggie Kabobs because while I had plenty of chicken, the other ingredients needed were not on sale. No need to pay full price – I’ll make a triple batch of those another time!)

These are the recipes I worked on:

  • Easy Apricot Chicken
  • Sloppy Salsa Chicken
  • Mexi-Chicken Pasta
  • Chicken Tostadas

First I put 2 pounds of chicken into a pot with the Apricot Chicken ingredients, put a lid on the pot, and started it cooking on low. It was an exhausting five minutes. Thank you for your compassion.

erwchicken2

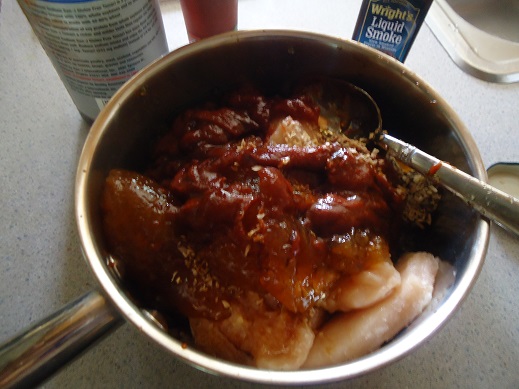
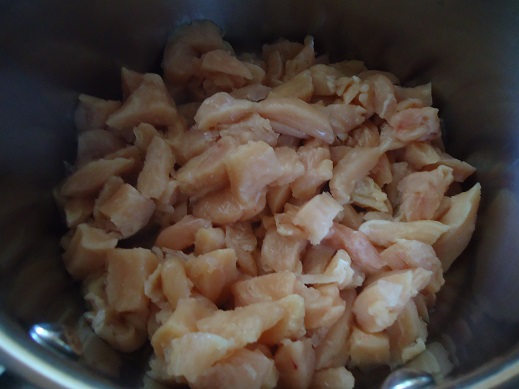
Next, I used kitchen shears (the best way to cut chicken, if you ask me) to cut 4 pounds of chicken into pieces for the Mexi-Chicken Pasta and Chicken Tostadas. Want to know what’s great? You use the same ingredients to cook the chicken for both of those recipes so this is super efficient!

erwchicken3

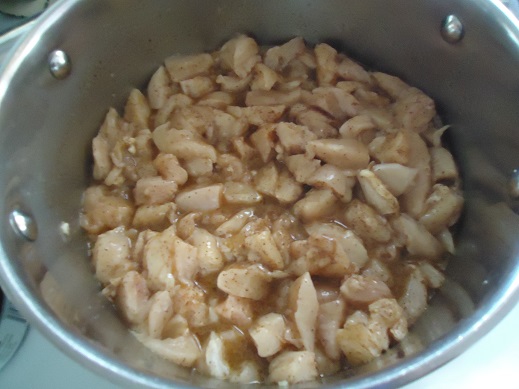
There it is. Seasoned and ready to cook. Prep took about 15 minutes. Onto the stove it went.

erwchicken5

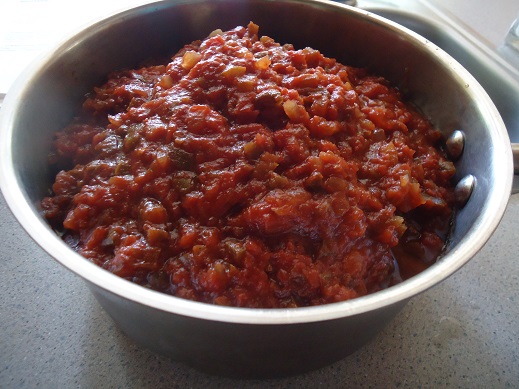
I put the remaining 2 pounds of chicken into a third pot along with the Sloppy Salsa Chicken ingredients. Two minutes later, it was cooking on the stove. Are you grasping how easy this is? I burn complicated recipes in my fireplace. I like simple foods.

erwchicken4

While all three pots of chicken cooked, I ate lunch with my family. (Tuna casserole, green beans, and raspberries – thanks for asking.) I stirred the chicken from time to time while our older boys shared about their week at camp. (They’d just gotten home a couple hours before lunch.)

After lunch, the Mexi-Chicken Pasta and Chicken Tostada meat was finished – so I set it aside to cool.

erwchicken6

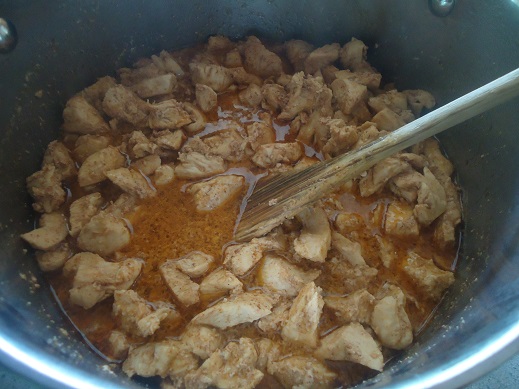
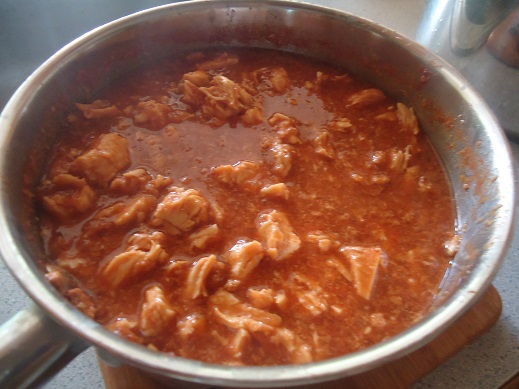
The Apricot Chicken was finished to I used a fork and knife to kind of shred it. I say kind of because it’s not completely shredded. I got to a point where I was like, eh good enough.

erwchicken7

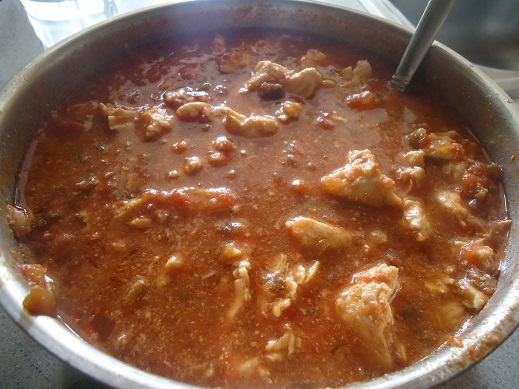
Same thing on the Sloppy Salsa Chicken. I shredded it until it was at the “good enough” stage. It’ll pull apart more when we rewarm and serve.

erwchicken8

(I told you these chicken pictures were ugly. Good thing this stuff tastes so good.)

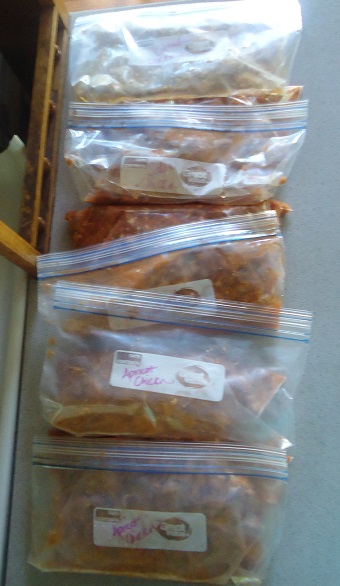
At this point, I let all three pots sit out to cool. Later, I filled five freezer bags: 2 with Sloppy Salsa Chicken, 2 with Apricot Chicken, and 1 with chicken for Mexi-Chicken Pasta. The remaining chicken was left in the pan to quickly rewarm after church Sunday for Tostadas. Lunch within five minutes of getting home from church? Yes please!

erwchicken9

Those five bags of food joined the 6 beef meals from last week.

I’m going with your suggestions on which packets to work on next – focusing on meatless and slow cooker recipes. It is too much fun and oh so helpful to learn these new recipes.

Learn more about the Eat Right Away Packets here. Or just grab them here:

[wp_eStore_fancy1 id=5]


I love how easy it is now to pull out these prepared foods to serve to my family. Tuesday we put baked potatoes in the crock pot, set out a bag of frozen Apricot Chicken, then went to the swimming pool. We got home, warmed up the meat, cooked some green beans, cut up a cantaloupe, and had our meal. Crazy easy. Plus, all my men raved about how good the Apricot Chicken was. Bonus!

Have you tried any of the recipes in these packets yet? How’s it been going for you? Hope they are a blessing to you as they have been for us!

Heavenly Homemaker's Club Members: Access your homepage and all your fantastic resources here! Not a member yet? Please join us!

I Just Spent 45 Minutes in the Kitchen and Made 6 Meals! Boom!

June 11, 2015 by Laura 8 Comments

This post may contain affiliate links. For more information, please see our disclosure policy.

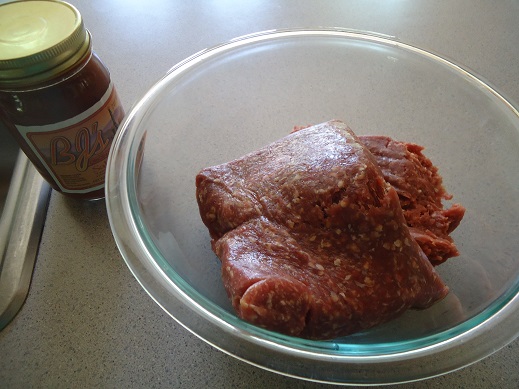
I decided to give you an idea of how our Eat Right Away Packets work, so I thawed 6 pounds of hamburger and took some really bad pictures of raw meat. My life is glamorous.

Eat Right Away Beef Edition 50
Knowing that your life is probably glamorous also – meaning you might have interruptions in the form of nursing babies, important phone calls, teenagers needing a ride, siblings who need to learn that nice words go a long way, or any other variety of real life stuff – we all know that 45 minutes can turn into an hour and an hour can turn into are you kidding me. So don’t set a timer on this. My 45 minutes of work began at 12:00 noon and didn’t end until 1:30 pm because someone stopped by to pick something up a few minutes after I started, my husband and 10 year old had some questions, and somewhere in there I realized I needed lunch because what was I thinking starting this project on an empty stomach?

In other words, I did 45 minutes of kitchen work, but those minutes were broken up a bit by life and lunch.

The beauty of the Eat Right Away Packets is that they help you be efficient with your time, they help you make the most of your effort in the kitchen, and they help you turn out some pretty awesome meals with very little effort. But there’s no right or wrong way to go about putting these meals together. Case in point:

Here are the five beef recipes in the Eat Right Away: Beef Edition Packet ~

  • Cheesy Salsa Burgers
  • One Dish Cheesy Beef and Potatoes
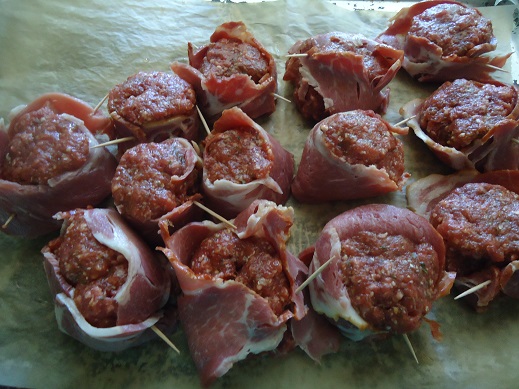
  • Bacon-Wrapped Individual Meatloaves
  • Easy Hamburger Soup 
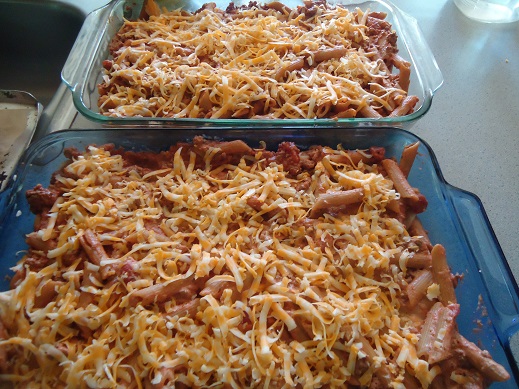
  • Baked Ziti 

But seeing as we’re not into soup this summer, and knowing I was low on time – I decided to skip the Easy Hamburger Soup and the One Dish Cheesy Beef and Potatoes. I went with the crazy easy Cheesy Salsa Burgers, the almost as crazy easy Bacon-Wrapped Individual Meatloaves, and the no-brainer Baked Ziti.

I doubled the Baked Ziti. Why not, right? So when all was said and done, I had spent 45 minutes of work time to make 6 meals. Sweet!

NOTE: If your family is smaller than mine or eats less – these Eat Right Away Packets are going to turn out way more than 5 meals for you. How’s that for a bonus return on your time investment?!

So here’s an ugly picture run-down of my Eat Right Away: Beef Edition meal prep…

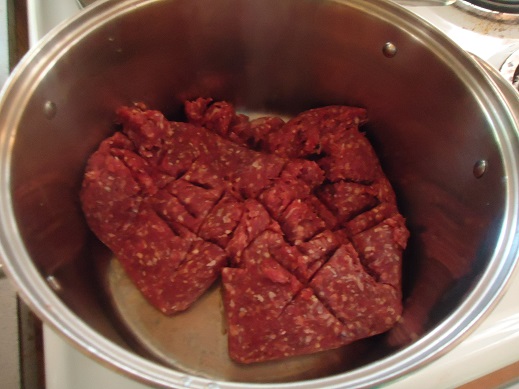
I threw 2 pounds of meat into a pot to begin cooking (for the double batch of Baked Ziti).

beef1

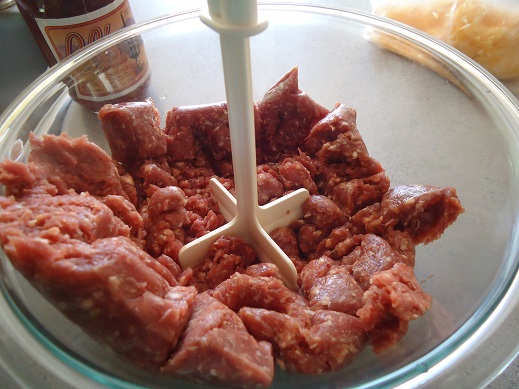
While it began cooking, I mushed up another two pounds of meat in a bowl, then stirred in the ingredients for Cheesy Salsa Burgers. Here and there, I stirred the meat cooking on the stove.

beef3

Side Note: My dad and his wife got me this amazing meat squisher
(spoken like a true professional) for Christmas. I super love it.

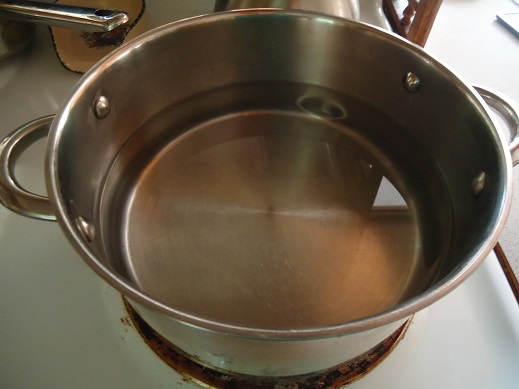
Before shaping the patties, I put a pot of water on to boil. (Had I not taken the time to snap a picture, you all would surely be left in the dark as to what this step looks like. You are very, very welcome.)

beef4

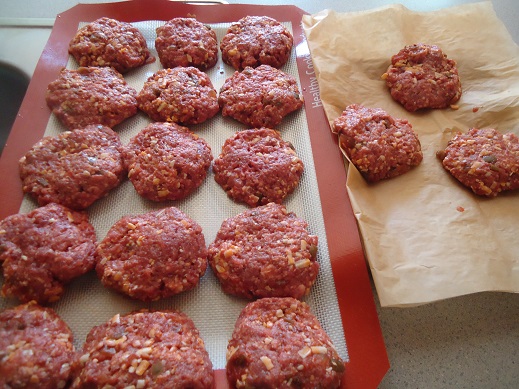
I shaped 18 Cheesy Salsa Burger patties – in a variety of sizes. See how great this is? You can make different sizes to accommodate different sized appetites. That, and you can just be a total non-perfectionist who really doesn’t care if all her patties are uniform in size. This may not work for you Type A’s. Shape your patties according to your personality type. We can all still be friends.

beef5

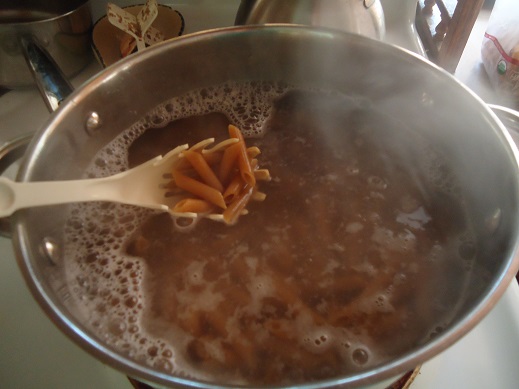
Somewhere in there, my water hit boiling point. I poured in the pasta and continued shaping patties.

beef6

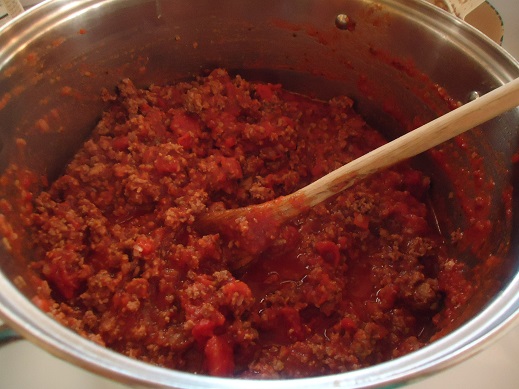
The meat was finished cooking on the stove, so I added sauce ingredients.

beef7

If you look at my Baked Ziti recipe in the beef packet, you’ll see that I didn’t follow my own instructions correctly. I blame it on the fact that I hadn’t eaten lunch.

And it was at this point that I stopped my work and ate some tuna salad and cole slaw.

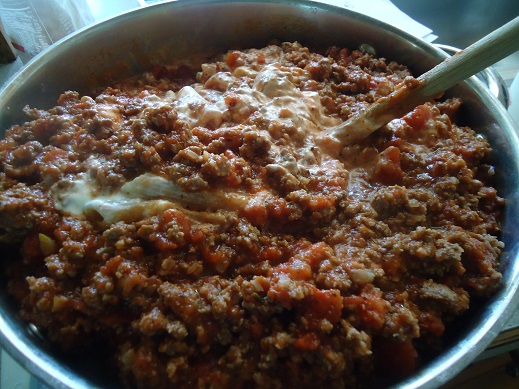
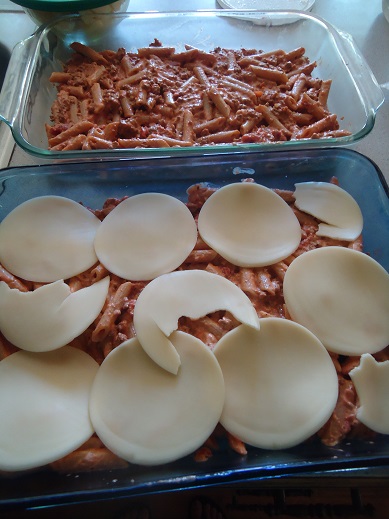
Revived by food, I stirred in other Ziti sauce ingredients, then began to build the casseroles.

beef8

beef9

beef12

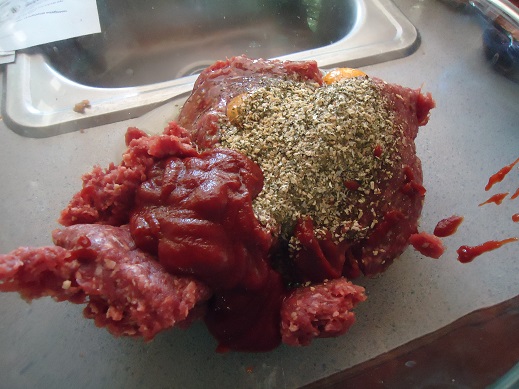
Having this done, I went to work on the Bacon-Wrapped Individual Meatloaves. Two pounds of meat in a bowl, other ingredients dumped in (because life is too short to get out measuring spoons).

beef10

Meatloaves were shaped and wrapped in bacon. Husband walked in and said some really nice things about my bacon. ;)

beef11

I put the pans of Meatloaves and Salsa Patties into the freezer. Then, I loaded the dishwasher and hit “start.” While the meat froze and the dishes washed themselves, I took Malachi to meet some friends at the swimming pool because life is hard.

beef13

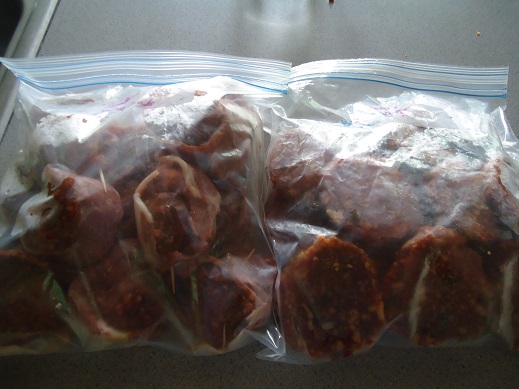
So much glorious vitamin D later, I came home and put the frozen meat items into freezer bags. I labeled them and put them back in the freezer for a quick meal another day. YAY!!

beef14

That night, I threw some of the Cheesy Salsa Burgers on the grill for our dinner (meal #1). In the freezer I have another meal of burgers (meal #2), two meals worth of bacon meat-loaves (meals #3 and #4) and two zitis (meals #5 and #6).

beef15

You guys – this is not hard!! If you don’t love cooking, I believe you will really love this way of prepping ahead to make your kitchen life easier. These recipes are super simple, and once the work of preparing these foods is done (and cleaned up after, woot!) – all you have to do at meal time is pull something out of the freezer and cook it. You don’t even have to think at that point. (I’m not ashamed to say that the not thinking is my favorite part of this.)

I’ve got many pounds of chicken coming in a Bountiful Basket order Friday, so this weekend I’ll be pulling out my Chicken Edition and taking more bad pictures to show you how that one works.

Get all the details on these Eat Right Away Packets here. Ready to add them to your kitchen collection? Download them right away and get started!

Eat Right Away: Beef Edition
$2.00

Add to Cart

Eat Right Away: Chicken Edition
$2.00

Add to Cart


Some of the links in this post are affiliate links.

Heavenly Homemaker's Club Members: Access your homepage and all your fantastic resources here! Not a member yet? Please join us!

The Day I Got Carried Away With the Beans

March 3, 2015 by Laura 10 Comments

This post may contain affiliate links. For more information, please see our disclosure policy.

It’s not what you think.  {and all the readers breathed a collective sigh of relief}

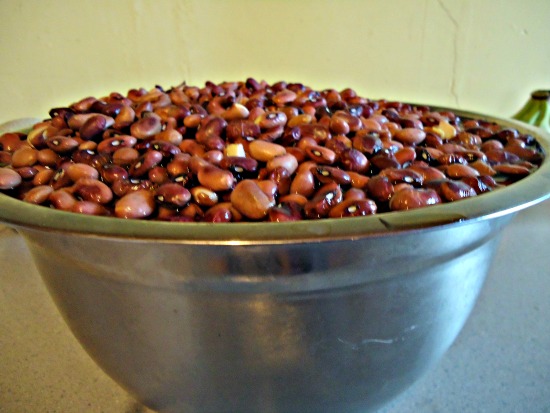
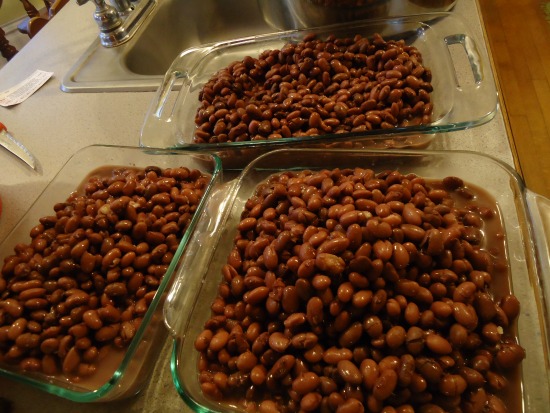
It’s just that last night I put beans in a bowl to soak, and then I woke up to beans that were threatening to overtake my kitchen. {Wow, Laura. Fascinating.}

beans 1

See, when you add water to beans – they grow.  They grow and they grow and they grow. So if you aren’t thinking about what you’re doing, and you scoop 13 cups of beans into a bowl, then cover the beans with water before you go to bed – beware of the growing bean monster which will greet you when you walk into your kitchen to make breakfast.

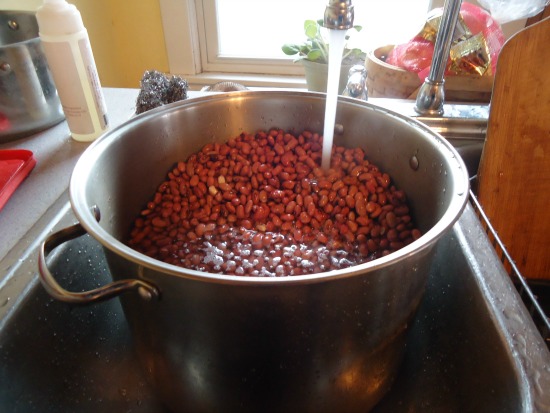
I strained the beans and added fresh water, but of course, none other than my largest stock pot would hold the monster.

beans 2

Why, you ask? Why so many beans?

I told you already. I wasn’t thinking about what I was doing.  I needed a large amount of beans for a big batch of chili, so I just kept scooping. I also forgot that beans in a bowl will soak up the water until they become bloated and ready to burst. Whoa, good morning, beans.  That. That is what I said when I walked into my kitchen this morning to find the bloated beans trying to crawl over the top of the bowl onto my counter top and floor.

I didn’t really tell the beans good morning. I don’t talk to my chili beans. Coffee beans, though – for sure. Don’t even doubt that one.

After cooking the chili beans (which of course bubbled up and overflowed onto my stove-top because I forgot that they were cooking and because there were so many of them), I realized that I had way, way too many cooked beans for the big batch of chili I was planning to make. All I’m doing is trying to do is to be prepared to feed our high school youth group on Sunday night, see? But we’re going out of town Thursday afternoon and won’t get home until late Saturday night. And I don’t know if you knew this or not, but we have to change our clocks this Saturday night, so we lose an hour of sleep.  No one asked my permission to do that this weekend.  This is not okay with me.

So in my effort to get ahead, I got very, very ahead. I have beans for chili on Sunday night to feed an army. Plus I now have three other big containers of beans in my freezer to be used another time. Yay me. I am so efficient.

chili beans 3

It seems that I just spent 404 words telling you about my beans – as if I have nothing better to talk about. Blah, blah, blah, beans. Wow everyone. Look at my beans.

So now I shall leave you with this important reminder and advice:

Do not become distracted when you are scooping beans. Stop scooping beans if you know what’s good for you. But if you forget and over-scoop, simply go ahead and freeze your cooked beans for future use.

526 words to tell you that you can freeze beans. Sometimes I amaze myself.

Heavenly Homemaker's Club Members: Access your homepage and all your fantastic resources here! Not a member yet? Please join us!
« Previous Page
Next Page »

Join Our Community!

 Facebook Twitter E-mail Instagram Pinterest

Popular Posts

~ Will All of the Real Moms Please Stand Up?
~ Easy! Stir-and-Pour Whole Wheat Bread
~ How to Make Gatorade
~ 31 Real Food Breakfast Ideas
~ Dear Teenage Girls...
~ When Mom Takes a Step Back
~ The Inexpensive Health Insurance We Love!
~ Let's Talk Real Food Grocery Budgets

Check out our latest posts!

  • Big Family Food and Fun: May 17-23, 2026
  • Easy Side Dishes for Summer
  • Big Family Food and Fun: May 10-16, 2026
  • Big Family Food and Fun: May 3-9, 2026
  • Help Your Kids Become Independent in the Kitchen!
Home  ~  Simple Meals  ~  Club Membership  ~  Shop  ~  Privacy Policy  ~  Disclosure  ~ Contact

Copyright © 2026 · Beautiful Pro Theme on Genesis Framework · WordPress · Log in