
You know that song right? Dad is great, he gives us chocolate cake! It’s an old Bill Cosby comedy thing. Matt sings this song everytime I make this for breakfast! Anyway…
This is a super easy breakfast that can be made ahead of time…or made fresh the morning you plan to eat it. I adapted my Giant Breakfast Cookie recipe to make this cake, and it’s moist and yummy. Especially with a glass of milk!
“Mom is Great” Breakfast Cake (yes, I humbly named it myself)
1 cup butter, melted and cooled
3/4 cup buttermilk
2 cups whole wheat flour
2 cups whole rolled oats
¾ cup honey
2 eggs
1 t. sea salt
1 t. baking soda
1 t. vanilla
1 cup raisins, chocolate chips or other dried fruit
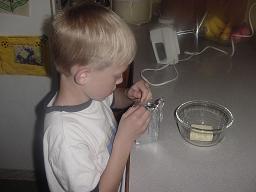
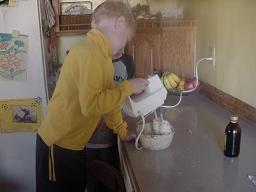
Stir together butter, buttermilk, flour and oats in a glass bowl. Stir in honey, eggs, salt, baking soda and vanilla. Fold in raisins, chocolate chips or dried fruit. Pour into a buttered 9×9 inch baking pan. Bake at 350 degrees for 30-40 minutes or until toothpick inserted in the middle comes out clean.

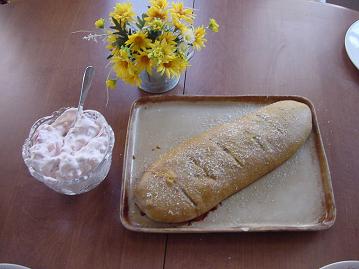
Serve warm…serve cold…it’s good either way. Cut into squares and wrapped in plastic wrap, this is a great portable breakfast or snack too!
Who wouldn’t want cake for breakfast? Just watch, your family will be singing to you too if you serve this! “Mom is great! She gives us breakfast cake!”
Hehe…think we should tell ’em it’s good for them?


