It was such a good idea. I was going to make these and give some away and use them always as a way to save money on dishwasher detergent.
Yep. It was a great idea.
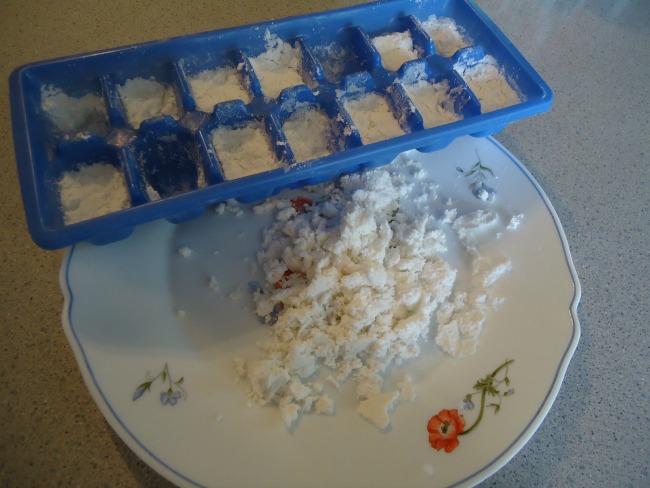
I’m not sure what I did wrong. I’m sure it had nothing to do with how I skimmed over the recipe and rushed to get it done before leaving for a trip. It probably wasn’t that I tried popping the tabs out of my ice cube tray before they were fully dried.
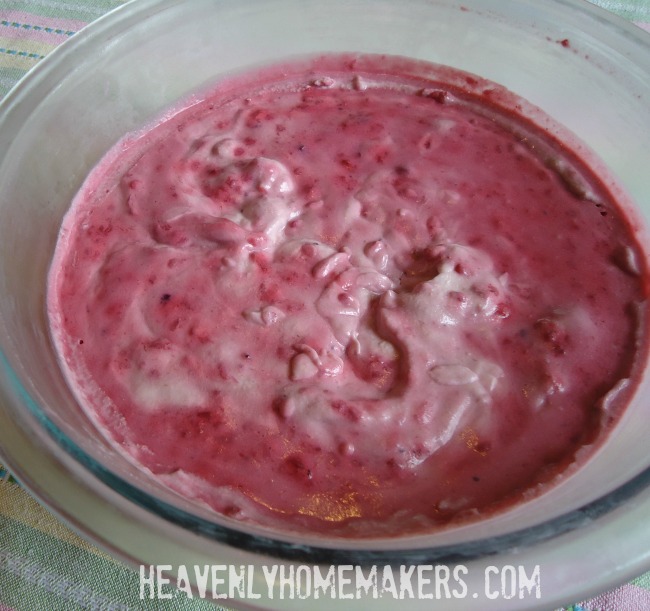
Now I have a solid rock of dish soap on a plate. Once I get it to ever dissolve off of there, that is going to be the cleanest plate ever. But let’s just say, Laura won’t be sharing this recipe yet with you because something went terribly wrong.
Do you make your own dishwasher detergent? I want to!!! But I don’t want to use Borax. I’d be happy with a recipe for any form of liquid, powder, or tabs. I just think it will be a nice way to save money and avoid toxins.